Free Christmas Printable For Your Holiday Decorating
Ready to be my Guinea pig?? I’ve never attached a free printable to this blog before so I’m just warning you…this could be entertaining. I’ve always loved those large Christmas signs, you know which ones I’m talking about? So many cute ones on Pottery Barn and West Elm but I really didn’t want to spend a ton of money on something that was going to be displayed for just a few weeks out of the year.
I’m going to be completely honest too, I am very computer/technology stupid that it scares me. How I started this website is beyond me. I downloaded Photoshop Elements this past summer and it overwhelmed me and I barely opened the program. But I’m learning and so far it hasn’t been too terrible. I won’t even think about showing you how I made this printable because I am sure I am doing something wrong and if you are a professional graphic designer or someone with a really trained artistic eye please just skip this post. You might cringe.
If you have any desire to dabble at Photoshop Elements you can find so many tutorials on Pinterest. You can also mess around with Canva and PicMonkey to make printables. I haven’t really tried those websites for printables yet but the websites are mostly free to use and seem to be pretty user friendly. And again, I am sure there are a ton of tutorials on Pinterest.
But I will show you how I had this printable I made printed out and framed because that I can do with ease. Snag this printable by signing up below:
[mailerlite_form form_id=8]
Items needed:
(This post contains affiliate links)
- Printable
- Craft Board ( I found mine at Hobby Lobby)
- 24×36 open frame (I purchased mine from Hobby Lobby as well but if you aren’t in the mood to leave your house Amazon carries it as well)
- Elmer’s Spray Adhesive
- Sharp scissors or a razor blade
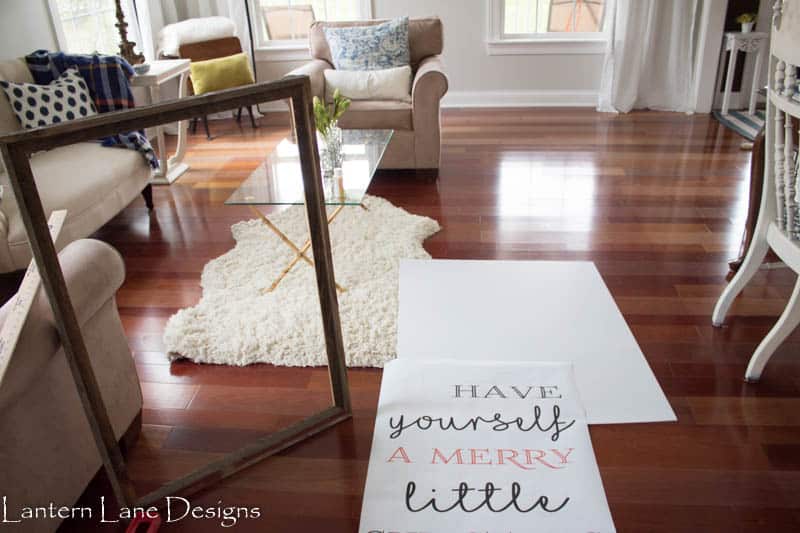
I knew I wanted to put this print above my couch and in between my windows and I needed it to be a large print. My print is a 24×36 so keep that in mind. I had originally had my DIY Artwork hung up in this spot but knew I was going to change it out once it was time to bust out the Christmas decor. Save the printable to your computer and head over to Staples.com
Their engineered prints are perfect for this project and can be printed out in black in white or color and they only cost a few dollars each. I’m linking you directly to their engineered prints here and then click “Design Now” button. For this project I chose the “Engineered Prints in Color” option since I had a little bit of red in my print (you can print it in black and white if you do not want the red in the print), click “Buy Now”. In the pop up window click “Add File” and upload your saved image. Once your print is uploaded you can adjust the size of your print by clicking on the “Media” button on the left hand side and choose 24×36. Once you have everything how you want it add it to your cart and choose pick up for free delivery. It usually takes just a few hours for them to have your print ready. If you tend to lean on the side of clumsiness like I do you might want to have two printed out. These engineered prints are just paper so one little mess up and you can rip your print (I learned that the hard way).
Unfortunately for my husband my Staples is right next door to Hobby Lobby. Poor guy has no idea what damage I can do. Anyways, you can frame this however you want. I tried to make this project as easy as possible so I picked up a piece of craft board and an open frame at Hobby Lobby. The frame was a little bit pricey but was on sale and I knew trying to make one would cost me as much and be more painful. You can also probably use a regular frame and just take out the insides.
You’ll want to cut your craft board to the size of the inside of your frame. You can use really sharp scissors or a razor blade. I highly recommend that after you cut your board you make sure it fits just right inside your frame BEFORE you attach your print to it. Like I said earlier this print is just paper so it can rip easily.

See, it fits like a glove. Once you know that your board fits pop it back out of the frame and attach your print. I used spray adhesive, you can use mod podge too but this spray adhesive worked really well for me. I sprayed my whole board with adhesive and very carefully laid my print over my board. I then used a credit card and very lightly ran it over the print to smooth out any air bubbles. Now VERY CAREFULLY put your board back into your frame. My board was pretty secure inside my frame as is but I added a few staples with a staple gun to the top of the frame to keep it extra secure. I went light on the staples so after Christmas I can remove the staples and pop this board out to reuse my frame for another print. I hung it on my wall as most professionals do…with command strips 🙂
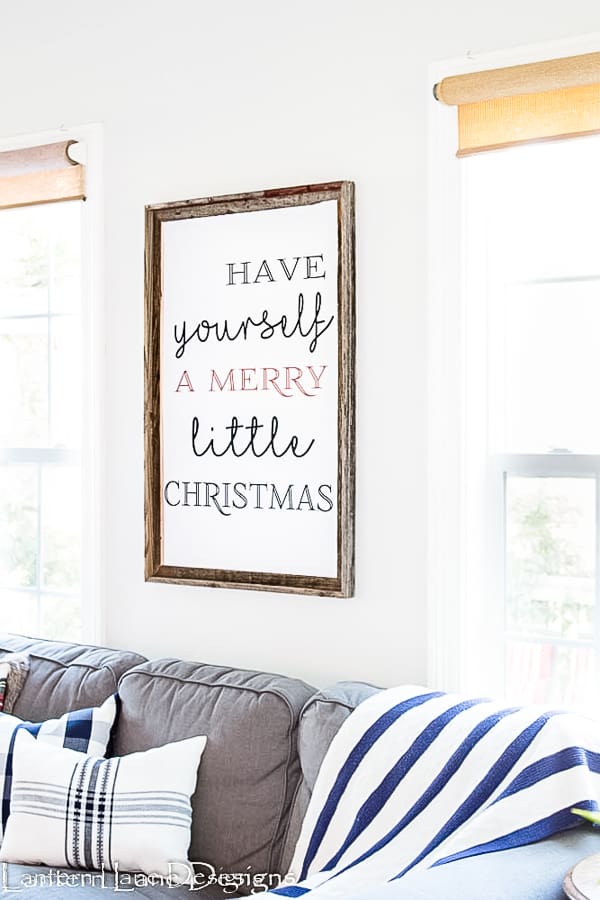
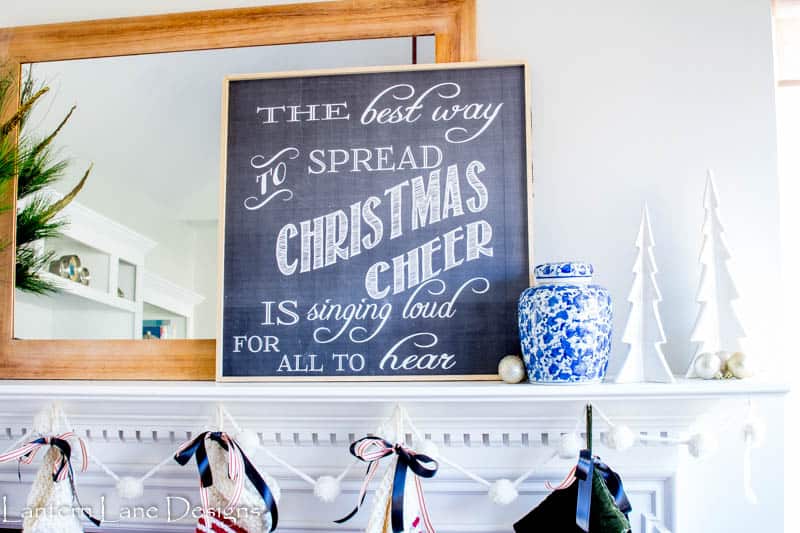
There you have it! I did another Christmas printable that looks like a chalkboard print that I’ll have up on the blog here shortly! And if for any reason you need a smaller print feel free to email me and I’ll try to create another one for you (if I remember how I did this one!)
Follow me on Instagram and Facebook! Come Pin with me on Pinterest!
You might also like!
Please do more for other holidays and seasons! Love this!
Thank you! I definitely will!