Easy DIY wall treatment and some tips and tricks to make installing your wall treatment easier.
I really had no idea what to call this post. It’s not board and batten and it’s not really a chair rail. It’s like a board and chair rail, but without the board. Confusing, I know
I did something similar to this in our old house and it was so easy to do. I referenced it a few times in some of my other blog posts but I am so glad I finally had an opportunity to recreate the project and this time actually take pictures.
I originally came up with this idea after stalking some pictures from one of my favorite designers. The majority of my DIY projects have been born from my amazing stalking skills. I was stalking this post and the first thing my eyes went to was the molding on the walls and how simple it would be to recreate it.
So I did just that…twice now and likely a third time in the future. Because it is just so easy to do. Here it is in my dining room at our old house.

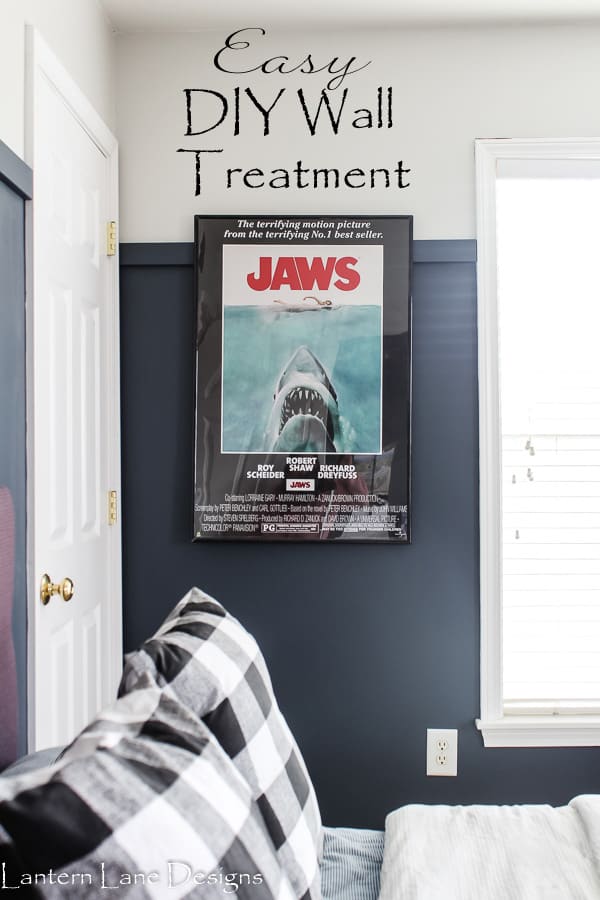
My daughter actually is the one that really wanted this wall treatment in her room since she loved it so much in the dining room of our old house (we went a completely different way in her room though. You can see more about her room makeover here). My poor son has been sleeping in a maroon/purpleish bedroom for the past two years. There is nothing wrong with a maroon/purple looking room but he was not a fan.
I decided this wall treatment would look good in his room. I’ll show you how easy this project is and give you some tips to make it even easier.
Items needed for your faux board and batten/chair rail
(This post contains affiliate links. You can see my full disclosure here)
- Boards of your choice
- Paint
- Paint brushes (my favorite brand to use)
- Small paint roller (optional)
- Hammer/Nails or Nail Gun
- Fancy Saw if you have one (this would work as well if you don’t own a fancy saw)
- wood filler
How to add faux board and batten/chair rail to your walls
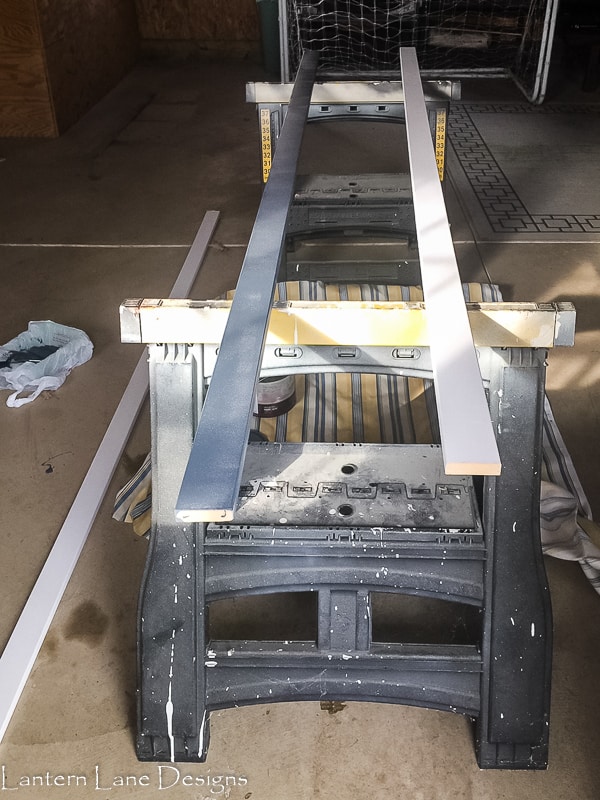
1.) First up…you need your boards/trim. I used the most inexpensive boards I could find. There are a ton of boards that look similar to what I picked. I used MDF boards and usually they are located in their own little aisle from the rest of the trim.
My boards are 8 feet long and 2.5 inches wide and cost under $3 each. I purchased 5 boards. Measure your walls to see how many boards you will need. You can go as fancy or as plain as you would like. Your room, your call.
2.) Purchase your paint. I went light on the top (Silver Drop by Behr) and dark on the bottom (Calligraphy by Behr). I had the Silver Drop on hand since it’s the main color of my first floor. I knew I wanted to do a dark blue/gray on the bottom and Calligraphy was the perfect shade. I am a huge fan of Behr’s Premium Plus Ultra line of paint. It is budget friendly and covers amazingly well…even over very dark walls.
3.) Decide where you want to put your boards on your wall. My son’s room already had a stripe going around the room so I used that as my guide. For reference I went 6 feet from the floor. With a level draw a line on all of your walls.
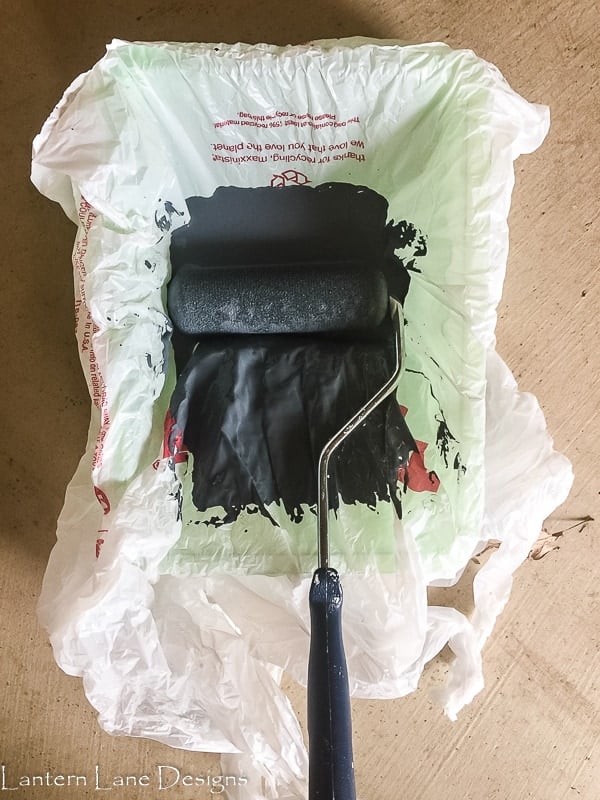
4.) Paint your boards BEFORE you install them. I can’t tell you how much time this step saved me. I painted my boards the same color as my bottom paint color (Calligraphy). I used a small foam roller for this part which makes this step a very quick one. I did two coats on each board.
Another tip, especially if you are …ahem…cheap like me. I used a plastic grocery bag to line my paint tray for these quick projects. It makes the clean up so much quicker and easier and you can reuse your tray a few times over.
5.) Start painting your wall. This part is self explanatory. Paint as close to the line you drew on your wall for both colors. You will have to do some touch ups once you are all done but they will be minimal.
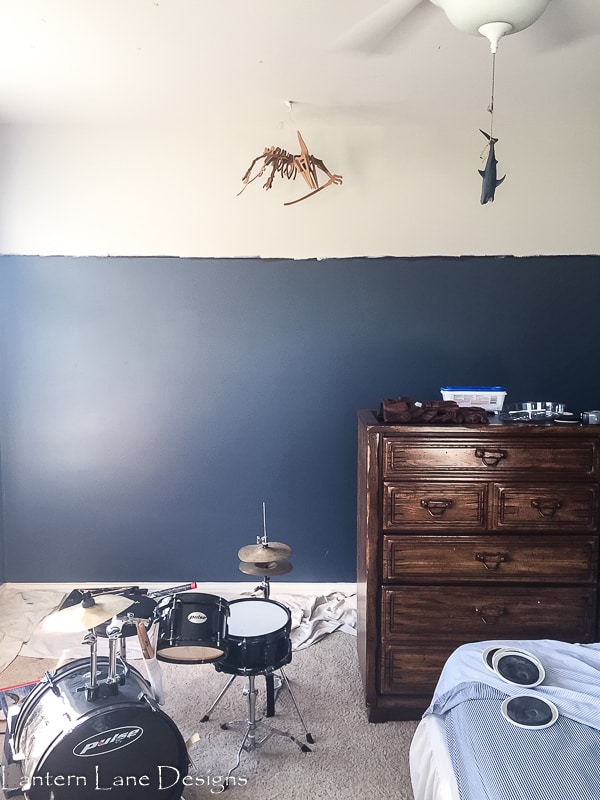
(And yes, my son loves sharks and yes, that is a shark hanging from his fan. Don’t ask questions)
Once you are done painting a section or if you need to wait a while to apply a second coat, wrap your paint brushes and rollers in either aluminum foil or a plastic bag. Make sure none of your brush or roller is exposed to any air. You can keep your brush like this for days really and they will never dry out. Nothing is more of a time suck like having to wash your brushes in between coats. This little hack has saved me countless times. You’re welcome.
6.) Once your walls are dry it’s time to install those boards you already painted. I worked in sections and did one wall at a time, only because I was working around furniture. Measure 5 times so you only have to cut once. I am so guilty of measuring once and having to cut 5 times. After 5 years of DIYing, I am finally doing what I preach.
What I love most about this project is that you can get away with only making straight cuts…even in the corners. I did a straight cut and a mitered cut and I really think the straight cut worked out better and looked better.
Again, do not fear this part. For the longest time I used only a box saw and a hammer and nail for these projects.
And if you mess up, do not fret. Wood filler/caulk/spackle is a wonderful thing. I messed up in my mitered corner. I really do think my saw needs calibrated (or whatever the grown up term for “fix” is)…and most walls aren’t really at a perfect 90 degree angle so there was a slight gap in my corner
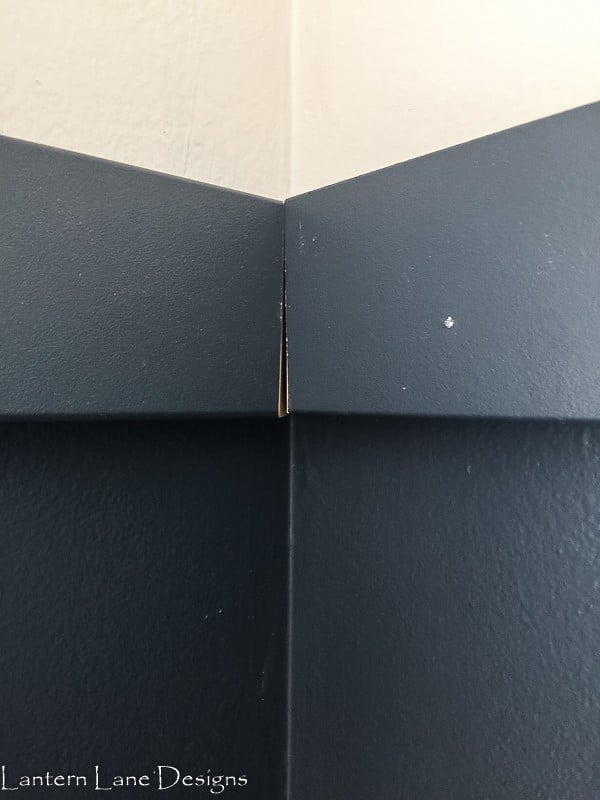
But like magic, it was gone with some wood filler and paint.
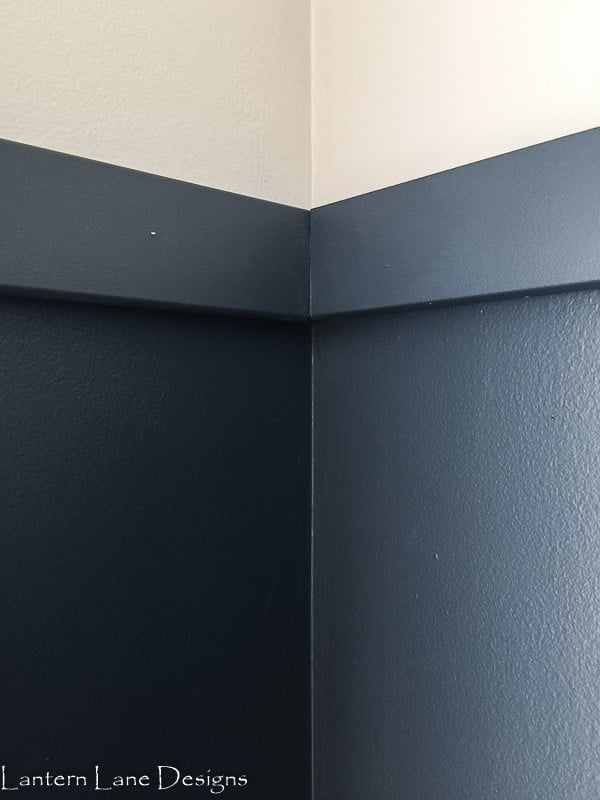
Once again, you do not need to cut your corner pieces at a 45 degree angle if that seems too much work for you or if you do not own a fancy saw. You can easily connect two pieces of trim with a straight edge right up to each other and still get a seamless look. The molding police will not come and arrest you, I promise.
(If you are interested in a fancy saw, this one is great for beginners and the price is great)
One more tip, this wood is a little bit heavier. You will need two people to hold and nail the longer pieces up. I messed up and was impatient and tried to do it solo and my boards aren’t perfectly aligned when I was joining two boards together.
UGH, I might take that piece off and redo it…or cover it with a picture of some sort. If you have two pieces of wood that need to be joined together on a wall and want more of seamless look, cut each piece at a 45 degree angle. When you connect them, they will look more polished. I wasn’t in the mood for that in my son’s room and was secretly hoping the dresser would cover the area…and it didn’t…oh well.
This article has a ton of information about installing molding. Don’t let it scare you, some of the terms sound daunting but there is some good basic information in here.
7.) Make any needed touch ups. You can fill in any nail holes with wood filler and give your boards a quick touch up or just paint over your nails (because that is what I did). Make any other touch ups you need on your walls and you are done.
There is where I should also tell you to caulk between each board and your wall. I will be 100% honest. I have never ever done that. If I notice a giant gap in between my walls and board I will use some spackle or left over wood filler to cover those gaps. And not once have I been arrested by the molding police.

Now, if you wanted to turn this into faux board and batten, all you have to do is install the vertical battens to your wall. Just a warning that if you do this, the battens will likely stick out past your baseboards. You can either remove your baseboard and install a thick batten as your baseboard (sounds painful), or you can install a thick batten right above your baseboard (I did this in our old house and it wasn’t too painful), or just live with the battens sticking out past the baseboards (sounds like a great idea to me).
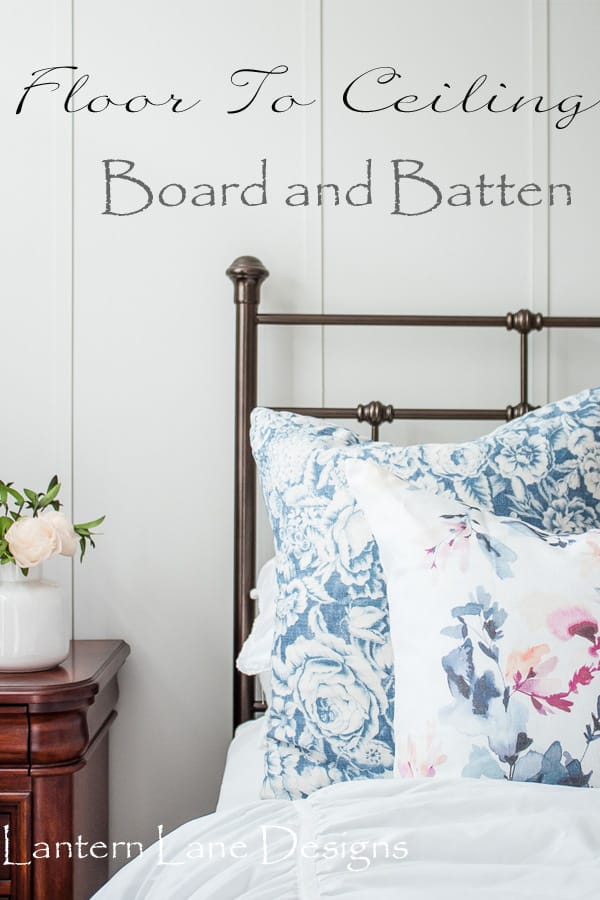
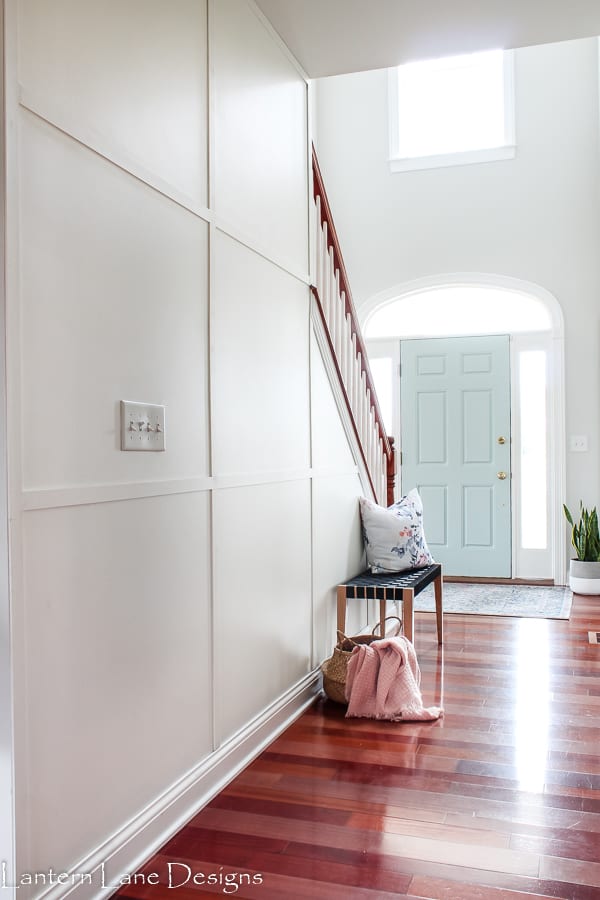
You can see how I added grid molding to my hallway here and how I did floor to ceiling batten in my bedroom here. These projects might look scary but they are really pretty painless to do. I never ever owned a tool before I started my DIY endeavor. I just learned as I went and I have a few more projects planned!
If you want to save this for later, you can pin it here:
[mailerlite_form form_id=8]
You might also like!
Grid Board and Batten Under $100