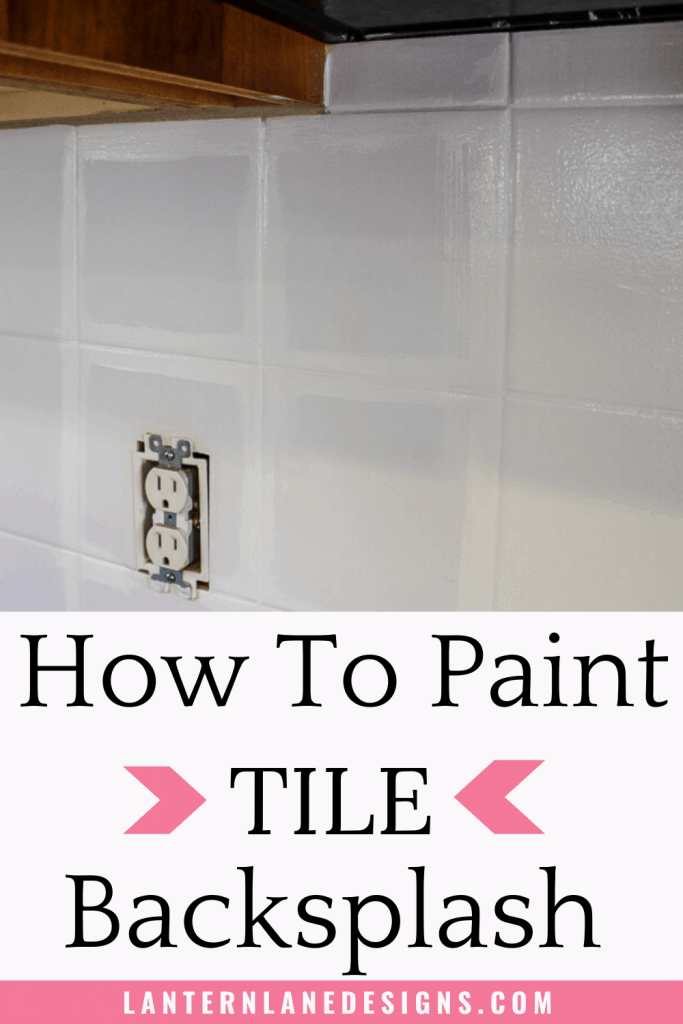
Painting your tile backsplash is an easy DIY project you can do in one afternoon. I’ll show you how I painted my kitchen tile backsplash quickly and easily.
[mailerlite_form form_id=8]
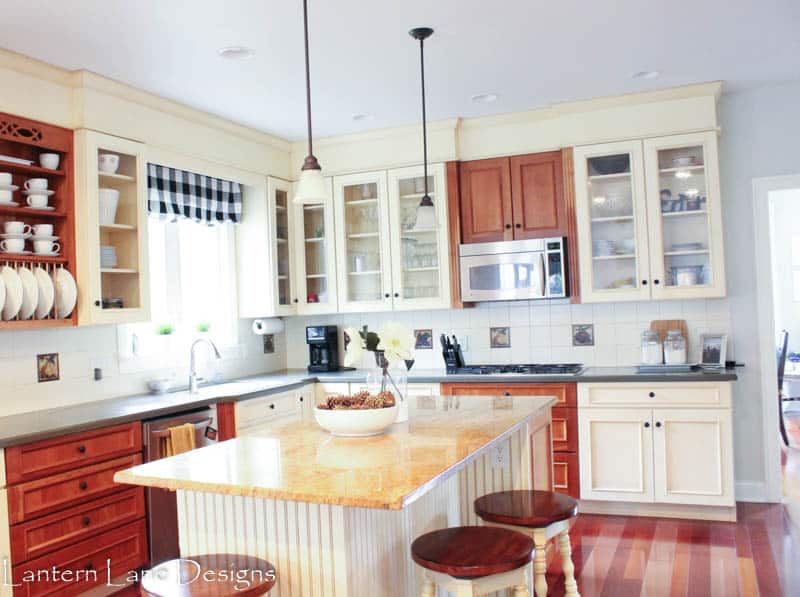
It’s been almost a year since we’ve moved into this house and I’m surprised it took me this long to paint my backsplash. Oh, but that’s right I’m Mrs. Indecisive. I know I have said it before and I will say it again…I have a very nice kitchen…it’s just not my style 100%.
Had I designed this kitchen myself, I would have done a few things differently. Very differently. The backsplash would definitely be different.
Again, it’s a very nice backsplash. Just not my style. The fruit accent tiles were so distracting to me. Every single time I walked into the kitchen my eyes immediately went to the fruit accents.
I prefer my fruit in a fruit bowl and not painted on my backsplash.
(This post contains affiliate links)
I tried putting flowers and cutting boards in front of them but that wasn’t doing the trick and I had to hide 9 tiles. I originally thought I’d do a beadboard backsplash but that would require me to liquid nail the beadboard to the existing tile and that just seemed too permanent for me.
I highly considered beadboard wallpaper but was scared my gas stove would spark and set the wallpaper on fire. I know that might be a little dramatic but I didn’t want to chance it.
I also ordered a sample of Smart Tiles which would have been the perfect solution. It’s literally just stickers that look like tiles. If you have a small area to cover this is a great idea. BUT these little guys were going to add up with the amount of backsplash I had to cover and this project would have exceeded my “I can justify it to the hubs” limit.
(Update, I just used peel and stick tiles to cover my surround on my fireplace. You can see more of my fireplace makeover here)
So like everything else I’ve done in this house I ended up just painted it. Seriously, if you ever come visit me you might get painted. It’s apparently all I do anymore. And since I have alot going on in my kitchen with two different cabinets and two different counters a plain Jane white backsplash is perfect for me.
Let me also say that while this technique and the paint I used worked for me, I would do as much research as you can.
Items needed to paint your tile backsplash:
~TSP (or something similar but I know this stuff works well)
~Paint of your choice (I used Sherwin Williams ProClassic paint). Benjamin Moore Advanced would work well too
This is a really easy project to do. It seems like it would be more complicated but it’s not. I was more overwhelmed than I should have been before I started this project.
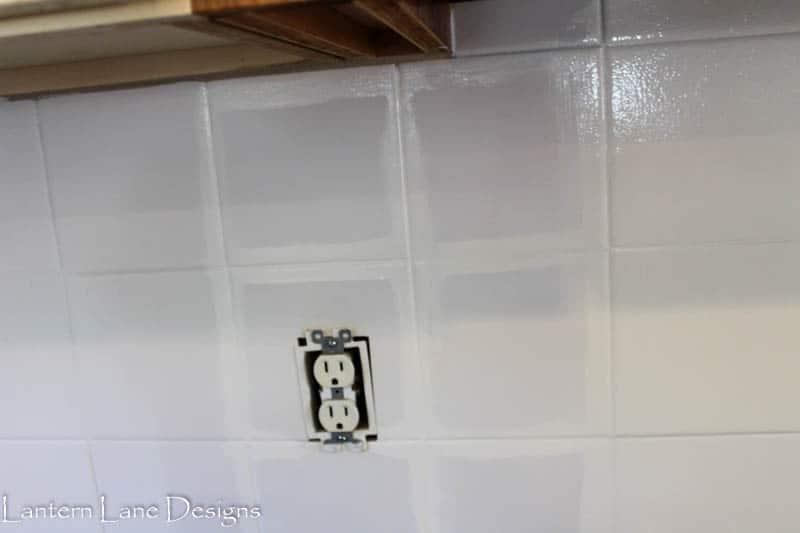
I started out by cleaning my backsplash real good with TSP. This stuff is pretty awesome. I let my backsplash dry overnight and taped off the counters.
I did two coats of an oil based primer (three on the fruit tiles) followed by two coats of paint. I used Sherwin Williams ProClassic paint which is used for trim and doors. I knew it was similar to Benjamin Moore’s Advanced line that I used to paint my cabinets at my old house. The stuff dries like a rock and is pretty indestructible.
I used a small foam roller and a chip brush for both the primer and paint. I worked in sections. I used the chip brush to paint the grout first and then rolled over it with the roller.
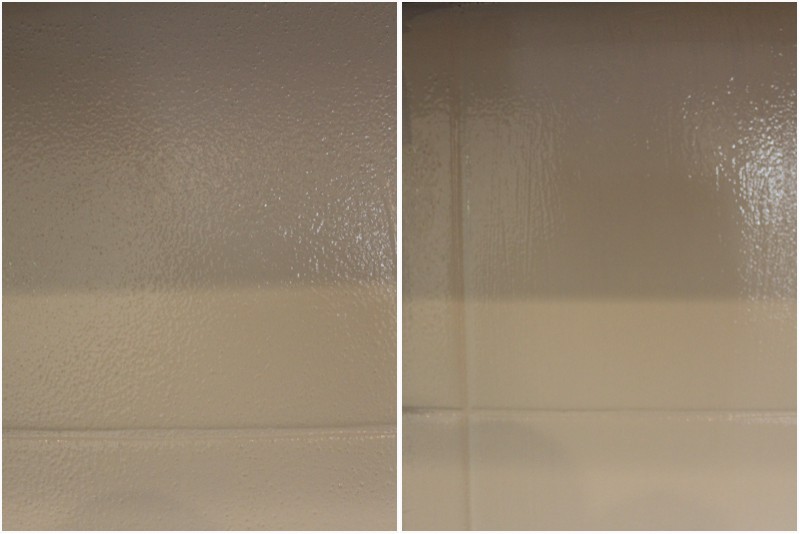
After I rolled on the paint I went very very lightly over it again with the chip brush to smooth out the little bubbles the roller was leaving. You want to go as light as possible to not leave any brush marks either. I did this technique when I painted my cabinets as well.
I tried to take a close up. The left is right after I rolled it and the right is after I went over it with a chip brush. This also helps with any drip marks you might not have noticed.
And that was it. I let it dry and removed the tape and have myself a new backsplash now.
And because I love before and afters so much…

A little paint and “new” pendant lights can make a world of difference….
Update…It’s been a few years now since I have painted our backsplash and it is holding up really well. It cleans up nicely and hasn’t chipped or peeled so I say this is a DIY project that went well
And now I can enjoy my fruit in a bowl
If you want to save this for later, you can pin it here:
Follow Me!
Pinterest//FaceBook//Instagram
[mailerlite_form form_id=4]
You Might Also Like!

DIY Pendant Lights Using Lampshades