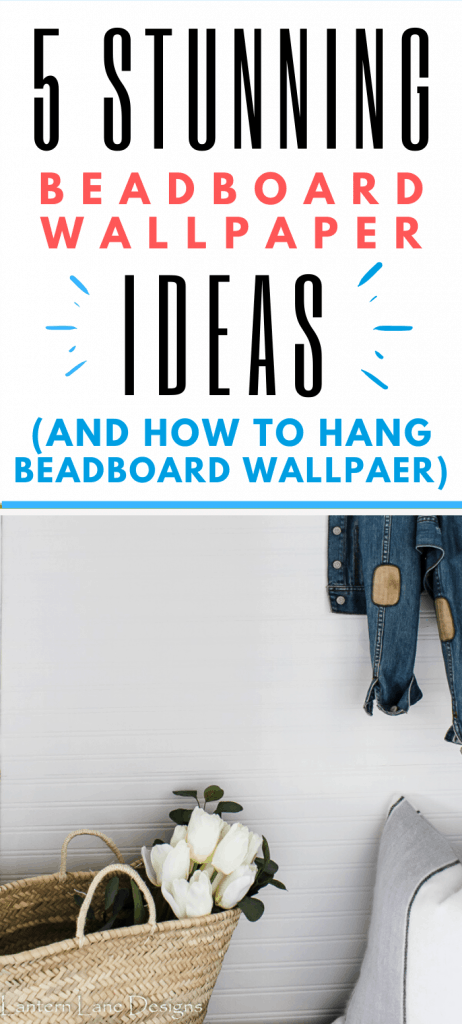
How to install beadboard wallpaper to give it a more modern look. I also listed a few other things you can do with beadboard wallpaper.
Years ago, I installed (solely by myself) beadboard wallpaper. It was the second time I had ever installed wallpaper. The first time my mother in law helped me. Well, technically she did it all and I just watched her. Those are always my favorite kind of DIY project…the ones someone else does for you.
So when the crazy idea of installing beaboard wallpaper to my kitchen in our old house arose, I was a little intimated. But that has never stopped me. So I went for it. And it was so easy. So easy, that I added it to a few places in our old kitchen.

Beadboard wallpaper has a few pros and cons…
Pros of beadboard wallpaper:
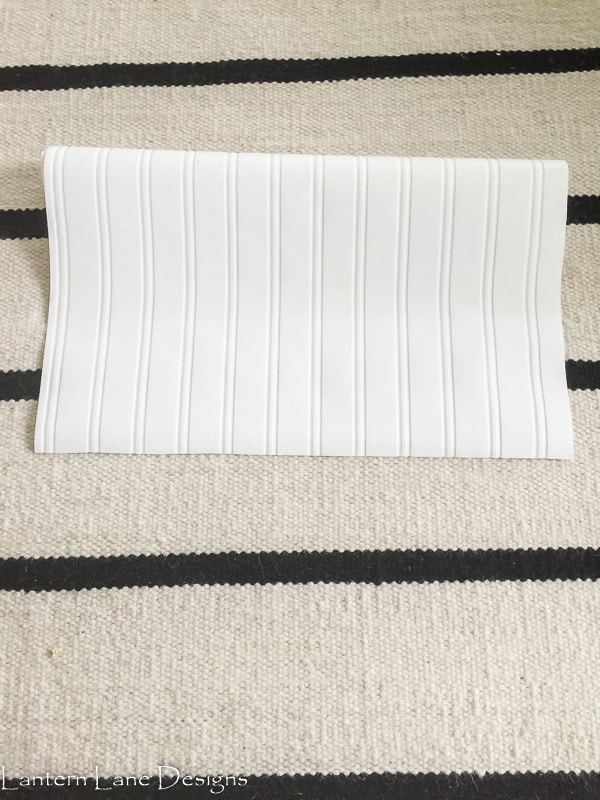
It’s easy to install since it doesn’t have a pattern you need to try to match up. You can also paint it whatever color you want to match your decor. I’ve thought about painting mine a dark moody color to make it feel a little bit more modern. And it’s about $20/roll which is an amazing price.
Cons of beadboard wallpaper:
It’s thick…which means you need to use a very good razor/utility knife when trimming your pieces. Also, it’s just paper so it will dent and possibly tear. With that being said, I had applied it in our previous home in a pretty high traffic area and it held up pretty well. I did repaint it a few times to help hide any dents and that seemed to help.
For my project, I was going to use one of the cons to my advantage.
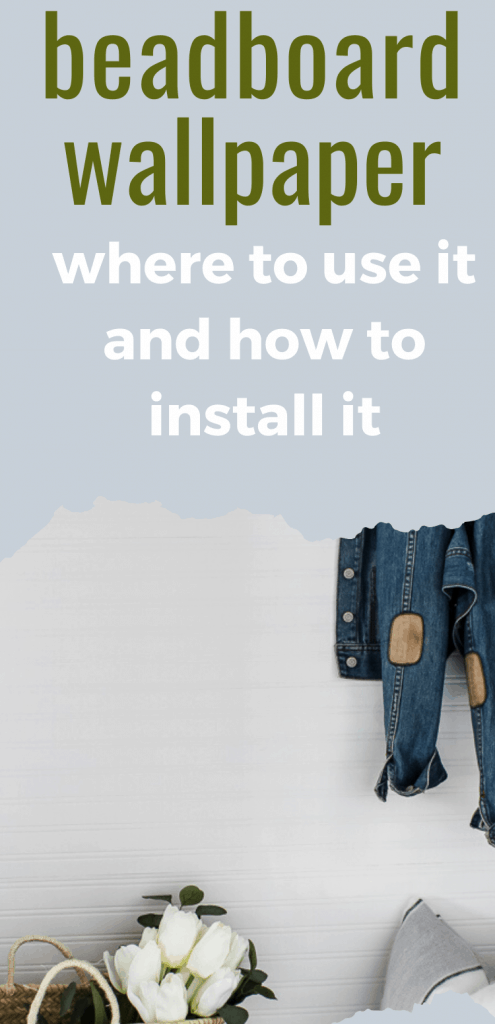
I needed a thick wallpaper to cover some imperfections in my wall. And when I say imperfections, I mean an old unused washer hookup, a few outlets and damaged/sort of repaired dry wall.
When we moved into our current house the previous owners had a washer and dryer hookup in the mudroom and in the office (sore subject). Anyways we ended up moving our washer and dryer into my office (you can see my home office/laundry room makeover here) and I was left with this wall in our mudroom

I lived with it like this for years and then one day I cracked. I couldn’t take the state of my whole mudroom and that wall was driving me nuts. I know it sounds stupid but I am in and out of that mudroom 5,658 times a day. I was sicking of looking at a dirty washer and dryer hookup.
This wallpaper turned out to be the unsung hero in my mudroom makeover. Sometimes it’s the little things that make such a big difference in a room makeover

And you better believe that jean jacket is hiding the old dryer vent. No amount of beadboard wallpaper can cover that giant eyesore.
More on the mini mudroom makeover later but for now I will show you how I installed beadboard wallpaper…horizontally. There were a few reasons why I went horizontal but the main reason was I wanted to try something different.
A little fun twist on the traditional beadboard design.
I will have to say installing beadboard wallpaper horizontal is not as easy as vertical. Gravity was not on my side for this project. I won the battle but I did use a few choice words during this project.
Where to find paintable beadboard wallpaper
Back in the day I found beadboard wallpaper at Home Depot. I am not sure if they carry beadboard wallpaper in stores anymore but I know you can find them online. I used Martha Stewart beadboard wallpaper from Home Depot. I also found prepasted beadboard wallpaper on Amazon I used the unpasted kind for this project only because that is what I had on hand.
Items needed to install beadboard wallpaper:
(This post contains affiliate links. You can see my full disclosure policy here)
- Wallpaper (obviously)
- Wallpaper paste if your wallpaper is unpasted
- Utility knife/shrap razor blade
- Smoother outer thing. I used my Pampered Chef thingy-a-majiggy. I know, I’m throwing out all of these professional terms. Ha! A credit card can work as well.

Directions to install beadboard wallpaper
I’ll link some other helpful tutorials at the bottom of this post too but I’ll give you a few pointers when installing beadboard wallpaper.
Paint your wall
Yep, paint your wall before you wallpaper it. I know that makes no sense and this step is optional. Ideally you would want to size your walls before applying any kind of wallpaper to it but if your walls already have a coat of paint on them you can probably skip this step. You can read more about sizing your walls here
Make a plumb line
The most important step is making sure your starting point is level. Not all walls are level so make sure you don’t just start gluing up your wallpaper strips up against your wall. Draw a plumb line and use that as a guide.
I had previously done a colored pencil version of sharpie shiplap on my wall so I had all kinds of plumb (level) lines ready to go for me as you can see in my before picture.
Remember I was installing my beadboard wallpaper horizontally.
If you are going from floor to ceiling with your wallpaper, make sure you give yourself a few inches of extra wallpaper for the ceiling. Ceilings aren’t always level either.
Measure your wall
If you are doing a smaller section, you can measure how much wallpaper you will need for your first strip and cut a piece. Sometimes it’s easier to work with when you have smaller strips. Make sure to give yourself a few extra inches just in case. I highly recommend this step if you are installing this horizontally.
Paste your walls
If your wallpaper is not prepasted, add paste to your wall. All I was able to find at my local Lowe’s store was a small little bottle of wallpaper paste with a roller on it. I think it was meant for borders. It wasn’t working for me, so I dumped the paste into a plastic bowl and just brushed it on my wall with a wide brush.
If your wallpaper is prepasted, follow the directions that should be included with your wallpaper. Usually you need to soak the paper, fold it in half and let it sit for a few minutes to activate the glue.
Apply your wallpaper
This is the part that was a little tricky for me. Like I said, gravity was not on my side. The wallpaper just wanted to go up and down. It was so confused why I was trying to get it to go the other way. Once you get it on your wall, you can move it around a bit. Make sure your wall paper is level and then with your smoother outer thingy majiggy start smoothing out the bubbles.

Trim your excess
Once your bubbles are smoothed out you can trim your excess paper. Like I said, beadboard wallpaper is thick so use a very sharp razor blade or utility knife. I stole my dad’s old wallpaper razor handle and just use disposable razors. I ended up using two razors for this little project. Once you think your blade is getting dull make sure you replace it.
I didn’t get any pictures of me trimming my paper because I only have two hands. I used an edger (or you can use a large putty knife). Push the edger as close to the wall or trim as you can and run your razor down between the wall and edger.
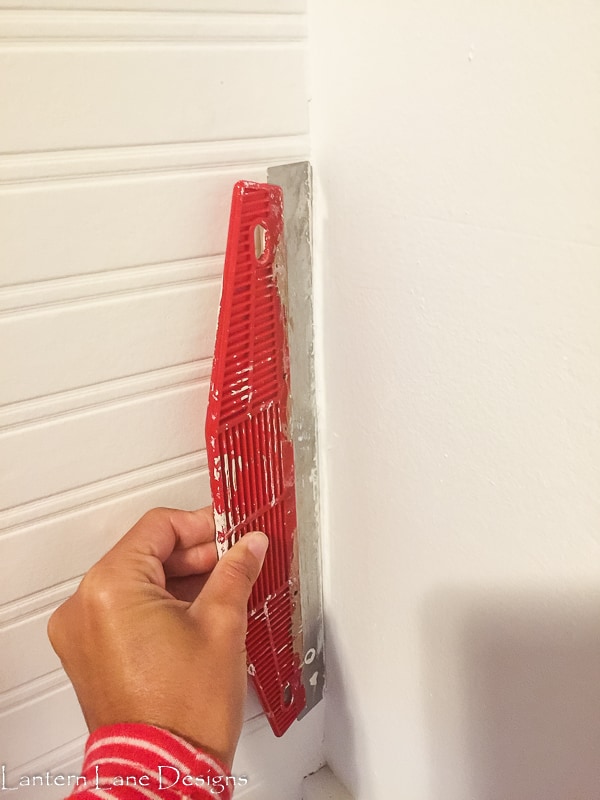
Make sense?
Add your next piece
Once you have piece one done, move on to piece two. Follow the same steps as above. Now, I know I said with beadboard wallpaper you do not need to worry about the patterns matching up….but you kind of do. I know, liar liar pants of fire.
Each side of the wallpaper is slightly different.
When adding your second piece make sure you are applying the second piece the same ways as you did your first piece. If you don’t the groves will look all funky and mismatched.
Also you want to try your darndest to join the two pieces of wallpaper together. Try to get the seams to blend in as much as you can. I sort of forgot to do this step this go around. Oops. It’s no big deal as you can tell but if you get the seams to blend you would barely be able to see them.
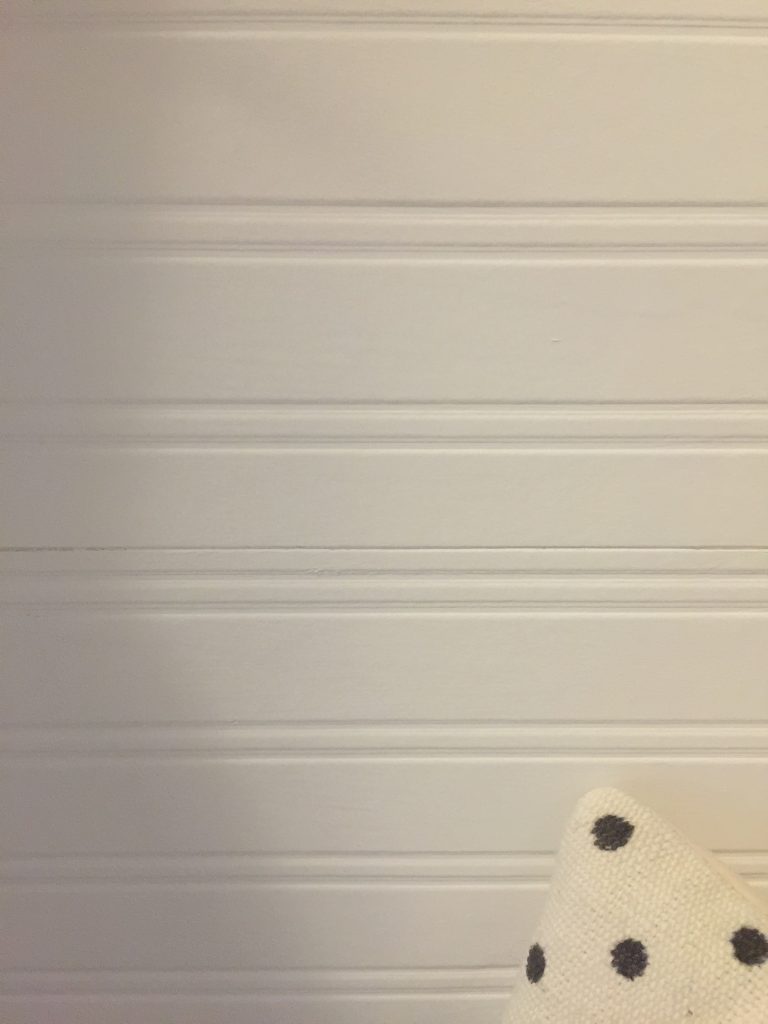
Paint your beadboard wallpaper
Beadboard wallpaper is paintable so you can paint it any color you want. I went white to match the rest of my wall. I used a flat paint this time only because I was using what I had on hand. You can use any sheen you want. In our old kitchen I used a semigloss sheen to attempt to make the wallpaper mimic the look of wood. Who really knows if I fooled anyone.
I am pleasantly surprised with how well this wall turned out.

Other uses of beadboard wallpaper
I went a little crazy with our beadboard wallpaper in our old house that I wallpapered our walls and the ends of our cabinets to fancy them up a bit.
You can also…
- Wallpaper the front of your cabinets if you have the courage like Melissa did (tutorial here)
- Wallpaper your backsplash like Jess did (tutorial here)
- Wallpaper the back of your bookshelves like Marianne did (tutorial here)
- Add it to your ceiling like Deb did (tutorial here)
You get the jist. Anywhere you think you could add the real deal, try to use wallpaper first. It’s so much easier.
If you are looking for a more beadboard wallpaper tutorials check out Rhoda from Southern Hospitality. I followed her tutorial when I first installed beadboard wallpaper. And check out HGTV for some more inspo
If you want to save this for later you can pin it here:
[mailerlite_form form_id=8]
How to hang beadboard wallpaper to give it a more modern look. I also listed a few other things you can do with beadboard wallpaper.
Come hang out with me on Facebook and Instagram. Come Pin with me on Pinterest!
You might also like

How to install board and batten