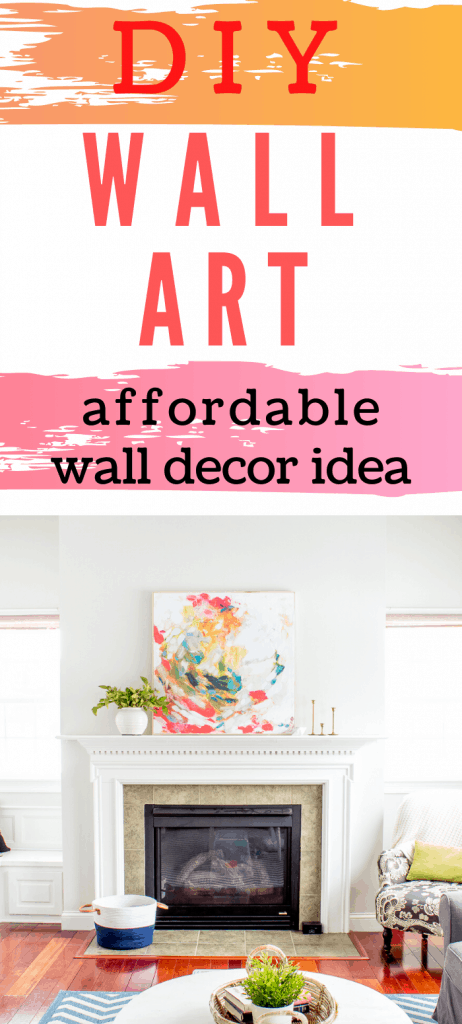
INEXPENSIVE WAY TO MAKE YOUR OWN DIY WALL DECOR USING ENGINEERED PRINTS.
[mailerlite_form form_id=8]
If you have been following me on Instagram or even if you have read a few of my posts-particularly this one then you should know things were bound to change on my mantel. I have had a mirror on my mantel since we moved in and while I liked the look of the mirror it was reflecting our dang ceiling fan that I’m not in love with.
I live with hot blooded people and they would not survive without a fan in here (insert eye roll emoji). They ceiling fan reflection was.driving.me.nuts. But I am not a huge art fan. I can never find anything I love and usually when I do it’s pretty expensive.
Since I have commitment issues with my home decor I knew better than to spend tons of money on art at this moment in my life. So the mirror stayed up for over a year.
But then one day the skies parted and I found Jenny’s Print Shop (now known as Juniper Print shop) and saw two prints that were gorgeous… August and Summer Day. For the first time ever (I think) I didn’t hesitate or second guess my decision. I knew both of these would look so pretty up on my mantle.
(Update…neither of these prints are available anymore through Juniper but this technique can work with ANY print so keep reading.)
I decided to go with Summer Day mainly because it was a square print and I wanted and needed a large print on my mantel and I was digging the square shape on my otherwise boring mantel.

(This post contains affiliate links)
All of Jenny’s prints are amazing. I have a few more that I am mentally purchasing. I have been stalking following Studio McGee for years and this image has been stuck in the home decor side of my brain. I have always loved this home tour. So when I saw something somewhat similar from Jenny’s Print Shop I got a little giddy.
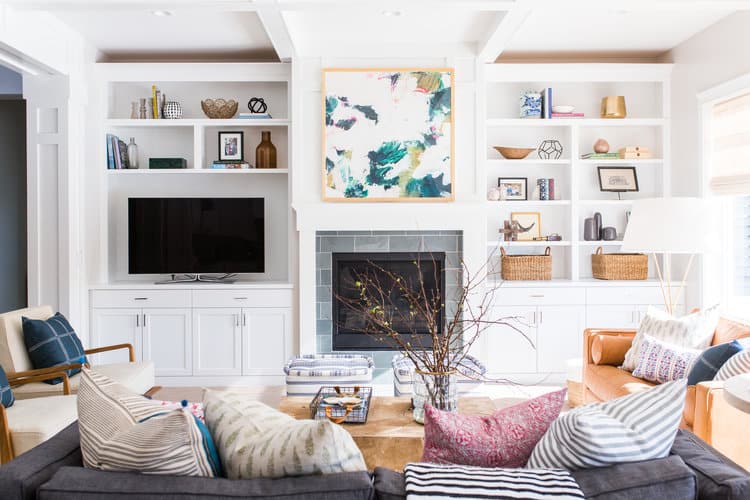
I have high ceilings in my family room and my mantle is longer than it looks. The print on my mantle is a 36×36. You can make it smaller if you need as well. Ordering off of Jenny’s Print Shop was a breeze.
Within minutes I got the download of my print and sent it off to staples to be printed as a colored Engineered Print.
This process could be so so simple if you have a frame that you love. All you need to do is slip your engineered print from Staples into your frame and voila you are done.
I couldn’t find such a large frame that I loved but I was able to find a large canvas so I went this route. I’ll do this in steps for you but first make sure you have saved your photo somewhere on your computer:
Step1: Head over to Staples
Step 2: Click the “Design Now” button
Step 3: Click “Buy Now” on Color Blueprints (towards the bottom of the page)
Step 4: Click “Add File” and add the photo you saved
Step 5: Change the Quantity to 1 page and name your job
Step 6: Click where it says “Media” and change the size of your photo to 36 x 48. ** This is for a 36″ square photo-if you want it smaller then you can pick a smaller size in this section.**
Step 7: I would add a note under “Special Instructions” to let Staples know you want this printed as you have it (in the shape of a square). A few times I did this they stretched the photo to fill the whole paper.
Step 8: Add to cart and pick up at your local Staples.
My staples usually has my print ready within hours. I also picked up a 36×36 canvas from Hobby Lobby when they were having their 1/2 off sale. My Staples cut my print for me so it was exactly a 36 x 36 which was helpful. If your Staples didn’t do this just trim the extra paper from your print.

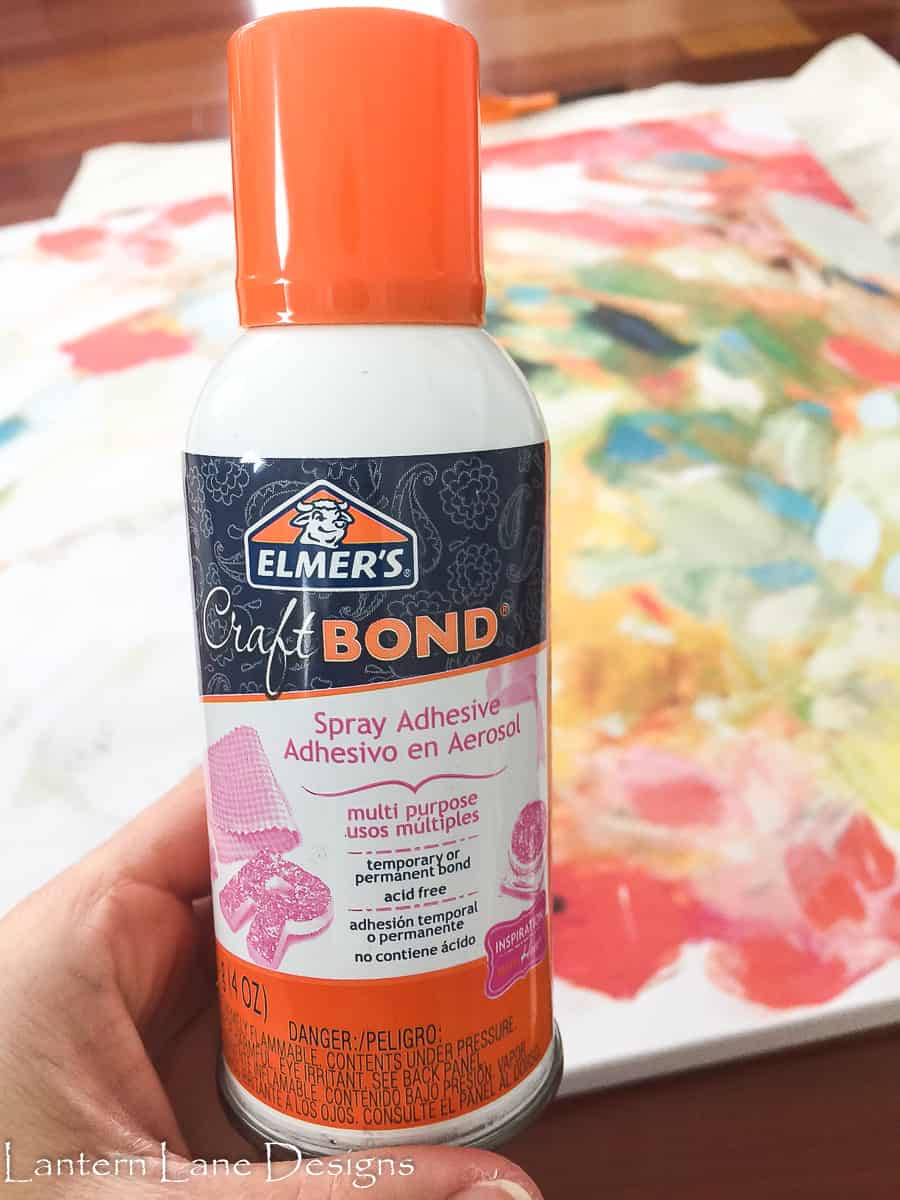
Next up is to start adhering your print to your canvas. A few tips…be careful since your print is literally a piece of paper. It can rip easily. Ideally you should do this part outside since you are spraying glue. It was cold and snowing and I have no patience so I did this on my living room floor. I used Elmer’s Craft Bond. This stuff is pretty easy to work with and isn’t very messy (minus the part of it spraying glue). It’s also pretty forgiving so if you mess up you can remove your print (carefully) and start over. Learned that the hard way.
I like to work in sections. I lightly spray some adhesive to the top of my canvas and adhere part of the print and work my way down, spraying and adhering. Try to spray light even coats…too much and your paper can wrinkle as it dries and too little and it might give you more air bubbles.

You’ll also need to smooth out any bubbles as you go. A credit card works great. Since I don’t cook I use this Pamper Chef thingy (seriously have no idea what this is) as my smoother outer. She works great on wallpaper too by the way.

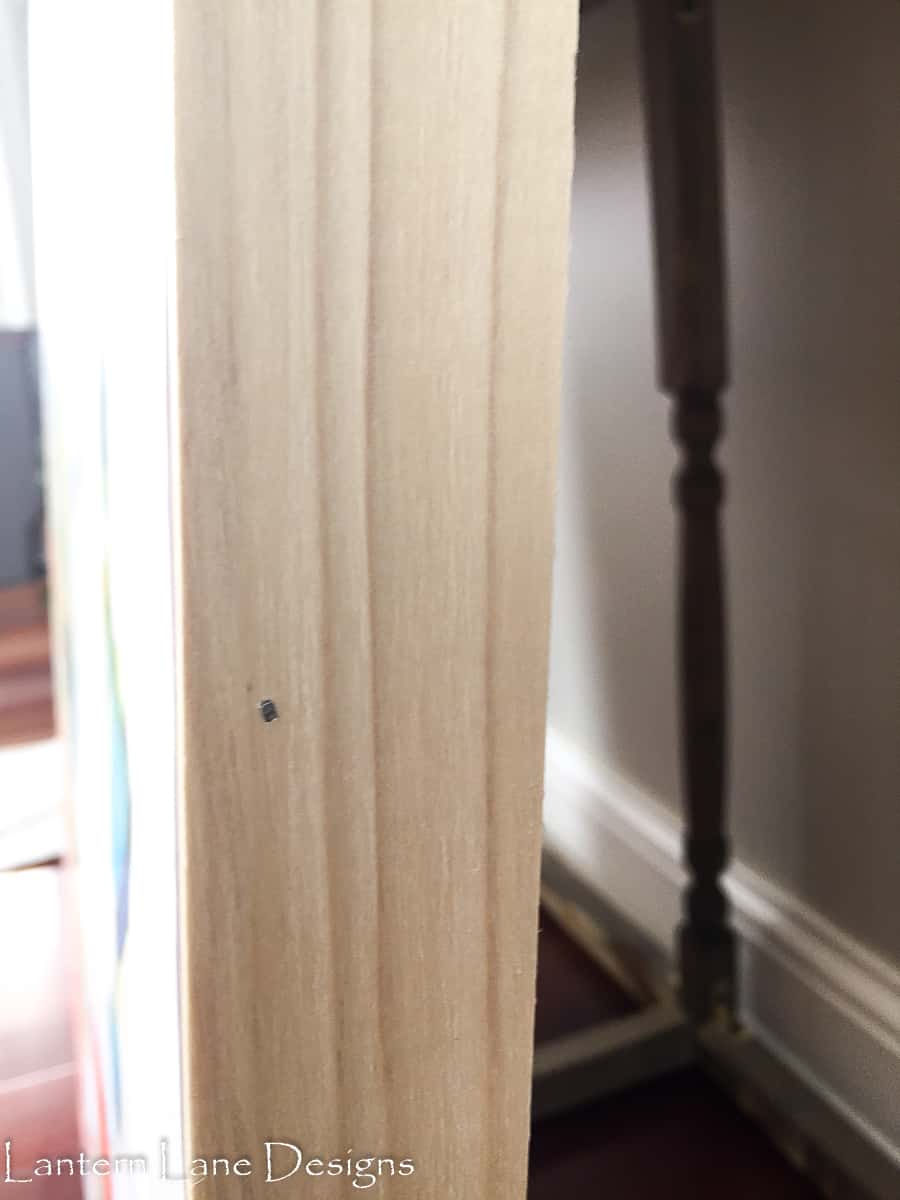
Once your print is adhered you can technically be done or you can add a “frame” to your canvas. I wanted to frame mine so I walked around my local Lowe’s and found 4 ft long lattice type strips. I didn’t get the exact name of what I purchased. They might be pine (??). The sides of my canvas were about 1 1/2 inch thick so I knew I needed this size trim. (If you read my DIY Board and Batten post you can also use the longer lattice trim and if I had any left over I would have used that instead). I left my trim as is and didn’t stain it since I like the look of light wood. If you want your “frame” to be painted or stained I would definitely do that step first. This is what I used.
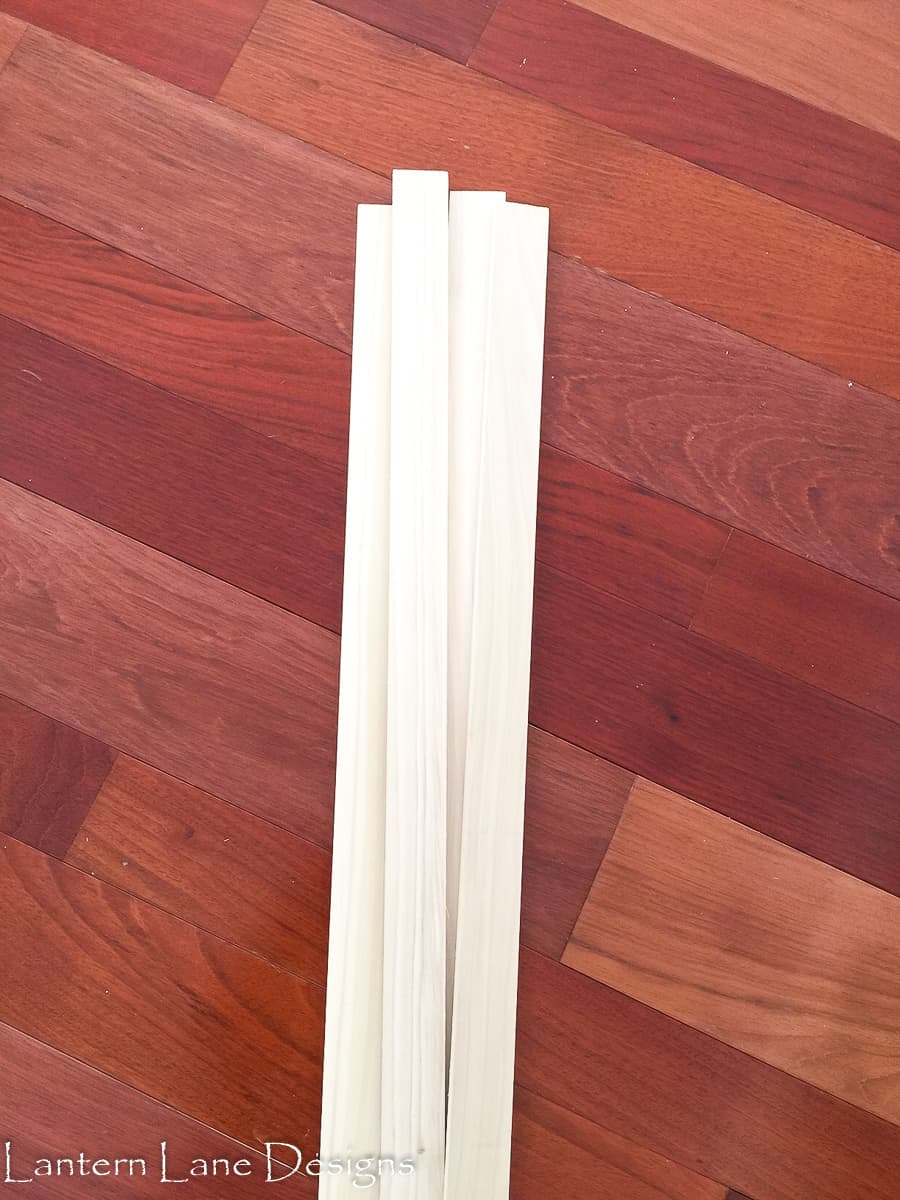
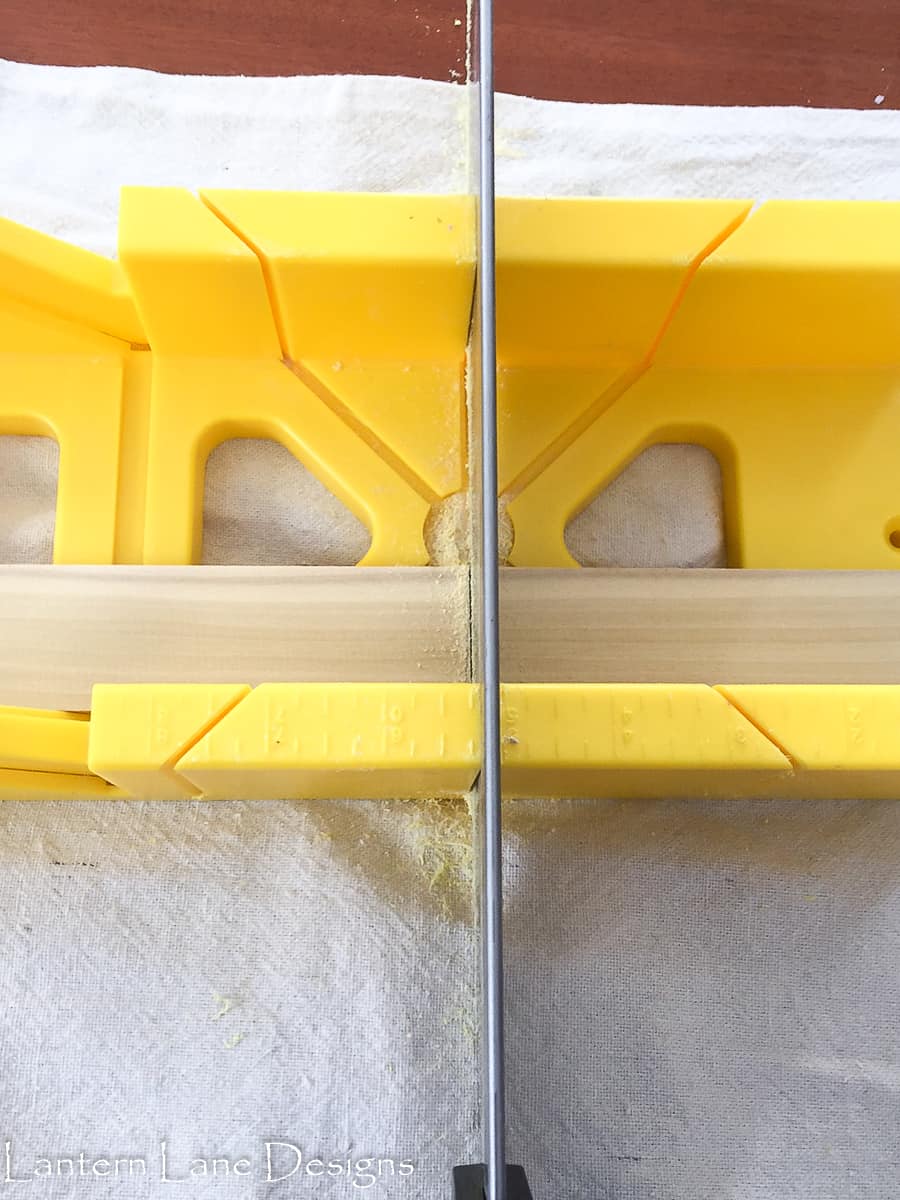
If you are using a 36×36 canvas make sure your trim is longer than 36″-just trust me. I measured and cut my horizontal pieces first and then did the vertical pieces next. This trim was so easy to cut with my Mitre box saw. Also, depending how sharp your saw is you might need to sand some of your pieces after you cut them.
I did use my nail gun to nail the trim to my canvas since my canvas was wrapped around a wood frame. If you don’t have a nail gun you can try to use wood glue or even a staple gun if your staples are long enough. I didn’t fill any of my nail holes either since I am a rebel like that. I only used a few nails and most likely you won’t see them on my mantle. You can use a wood filler if you want to cover your holes. But they are so tiny.
And after that I was officially done.
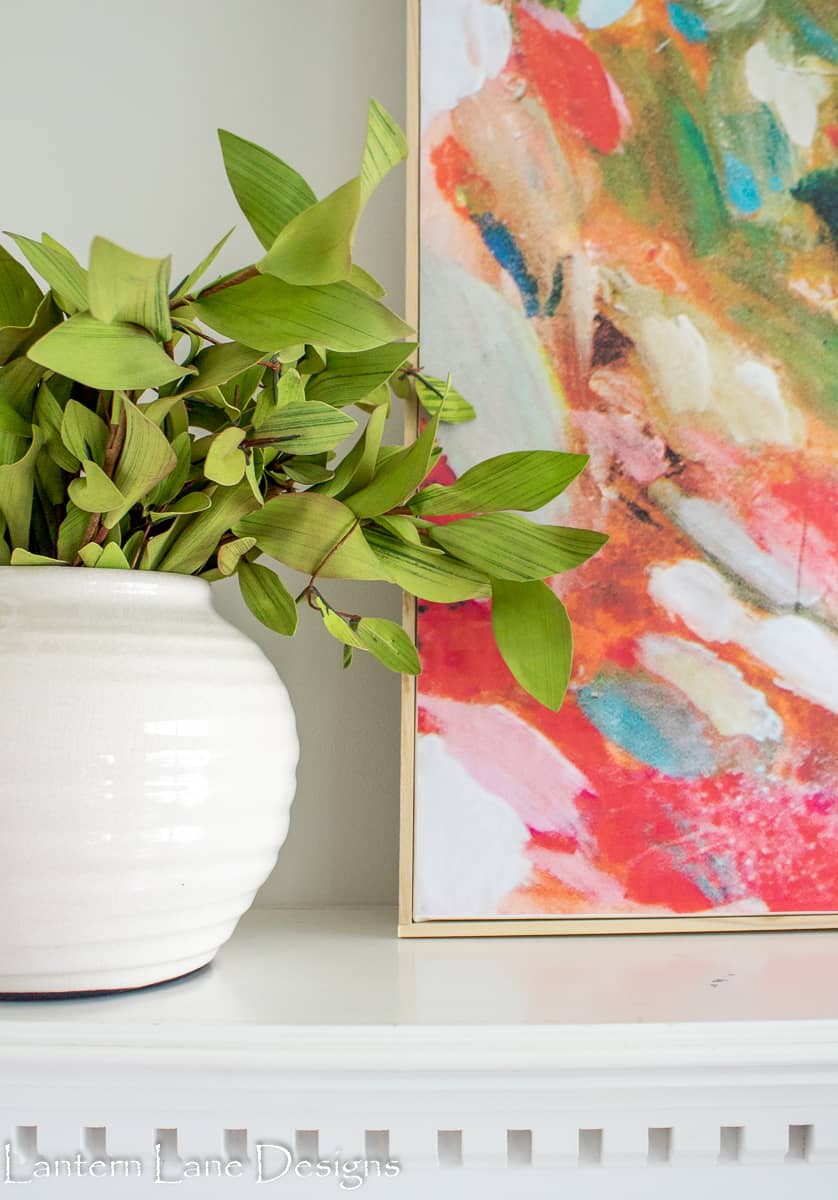
As you can tell, my frame is pretty thin since I didn’t want anything too heavy to take away from the print. But it was just enough to make it look “finished” to me. I will be 100% honest too since that is how I roll. There are parts of my print where I sprayed too much adhesive and my print wrinkled a little and there are a few air bubbles I didn’t smooth out too well. I can only notice them when the sun is shining right on my mantle. It doesn’t bother me but if you are a crazy perfectionist I just want to give you the heads up. For those that are not into bubbles and wrinkles on your print, I would highly recommend uploading your print to Shutterfly (or something similar) and having the print professionally printed on a canvas for you. You can then frame your canvas as I had done or just leave it as is.
Other than that it turned out really well (and, um, cost less than $100). I can honestly say that this is my first piece of art that might actually stay in one place for longer than 5 days.

Finally…no more ugly fan reflection…oh happy day!
PS…this would work really well with some peel and stick wallpaper too. Actually that would be so easy….too easy actually.
PPS…my whole family room got a mini makeover since I last wrote this post. You can see my living room makeover here. AND my fireplace received a much needed update. You can see my fireplace makeover here.
If you want to save this for later you can pin it here:
Follow Me!
FaceBook//Instagram//Pinterest
[mailerlite_form form_id=5]
More Wall Decor Ideas:

Let’s Stay Home Free Printable

Easy Artwork Using Your Own Photos
You Might Also Like!

Small Living Room Decor Ideas With A Sectional

What a great project! I love the print and the addition of the trim adds a real custom feel. Thanks for sharing!
xx
Neelam
Thank you so much!! It was a fun project!
Love this Jenna! Now I really have to try this 🙂
Thanks Beth!! It was really easy to do!! Try it out!
Hi, I clicked over from Jenny’s Prints IG. Great tutorial! Have you ever done something like Modpodge on top of an engineer print? I’m wondering if it would smear the ink. Your artwork looks amazing without it; I’m just thinking it might protect it a little.
Hi! I have not done Modpodge over any of my engineered prints but I know a few other bloggers have done it over their prints. I will have to say that I have read that Modpodge can smear the ink and I was afraid that would happen with this print. I’m keeping my fingers crossed that it’s safe up on our mantel! Thanks for reading!