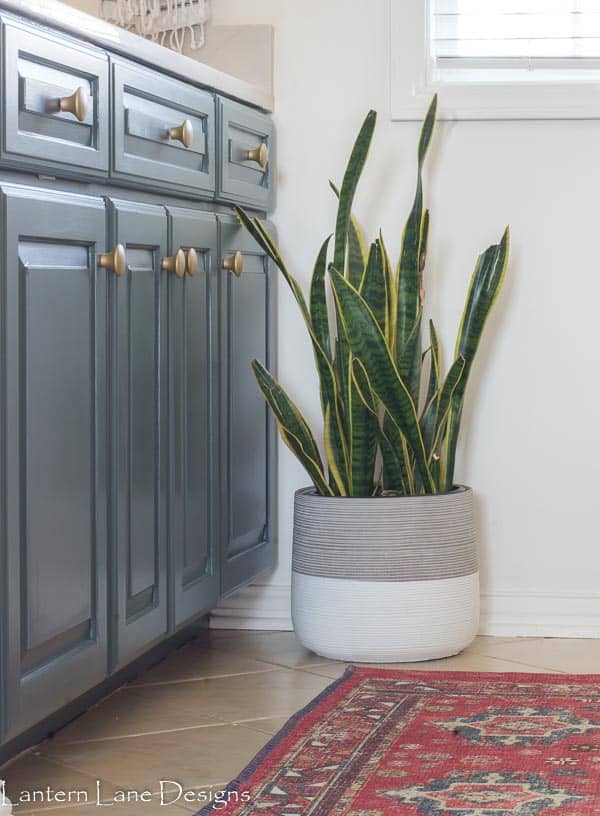
How To Paint Bathroom Cabinets (So They Last). See how I painted my bathroom cabinets to give my vanity a whole new look
Is it sad that I am very excited about writing this post? 8 years ago I painted our kitchen cabinets in our old house. I didn’t have this cool blog back then so nothing was (obviously) documented.
Since then so many people ask me the best way to paint their kitchen cabinets and while I can just tell you the steps, it’s so much more fun to SHOW you the steps.
I am so excited I get the chance to paint some cabinets again.
This is the same exact process I used for my kitchen 8 years ago but this time I am painting my kids bathroom vanity. And since my kids are kids and are very messy tiny humans, I want these cabinets to hold up.
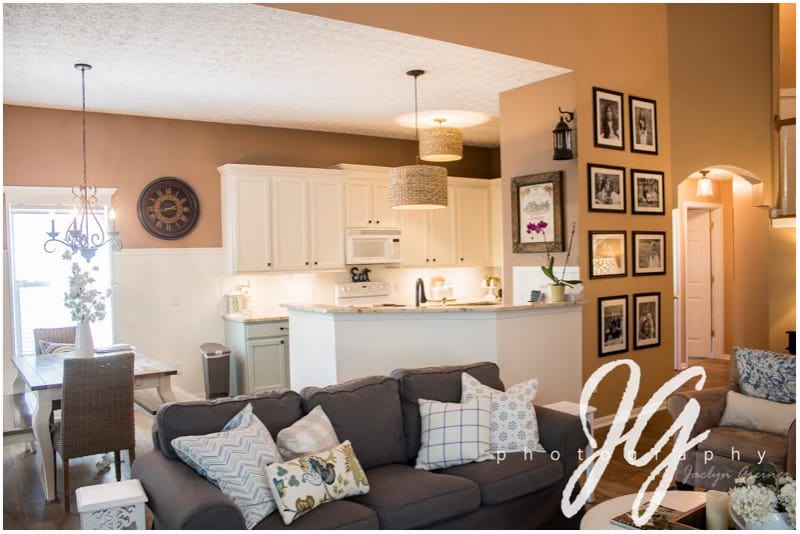
Here’s a picture of our old kitchen. Before we sold our house I got a wild hair to paint the lower cabinets blue. I was very ambitious back then.
(This post contains affiliate links. You can see my full disclosure here)
I cannot recommend my cabinet painting process enough. It might be a few too many steps for some people but it is so worth it. The paint I use might also be a tad bit expensive but, once again, it is worth it.
It’s not hard to do either. It is time consuming but only because you have to wait 18 hours in between coats of paint. But guess what?
It.is.worth.it!
Let’s first go over some basics and supplies.
Bathroom Cabinet Paint

(I probably should have snapped this picture before I got paint all over the can…oh well)
Obviously you need paint. And you need Benjamin Moore’s Advanced paint. It goes on so well and dries rock hard…and that is what you need if you have messy tiny humans (or husbands).
Like I said, it might be a tad bit pricier than grabbing a can of paint off of the shelf but how many times do I have to say it is worth it?!? And when I say pricey…it’s less than $60 so it’s not horrible.
Other supplies needed
~Wine (just kidding but have some on hand just in case)
~TSP cleaner or any kind of de-greaser
~Primer (I used Kilz primer)
~Sanding block
~Angled paint brush…and make it a good one. This paint brush is my favorite
~Small FOAM roller.
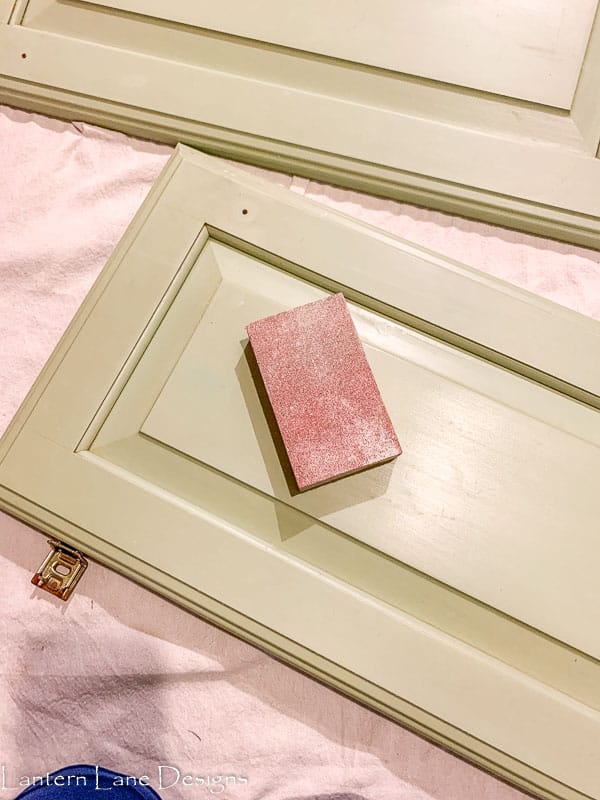
Step 1: Remove Your Cabinets
You can try to kid yourself and attempt to paint your cabinets while they are still attached but let me be honest…don’t do it.
It really is so much easier to just take them off and lay them flat. The paint (if you use the one I told you to use) is pretty runny and will run down you cabinets and leave drip marks.
So just remove your cabinets, K?
Step 3: Clean Your Cabinets
And clean them good. The cleaner they are the better your paint will adhere to your cabinets. I forgot to get a picture of me cleaning my cabinets but you can only imagine how thrilling it was.
Step 4: Lightly Sand Your Cabinets
You don’t have to go crazy here. Just give your cabinets a light sanding. I used a sanding block I had on hand. This is just to rough up your cabinets a bit so the primer has something to stick to.
Step 5: Wipe Down Your Cabinets
Grab your tack cloth and start wiping down your cabinets getting all of that sanding dust off.

You want to make sure you have every speck of dust and debris off of your cabinet because guess what is next on the list?
Step 6: Prime Your Cabinets
A few tips when you get to this step:
These little tripods are a life saver

I like to start painting the back side of the cabinets first just in case I goof up, then it’s on the back

I like to use my brush to get into the groves or hard to reach places

And then follow it up with my foam roller.

I paint only the backs first and not the sides of the cabinets. I paint the sides when I paint the front of the door. Sometimes you don’t realize that your paint is dripping on the sides. I’d rather have an unforeseen drip mark on the back then on the front.

Did I just confuse you?
Also, go light on each coat. Smooth and steady wins the race over here. Don’t fret at this point. A primed door is never a good looking thing.
And don’t forget about the actual vanity. You need to prime that bad boy too.

Step 7: Repeat Step 6
Depending on your mood, you might want to give your cabinet one more coat of primer. I’ll be honest, for these cabinets I just gave the fronts a second coat of paint.
But wait….you need to lightly sand your cabinets first. Yep, that is what I said. Lightly sand and clean each cabinet with a tack cloth.
Just do it
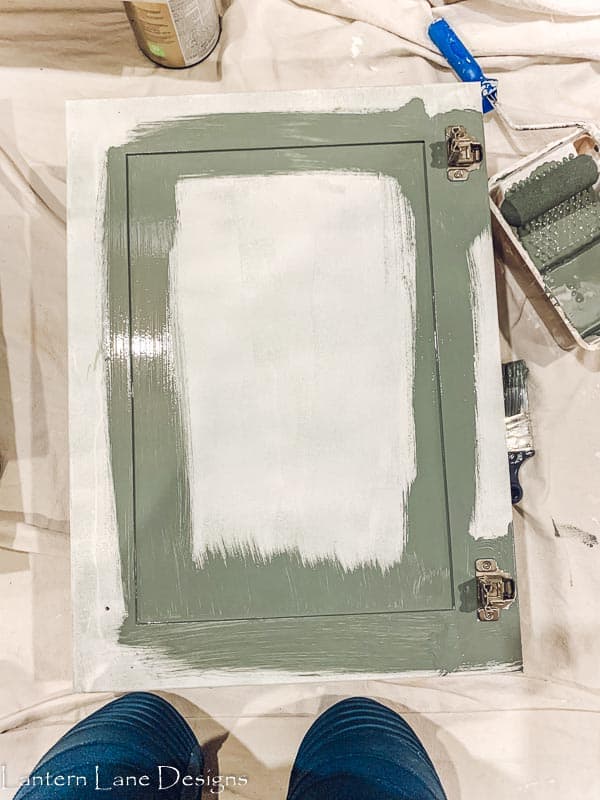
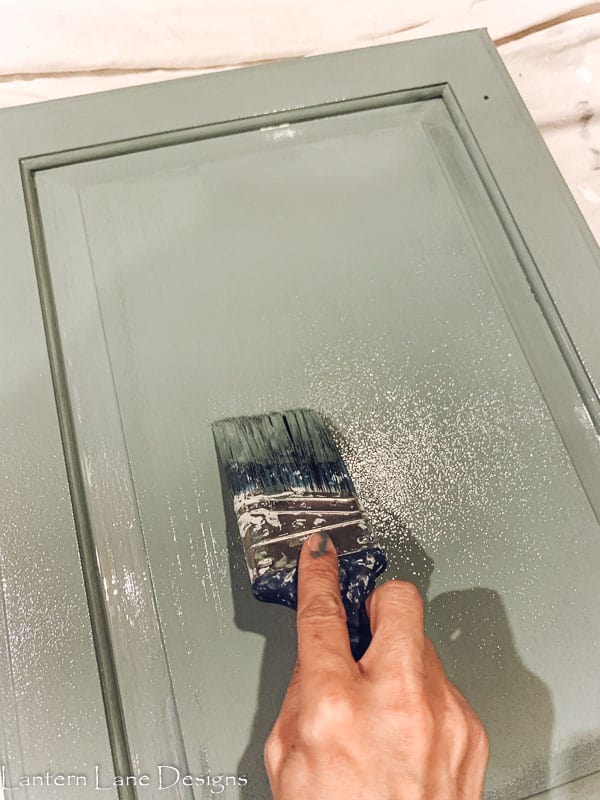
Step 8: Start Painting
Now for the fun part.
Some Tips:
~Again, I paint the backs of the cabinets first
~This paint is easy to work with but it is sneaky. You don’t realize it, but it is a tad bit runny. Even when you think you took care of any drip marks..you haven’t. Take a second and third look. This paint is also self leveling so brush marks will level out.
~You will likely need two coats of paint. Go light on each coat.
~This paint dries to the touch in 4-6 hours but you cannot apply a second coat for 16 hours.
Here was my schedule:
First, don’t forget to sand your primed cabinets if you gave them a second coat. Sorry…again…just do it.
I painted the backs of my cabinets.
Again, I used a brush for the corners and smoothed everything over with a foam roller…triple checking for drip marks
I let the backs dry for 6 hours
After 6 hours, I went back down to my dungeon (basement), flipped over the cabinets and painted the fronts of the cabinets. Since my fronts had more detail, I used my brush more than the foam roller. Again, I went light with my paint and made sure everything was smooth and drip free.
Don’t forget your vanity. Give him a coat of paint too
That was Day 1
Step 9: Repeat Step 8
Day 2:
If I were a betting woman, I would bet you would need a second coat. But wait, what do you need to do first? You know it. You need to sand the cabinets. Just a light coat and a quick clean with a tack cloth.

I flipped the cabinets back over and started with the backs…waited 6 hours and then painted the fronts.
Here’s another important tip:
When using the foam roller you might be left with some texture on your cabinets
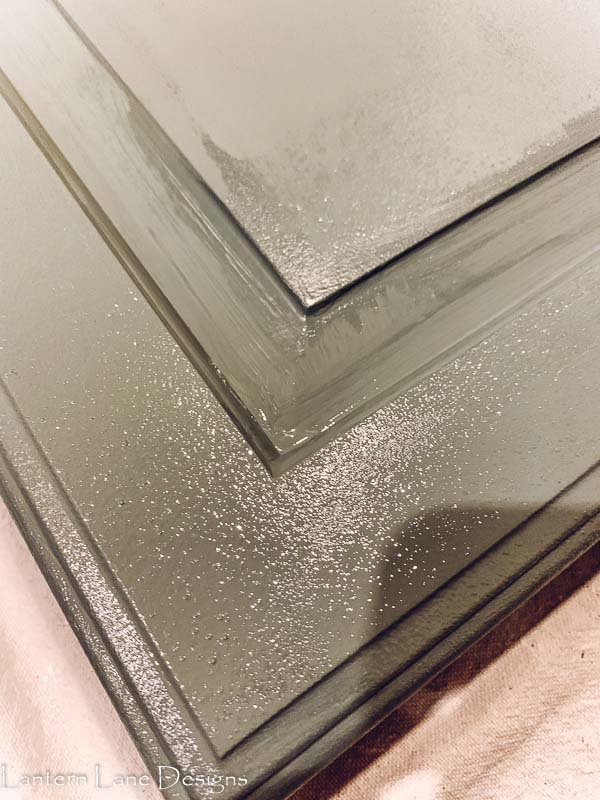
The paint “should” level out but what I like to do is go over my cabinet again lightly with my paint brush. And I mean lightly. And only with a good paint brush
This will also help you find any extra sneaky paint drips.

Any brush marks will level out and you’ll be left with more of a smooth finish. Yes, it’s just one more step but I like to add more work for myself.
This step is optional. You can try it on the backs first to see if you prefer to skip this step or not.
I let my cabinets dry for a few days before I put them back on my vanity. Technically, the cabinets take a few weeks to completely cure so just be careful with them for the first month or so until they fully cure. Once they are cured, I swear they are indestructible.
Tips if you are painting kitchen cabinets:
Clean your cabinets like you have never cleaned your cabinets before. You can only imagine how dirty kitchen cabinets are.
Work in sections. Do not try to do it all at once. Start with your lowers (or uppers). When I painted my kitchen cabinets, I only did three cabinets at a time. Yes, it took forever but it just seemed less overwhelming to me.
You can wrap your wet paint brush and roller in saran wrap overnight so you don’t have to keep washing your supplies all of the time
Just remember….sand,clean, paint…sand, clean, paint…say it with me
How To Paint Your Cabinets Using A Sprayer
I originally purchased a sprayer many years ago with the assumption that I was going to spray my cabinets. For some reason that just seemed more overwhelming to me. Spraying does give you a better finish so if this is something that doesn’t overwhelm you, then I say go for it.
I’ve heard good things about this paint sprayer and this is the one I had originally purchased but never used. You would follow the same steps as above…sand, clean, paint. Did you forget already
You can thin the paint with water up to 6% by volume if needed.
I am sure you can find tutorials online with using a paint sprayer. But the magic is in the paint!
Have fun and good luck!
And remember our chant….sand, clean, paint…sand, clean, paint.
If you want to save this for later, you can pin it here:

You Might Also Like

Kitchen Decor Ideas~How To Update Your Builder Grade Kitchen On A Budget


Such an informative article! All the information provided by you is really very helpful. By using tack cloth you can easily remove small dust particles from the surface and it also gives you smooth paint finishing. Thank you for sharing! Keep posting!