How To Design A Room Layout and How To Make A Mood Board For Free!
The toughest client you will ever have when decorating a room is an 11 year old girl…and it’s worse if she belongs to you. The amount of resistance and “Nope, I don’t like that” I received from my daughter when beginning her bedroom makeover was crazy and a little bit annoying (to be completely honest).
She declined almost all of my ideas. And I had plenty. But don’t worry, I also have a 6 year old daughter and as stubborn as that one is I think I can get her to accept some of my ideas.
Eventually my oldest daughter and I started to agree on how we wanted her room to turn out and I have to say I might have a little designer on my hands. She had some valid points and suggestions.
There is some prep work that goes into designing a room, and to be honest I used to skip these steps. And that was a huge mistake. If you don’t have your homework done, it’ll end up costing you more money, time and lots of frustration. These first few steps were so important with my daughter’s room. We both needed to see and agree on this room before I started purchasing anything.
So let’s talk homework
(This post contains affiliate links. You can see my disclosure policy here)
First step in decorating a room
Design Your Room Layout
This step is so important. Do not pass go until you do this step. This step was even more important in my daughter’s room. She has a decent size room and lots of furniture in it (probably too much furniture).
She wanted to add more furniture to her room too and a hanging chair was a must for her. What 11 year old girl doesn’t want a hanging chair in her room? Trying to mentally visualize and rearrange this room to get a hanging chair in here was overwhelming.
Because I hate computers and technology (how I have a website is beyond me) I decided to make a template of my daughter’s room my own way with plain ol’ paper. You can purchase grid paper or make your own like I did in an excel spreadsheet by simply adjusting the width and height of the cells.
I then measured my daughter’s room and drew it to scale on the grid paper. For my grid paper, each box represented 1/2 foot.
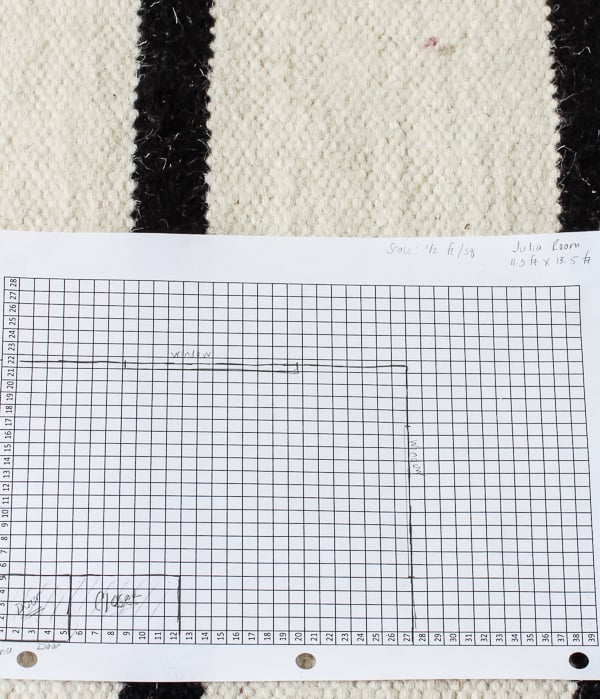
I then measured all of her furniture that I knew was going to stay in her room (bed, dresser etc). I cut those out to scale using scrapbook paper.
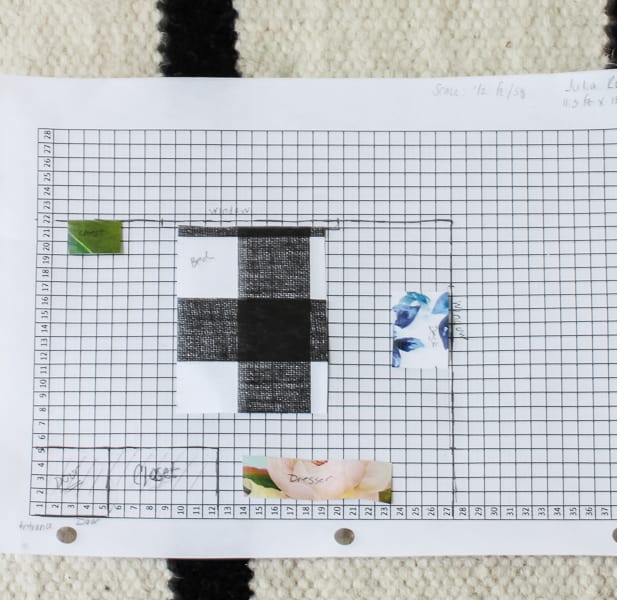
You might think I am crazy at this point. Oh, there is a computer program that can do all of this for you? Remember, I hate computers. And now I have my own furniture templates that I can move around with my finger. You can buy furniture templates if you want to make things a tad easier for you.
I can’t tell you how much this has helped my daughter and I visualize how we wanted to rearrange her room. And it helped us nix the first idea we had to angle her bed in the corner. We figured out real quick that her bed wasn’t going to fit at an angle.

I’m a genius I know.
Now onto the next step.
How To Create A Mood Board For Free
Once you have your room layout designed, you can start your mood board. This step is just as important as the first step. Again, do not pass go until you have your mood board completed…and stick to it! I have that problem. I design a mood board and the next thing I know I am buying stuff that was never on my mood board.
I start off by looking for inspiration pictures on Pinterest to get some ideas of where I want to head with my design. My daughter and I played around with the idea of wallpaper. And while we found some wallpaper we really liked, for the time and commitment of wallpaper we didn’t love any enough to pull the trigger. And I feared she would hate what we picked now in 5 years.
I do love wallpaper though and I will be wallpapering some rooms shortly but just not right now in my daughter’s room.
We did, however, find these decals from Etsy that we both agreed on. They seem to be easy to use and will give some texture and interest to her room. This was technically my jumping off point. I had somewhat of an idea where I was going with this room once I had this idea down.
Her furniture and white bedding are the only things staying in her room for sure. The wall color and other accessories needed a refresh.
My biggest challenge was mixing design styles. Her bedroom furniture is traditional (since I stole it from my parents-it was my bedroom furniture growing up) and the wall decals were pretty modern. I had to try tie everything together.
And this is why you need a mood board.
I first got on Pinterest and tried to find some inspiration and then found a few rugs and pillows that I thought would look cute in her room. I saved those images on my computer.
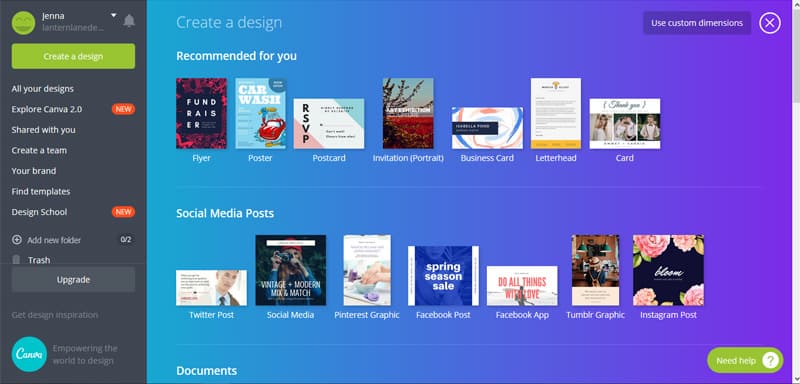
I do my mood boards in either Photoshop (not free) and sometimes Canva (free). I really love Canva. It’s easy to use and like I said, it’s FREE. You can see how I make some of my printables in Canva here. If you do not have an account with Canva, you will have to to set one up first.
Head over to Canva and click on either “Use Custom Dimension” or “Letterhead”. I like to use my own dimensions so I click on “Use Custom Dimensions” in the top right hand corner. For blogging purposes I like for my dimensions to be 600 x 900 pixels. You can also do 8″ x 11.5″ or whatever size you want…or just pick “Letterhead” instead of using your own custom dimensions.
A new window with a blank page for you to design should open up. Click on “Upload” and start uploading your inspiration pics you had saved on your computer
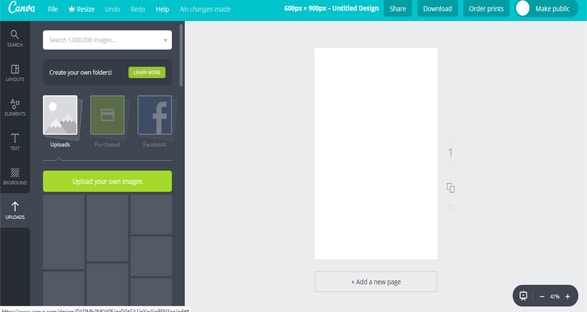
The next step is all about dragging your pictures over and dropping them in the blank template. You can crop your images and rotate them as you wish. Move them around and play, it is that easy.
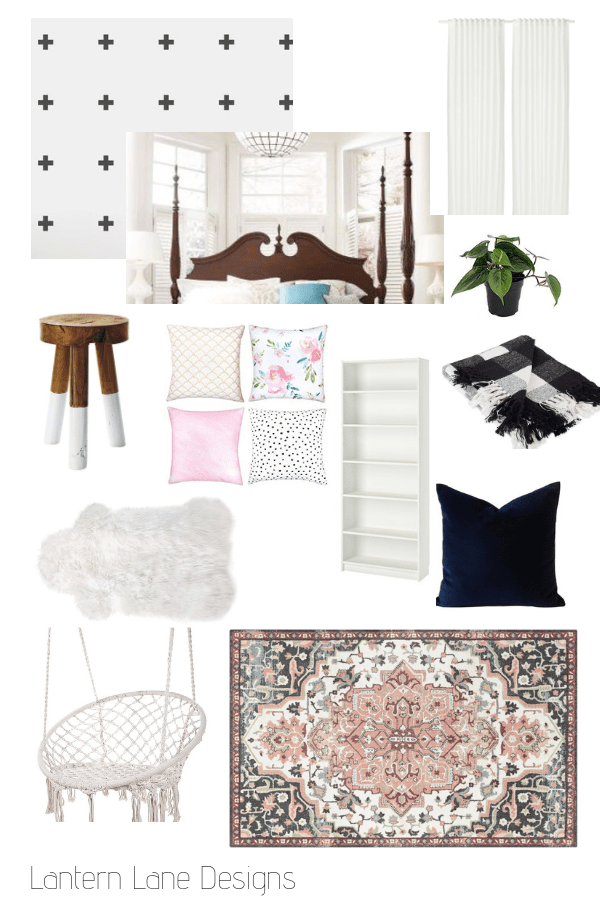
This is the fun part for me because I can see the room come together and you can start nixing any of your crazy ideas. My biggest challenge was the rug. I knew I was going very neutral on her walls (did you see my timeless paint color post? I’m using one of those colors). Her bedding is white and in bedrooms I am a huge fan of plain white curtains. You can never go wrong.
So did I want to bring in color with a rug?
Or keep things neutral in here with a jute rug?
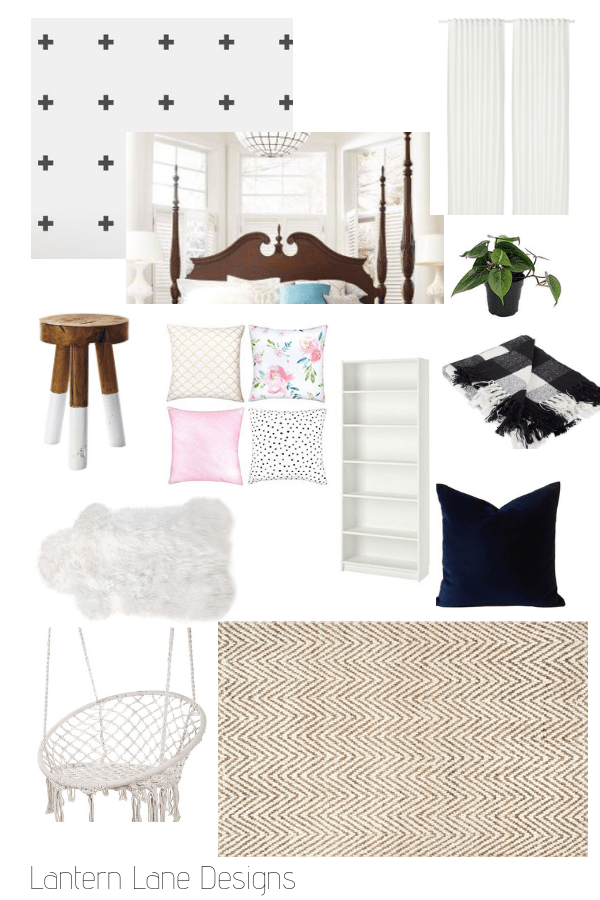
Ahh!!! I honestly love both ideas but I am leaning towards the jute rug. What do you think?? Seriously, let me know! I really do love that pink rug though. I’ll link everything below in case you see something you like.
- Jute Rug
- Pink/Gray Rug
- Hanging chair (this chair is amazing!)
- Pink Pillows (these pillows come in a set of 4 and there are so many other gorgeous options from this company)
- Wall Decals
- Stool
- Buffalo check throw
- White curtains See how I updated these curtains in my living room here.
- Bookshelf
- Poster Bed
(PS…the hanging chair came and we installed it already. And by we, I mean my dad. Stay tuned, I’ll show how we my dad installed it. It was so easy and the chair is pretty much amazing! I have been requested by my other daughter that she now needs one.)
I honestly can’t wait to get this room put together. I love decorating a girl’s bedroom. I have a spot in my heart for eclectic design but I try to simmer it down in our main living areas. I feel like I can just let it go in a girl’s bedroom even though this child of mine is refusing most of my eclectic designs. Stay tuned though. I hope to get this room done quickly.
We are also in the process of PURGING and organizing her room before the real fun begins. SEVEN bags of trash came out of that 11 year old’s room. Keep in mind we have only lived here for two years. She deserves her own hoarder show. I have a post in the process on how I turned my hoarder into a purger. Proud mommy moment.
Hang out with me on Facebook and Instagram! Come Pin with me on Pinterest!
YOU MIGHT ALSO LIKE!