[mailerlite_form form_id=8]
I didn’t realize I was such a pine cone hoarder until I started this project. I have more pine cones than a pine tree (is that where pine cones come from?? I just assumed they came from a craft store). I also love bleach so combining my excess amount of pine cones with my favorite cleaner (and your best friend when you want to make drop cloth curtains) was a no brainer.
I think (maybe) you should use cones that have fallen from a tree but since I had so many store bought ones I thought I would give it a try and see what happens. Now, I know, you really do not need a tutorial for bleaching pine cones. It’s pretty self explanatory BUT there are a few tricks. That’s what I’m here for.
If you are a pine cone hoarder like myself grab as many as you’d like from your stash or go outside and get some from your yard (or a neighbor’s yard.) Just like when I’m baking, or attempting to bake, I do not measure with any of my projects. I threw some bleach in a bucket with water. I’ll pretend and say I used about a cup of bleach to a lot of water. I probably should have used more bleach but my cup of bleach worked just fine. Carefully add your pine cones to your bleach/water combo. Do I need to tell you that bleach ruins clothing if it splashes on you? If I do, you clearly do not use enough bleach in your life. This is my warning to be careful. Here is one of the tricks I was telling you about. Your pine cones will float to the top so you need to weigh them down. I used some scrap pieces of wood I had on hand. You can also use rocks.

I know that was rocket science. Now leave your pine cones alone in their bleach bath for at least 24 hours. I went 48 hours because I completely forgot about them. In those 24-48 hours you will think nothing happened to them. They will close up and still look brown. Don’t be fooled. Carefully remove them from your bleach water and let them dry. It was a hot mother of a day so I let mine dry outside under the sun and I think that helped expedite the process.

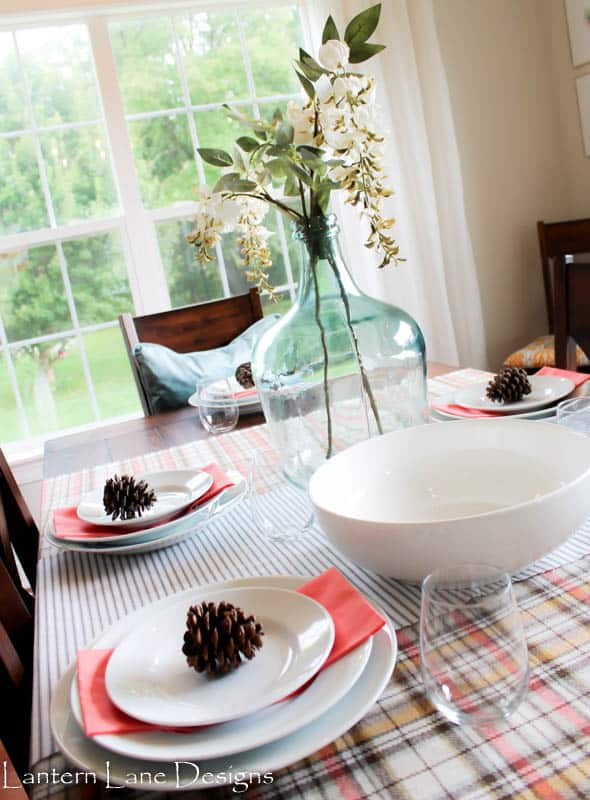
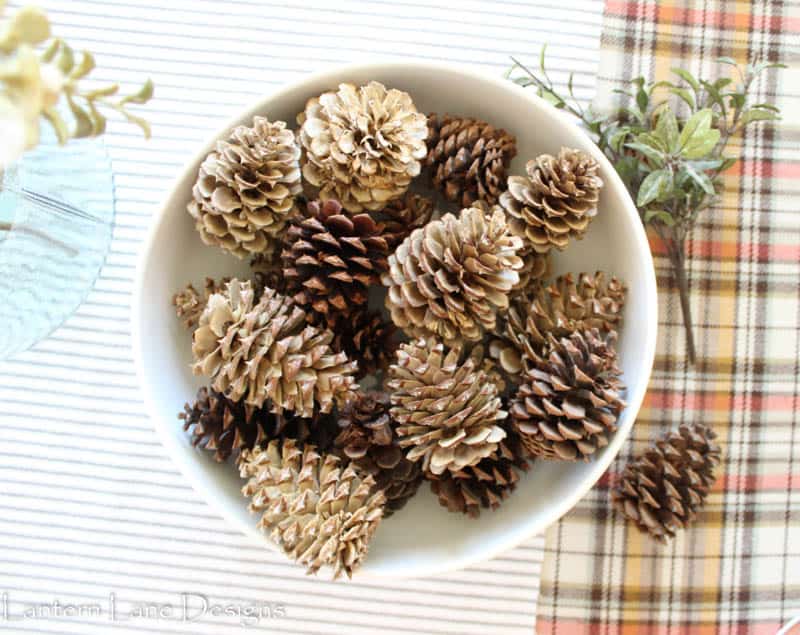
They will slowly start to open and turn into an almost driftwood color. It will take a few days to get them to dry all of the way. But once they are dry they are so stinking cute! This is a perfect fall and Christmas craft. How cute would these little guys look on your Christmas tree? For now I have mine in a bowl on my dining room table.
Follow Me!
FaceBook//Instagram//Pinterest
[mailerlite_form form_id=4]
You Might Also Like!