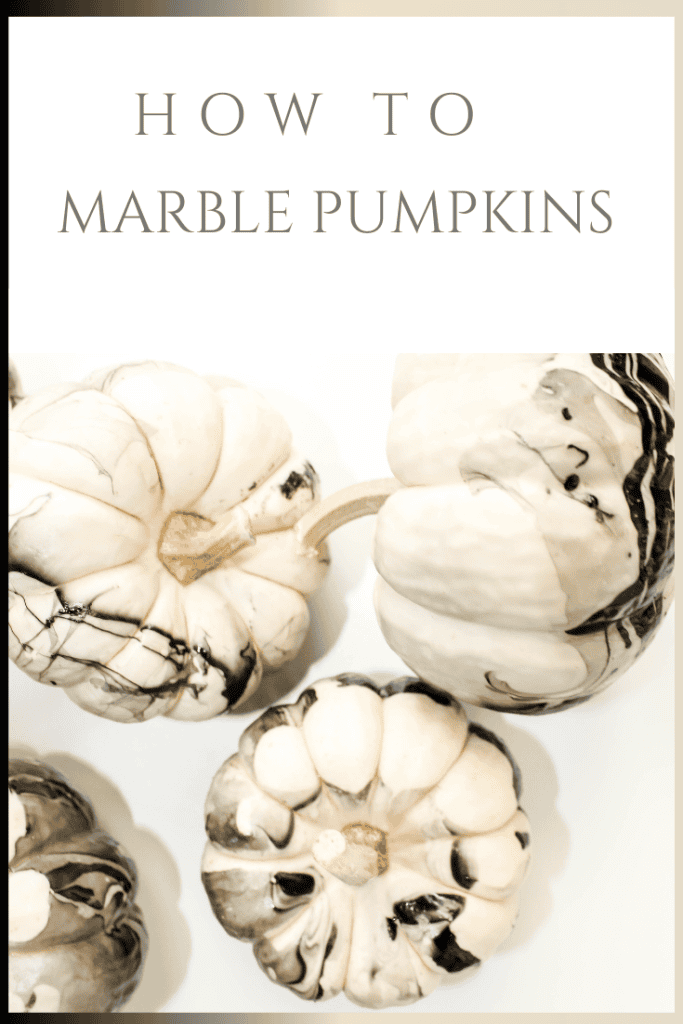
Quick and easy fall decor idea! How to marble your pumpkins using nail polish.
Hey Hey! It finally feels like fall!! Whoop whoop. I think I killed my mums from heat exhaustion and possibly dehydration. I’m really hoping no one (especially my husband) notices the dead mums on the front porch (oops). Now that it’s not in the mid 90s anymore I figured it was safe to bring home a few mini pumpkins. I finally found white ones at our local garden center. I did chalk paint a few mini orange pumpkins and have those on my fireplace but I wanted to try something new!
I’ve seen this marbling technique on Pinterest a few times (yep, most of my ideas are born on Pinterest) and I thought I’d try it on my white mini pumpkins. I also picked up some black nail polish at the dollar store. I really wanted to do this in blue but had a hard time finding blue nail polish so I went with black. I’m sure you can use left over paint too.
This was so easy to do. I know I say that all of the time but if I actually finish a craft project then it has to be easy.
Supplies needed:
- White mini pumpkins (real or fake but I recommend fake since real pumpkins might rot after a few weeks)
- Nail polish of your choice
- Stir stick
- Container for dipping
- Wax paper
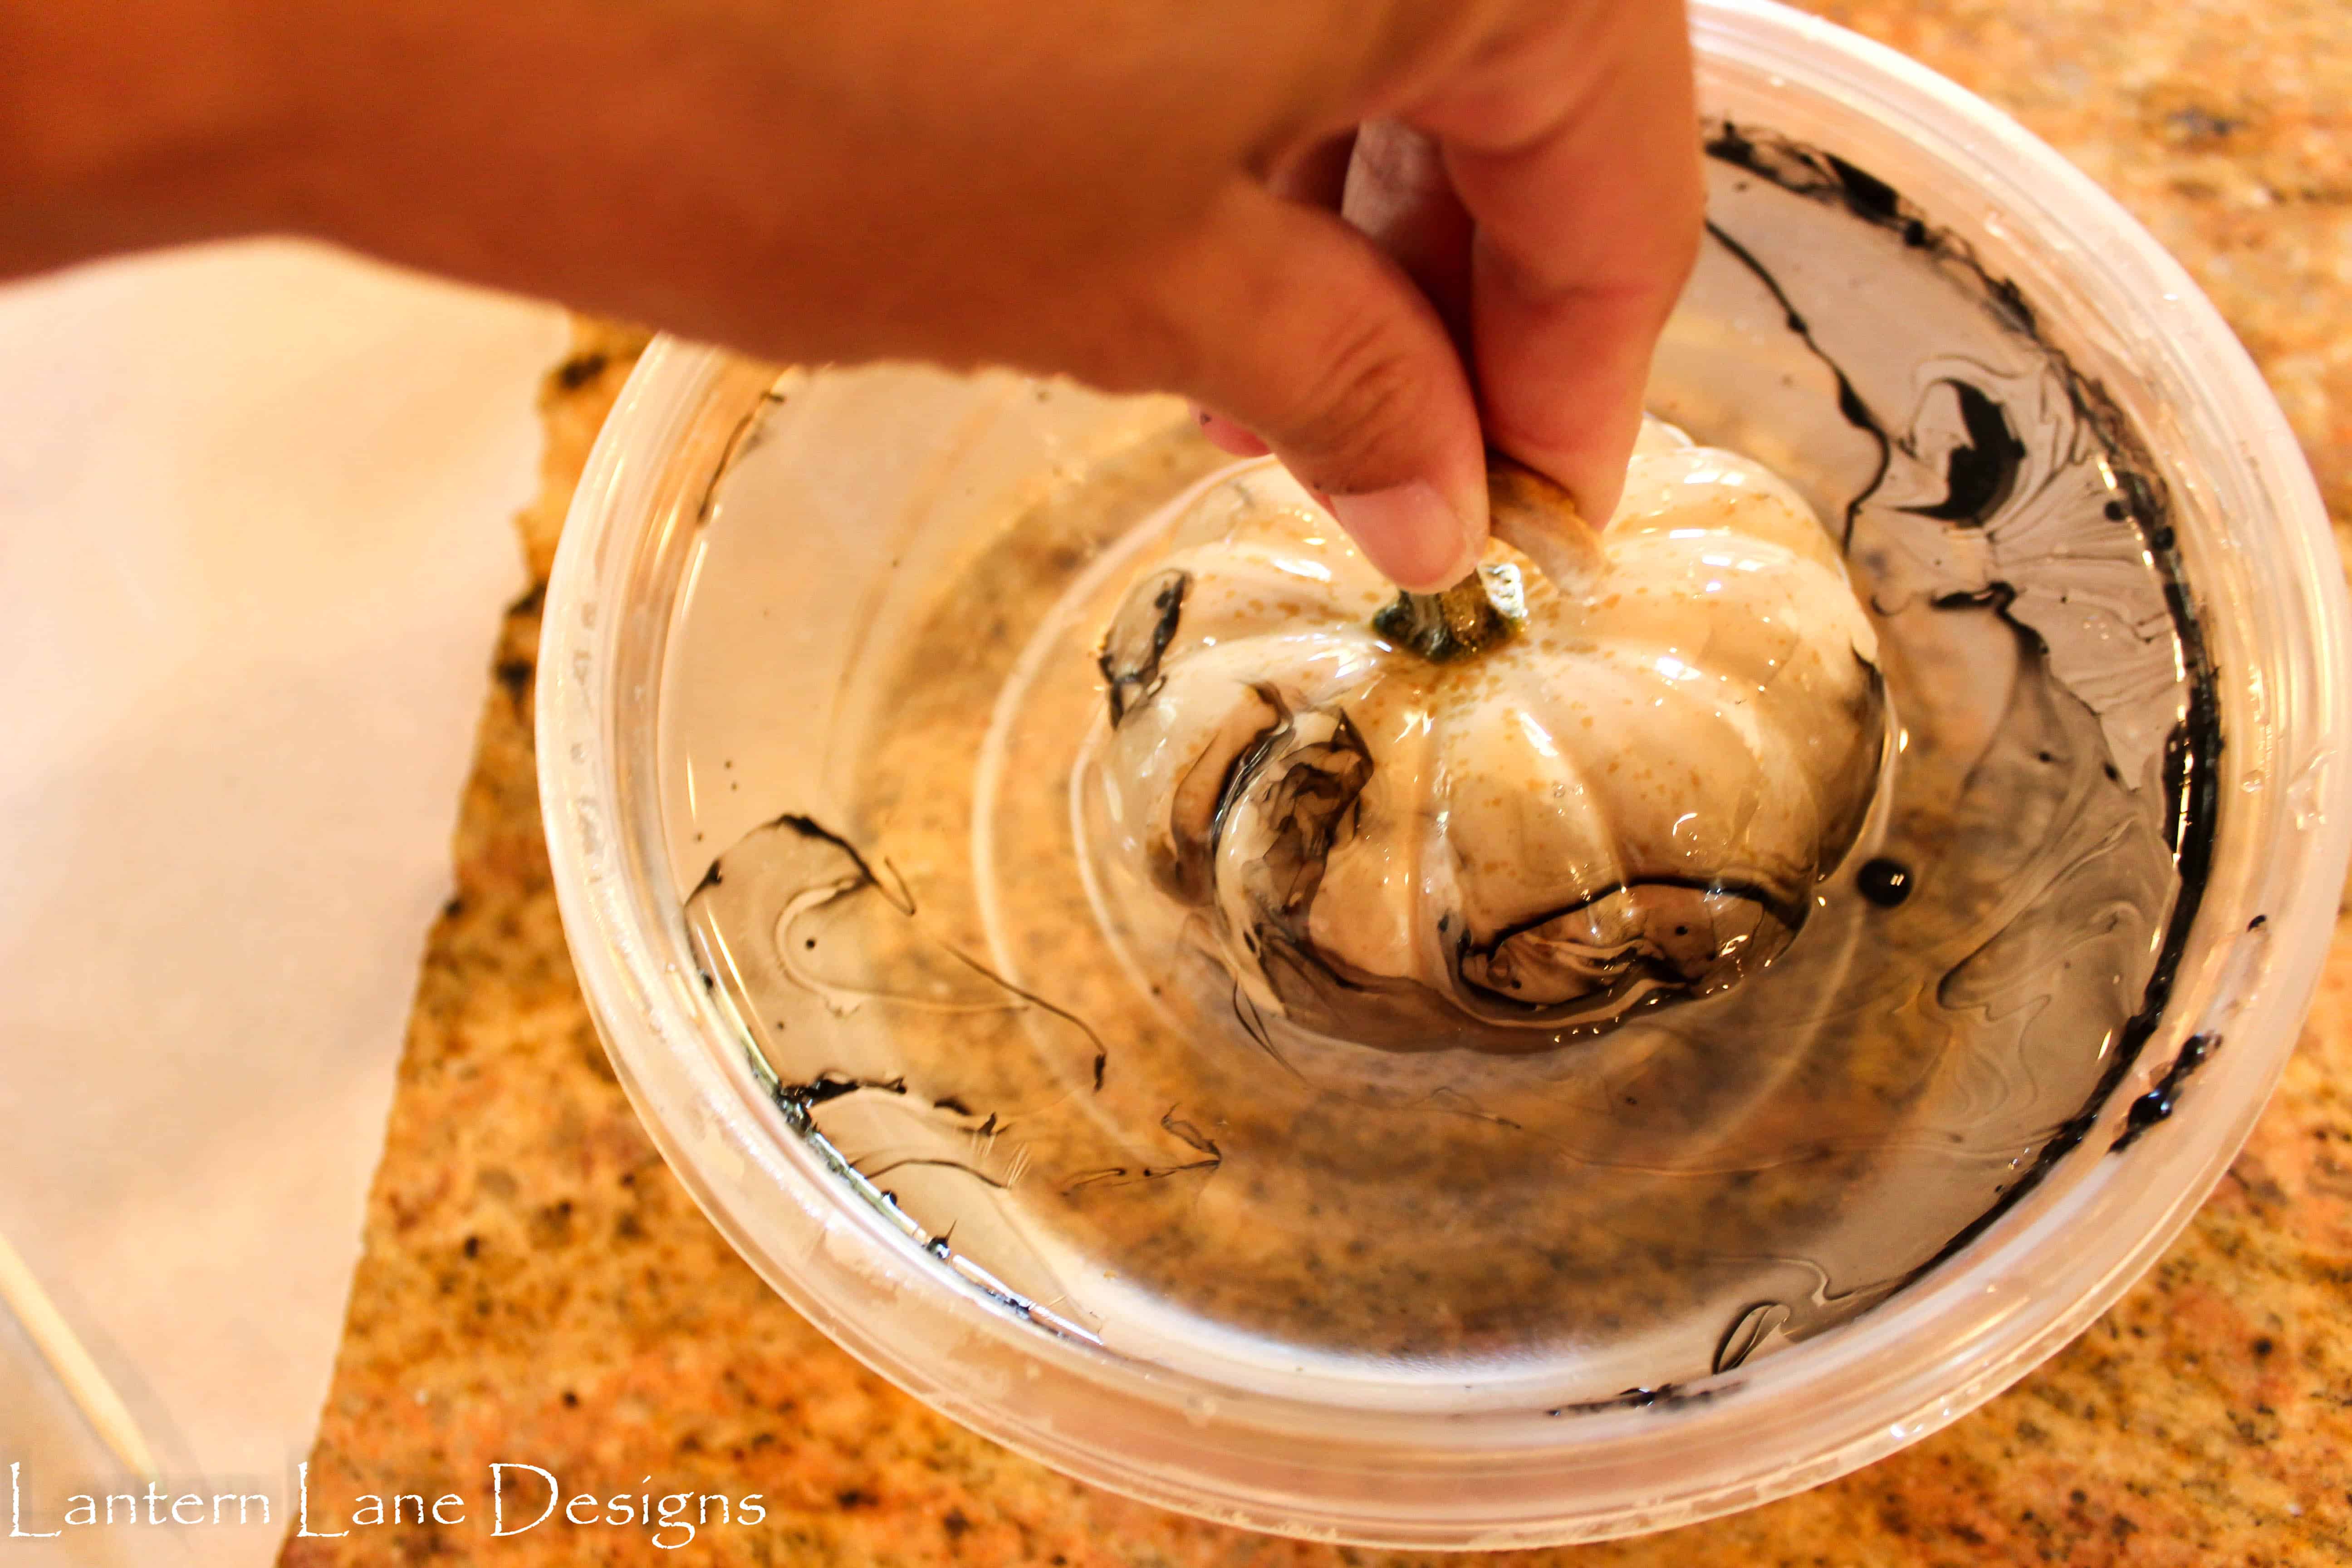
Fill a container with lukewarm water and add a little bit of nail polish. Stir the nail polish around a little with a stir stick.

Dip your pumpkin in the container of water and twirl it around a little. It takes 2 seconds and you are left with this cute little guy.
I let all my pumpkins dry on wax paper for about a half hour. And that was seriously it. These little guys would make cute vase or bowl fillers or just sprinkled around your house. It’s a fun way to add some character to your fall decorations. And you better bet I’ll be doing this to some ornaments for Christmas.
If you want to save this for later, you can pin it here:
Follow Me!
FaceBook//Instagram//Pinterest
[mailerlite_form form_id=4]
You Might Also Like!