How to make pretty no sew pillow covers
***Update!! It’s been a year since I posted this tutorial and it is how I make all of my pillows now. For the tutorial below I used hem tape but lately I have been using fabric tac. It dries so quick and I haven’t had any problems with the hems coming undone. It is also so easy to find inexpensive and beautiful fabric that making my own pillows is a no brainer for me anymore. I found the buffalo check fabric on Amazon and the blue fabric was left over from when I made my no sew roman shades**
Now to my original post….
(This post contains affiliate links for your convenience. You can see my disclosure here)
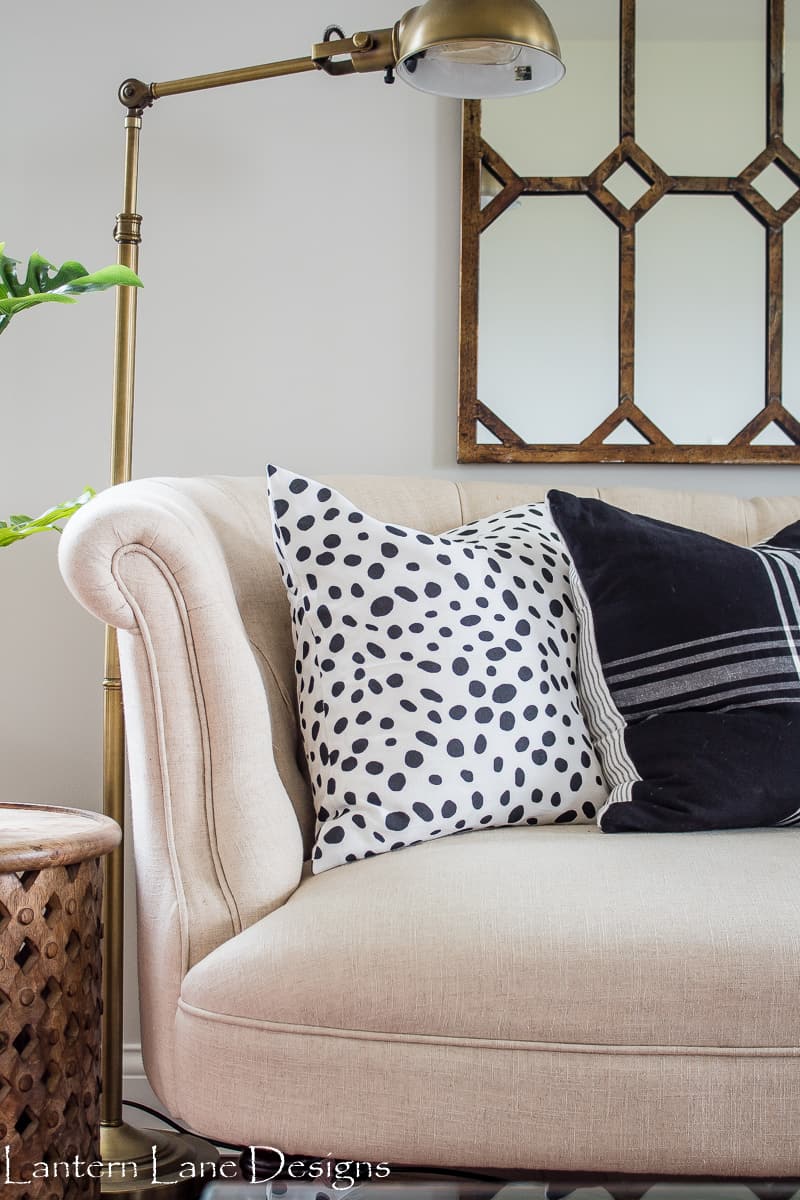
The kids are (finally!!) back in school and I can(finally!!) walk around a store in peace. It’s amazing how quickly I have to fly through Hobby Lobby when I have three kids with me. They.must.touch.everything. So to be able to casually walk through Hobby Lobby is ahh-mazing!. I really had nothing I needed which is unusual. Well, I’m always looking for pillows and I knew I needed wanted a pillow for my DIY storage bench. Hobby Lobby has a great selection of inexpensive pillows.
BUT I got sidetracked in their clearance fabric section. I found this fabric for $3/yard…yes THREE dollars per yard. It might have a little Flintstones vibe going on but I was still digging it. So for $3 I knew I could make my own pillow.

This tutorial is a little different than how I normally make pillows. Years ago I made all of my pillows in my family room. It was pretty gratifying and I did enjoy sewing ONCE I got the sewing machine threaded.
It’s been years since I’ve threaded my machine and I have no patience to figure it out again. So I knew I wasn’t attempting to sew this bad boy. You can make this pillow with or without a sewing machine. For this pillow I used hem tape but you can also use fabric glue.

When this little guy is done he’ll have an envelope enclosure which is my favorite. It’s easy to make, you can remove the cover as many times as you’d like (you know-when your kids wipe boogies on your pillows and you need to throw them in the wash) and you do not have to worry about adding a zipper (that will definitely require a sewing machine)
Items needed:
(This post contains affiliate links)
- 1 yard of fabric (check out this post…you can find fabric on Amazon (hollah!)
- Pillow Inserts
- Hem Tape or Fabric Glue
This might be my favorite way to make a pillow. If you don’t have a pattern that needs to match this is by far the easiest way to make a pillow. One cut and few hems and you are done.
Steps for making your own pillow covers
Step 1: Cut your fabric to your desired length and width. I cut mine 45″ long x 21″ wide. The pillow form I had at home was 20X20. I like my pillows to be snug as a bug so I measured my fabric to make it snug and cut what I needed. I went 45 inches long (20 inches for the front of the pillow, 20 inches for the back and an extra 5 inches for the overlap to make the envelope enclosure.) And I went 21 inches wide. Just enough for the hem on the sides.

Step 2: Using hem tape or fabric glue hem the short ends (the 21″ wide sides) of the fabric piece you just cut.

Step 3: Lay the fabric face up on the floor and fold over the ends to make a square about the same dimensions as your pillow. Make sure there is enough fabric overlapping each other. I recommend placing your pillow form on the square you made to make sure your pillow will fit nicely. This will be your pillow once you hem all of the sides. Have I lost you? Your fabric should look like this.

Step 4: Apply hem tape (or fabric glue) in between the other two sides of the square you just made. Just the sides that are open. Do not add any tape to the middle part of your pillow where it overlaps. That will be your envelope enclosure so that needs to stay open.

Once the sides are hemmed and cooled off flip your fabric outside in and voila you have a new pillow with an envelope enclosure.

I mean seriously, how easy was that?? That took me 5 minutes. She looks pretty cute next to my no sew napkin pillow too.
Here is what the back of the pillow will look like…

If you want to save this for later, you can pin it here:

Follow Me!
Pinterest//FaceBook//Instagram
[mailerlite_form form_id=4]
You might also like!
