[mailerlite_form form_id=8]
This giant sized ruler only took me a mere 10 years to make. Well, technically it took me 10 minutes to make but I’ve thought about it for 10 years.
We used to measure the kids and write their heights on the wall in the laundry room at our old house every year on their birthday. Every time the kids would get measured I’d think to myself I should really make a growth chart. And then we moved and I was really kicking myself for not making this growth chart since I couldn’t take the laundry room wall with all their measurements with me. Well, I guess I could have taken the wall but I’m sure that’s frowned upon. So instead I just took a picture of the wall.
So here we are in the new house….two birthdays have gone by so far and I finally just made this dang thing. At least I got it done before the youngest has a birthday. It was not hard at all. The hardest part was finding the wood. I was determined to find old barn wood for this project and I finally did!
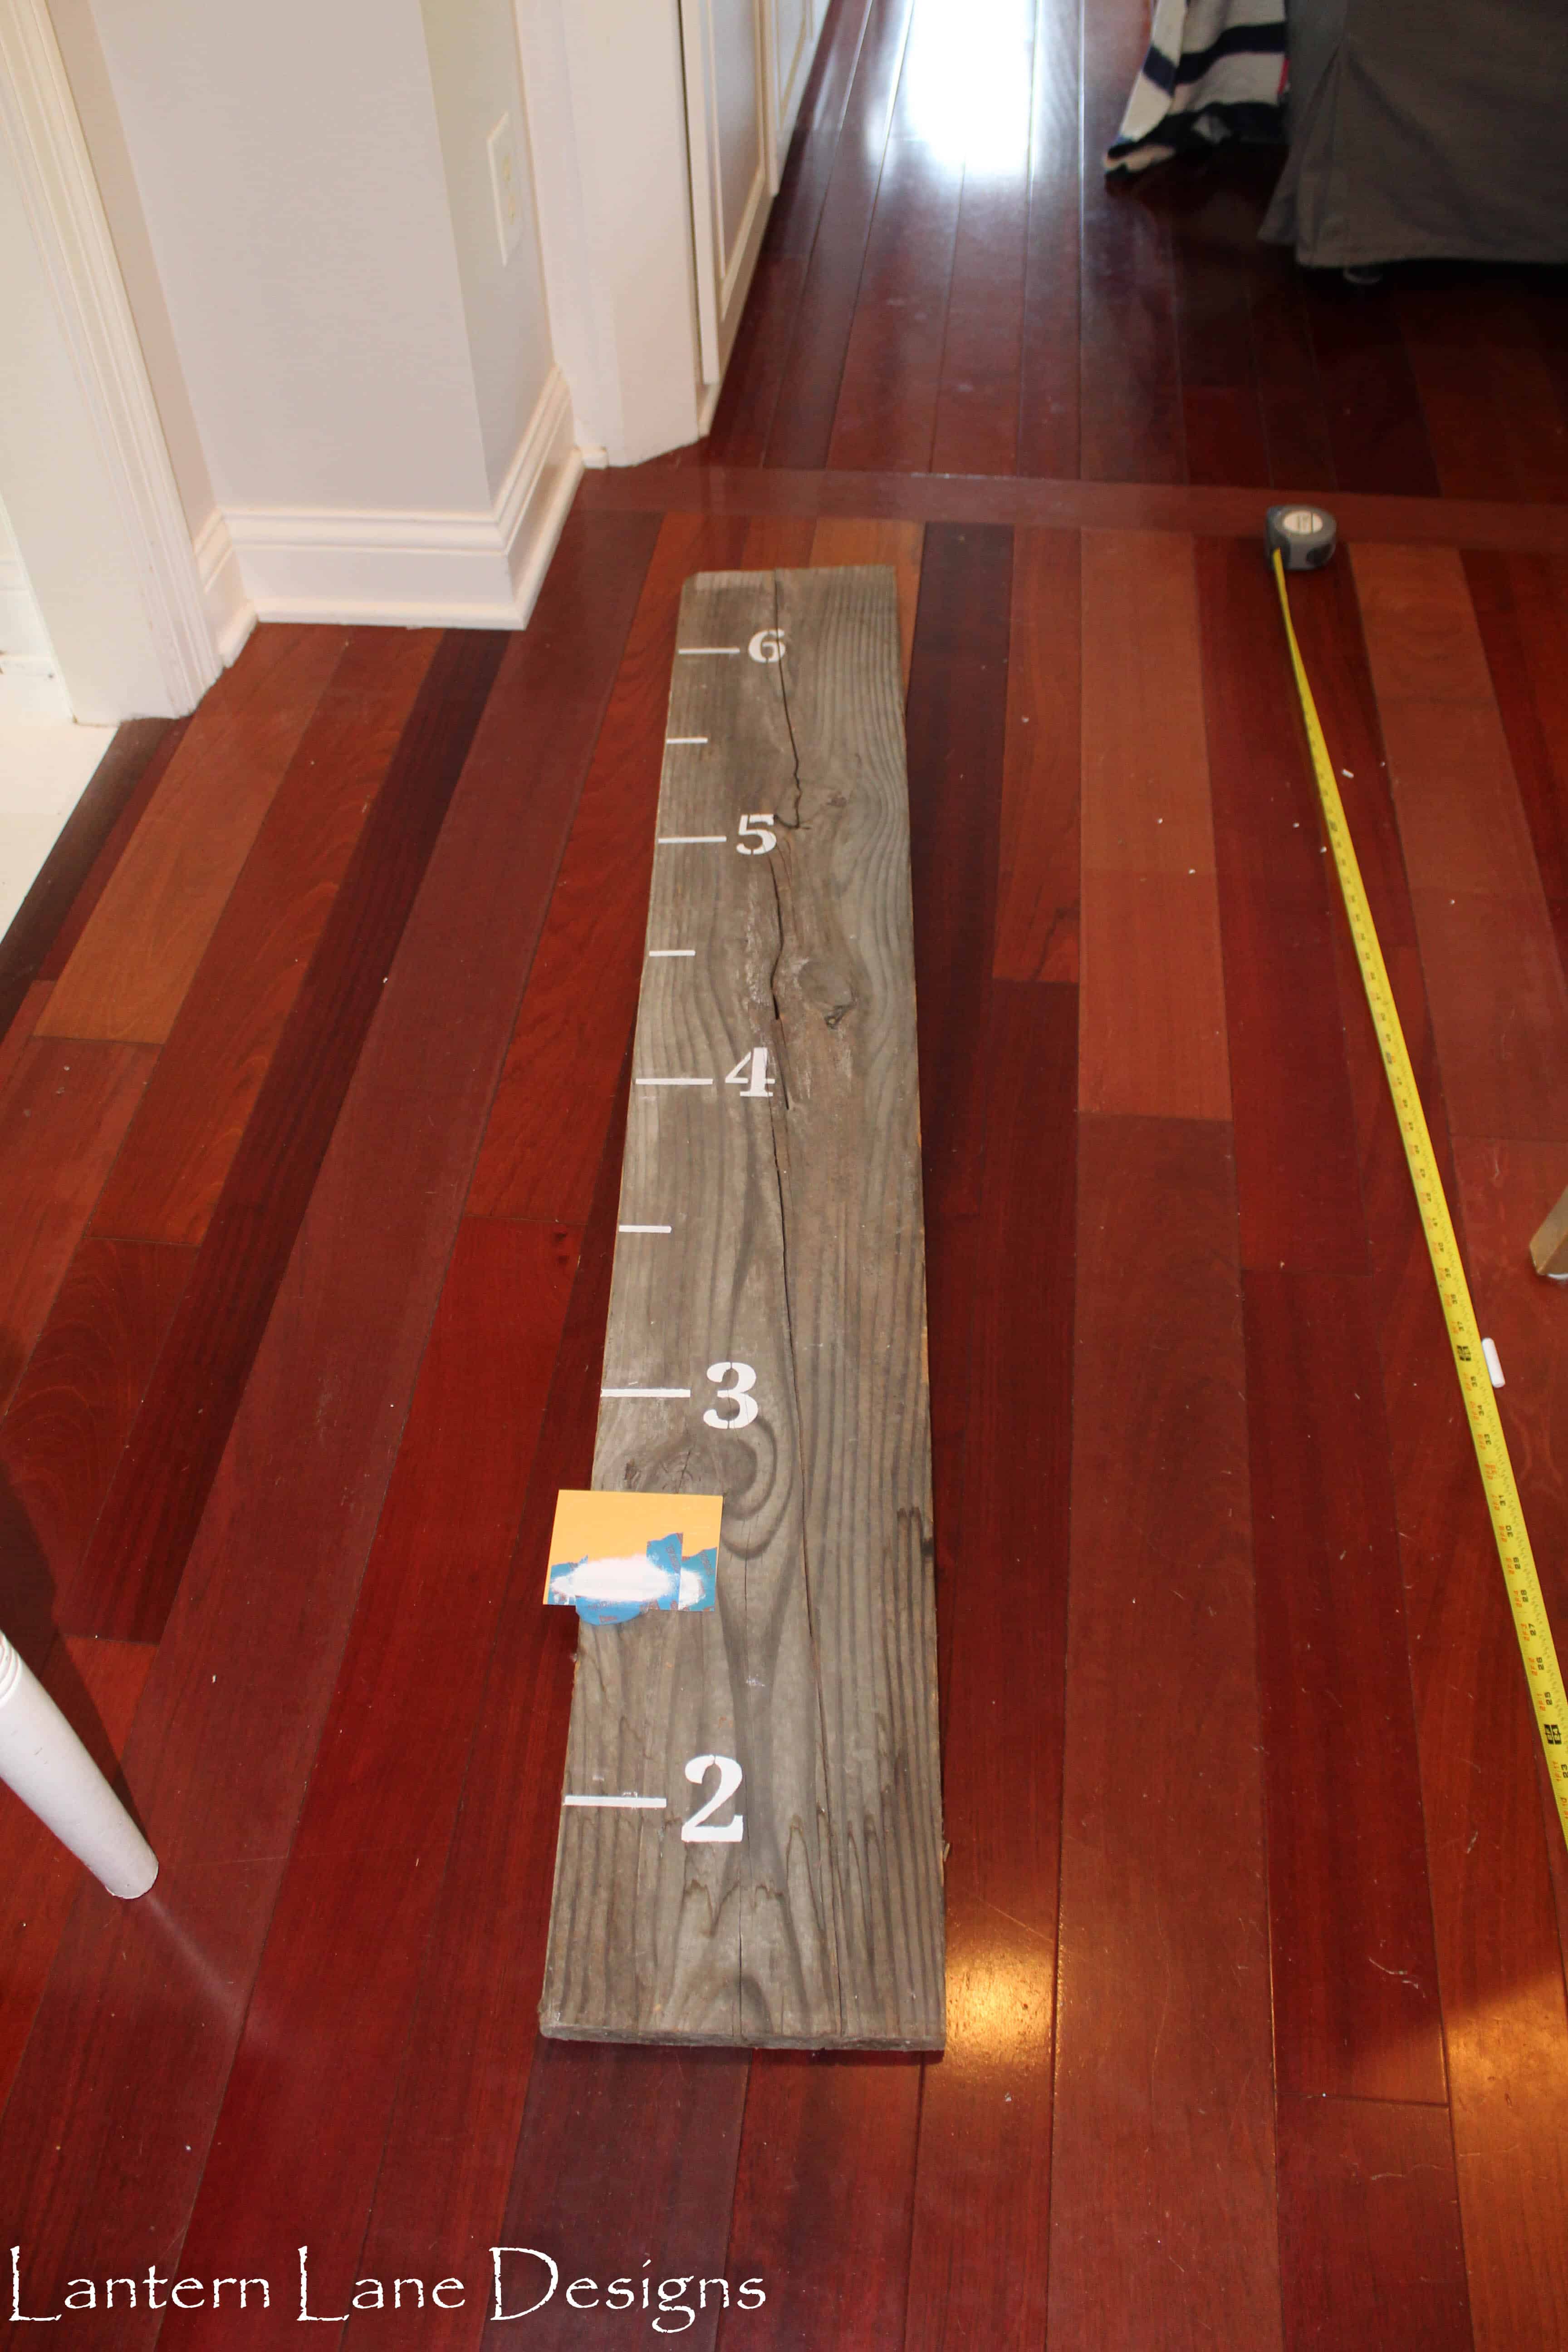
If you are lucky enough to have some old wood lying around, this project will be easy peasy lemon squeezy. If you don’t, you can always get a 1×6 from your local lumbar store and paint it or stain it, and even beat it up with a hammer to get that antique look (or to get out any anger you might have-whatever) I lucked out and found the perfect piece.
I picked up some number stencils at Walmart and used left over chalk paint I had. You can do this free hand or even use vinyl decals. Stencil Revolution has a growth chart stencil that would be very easy to use for this project! I was tempted to use those address decals you can pick up at Home Depot or Lowes. You know which ones I’m talking about? But I was too lazy to head back out to the store and had paint on hand.
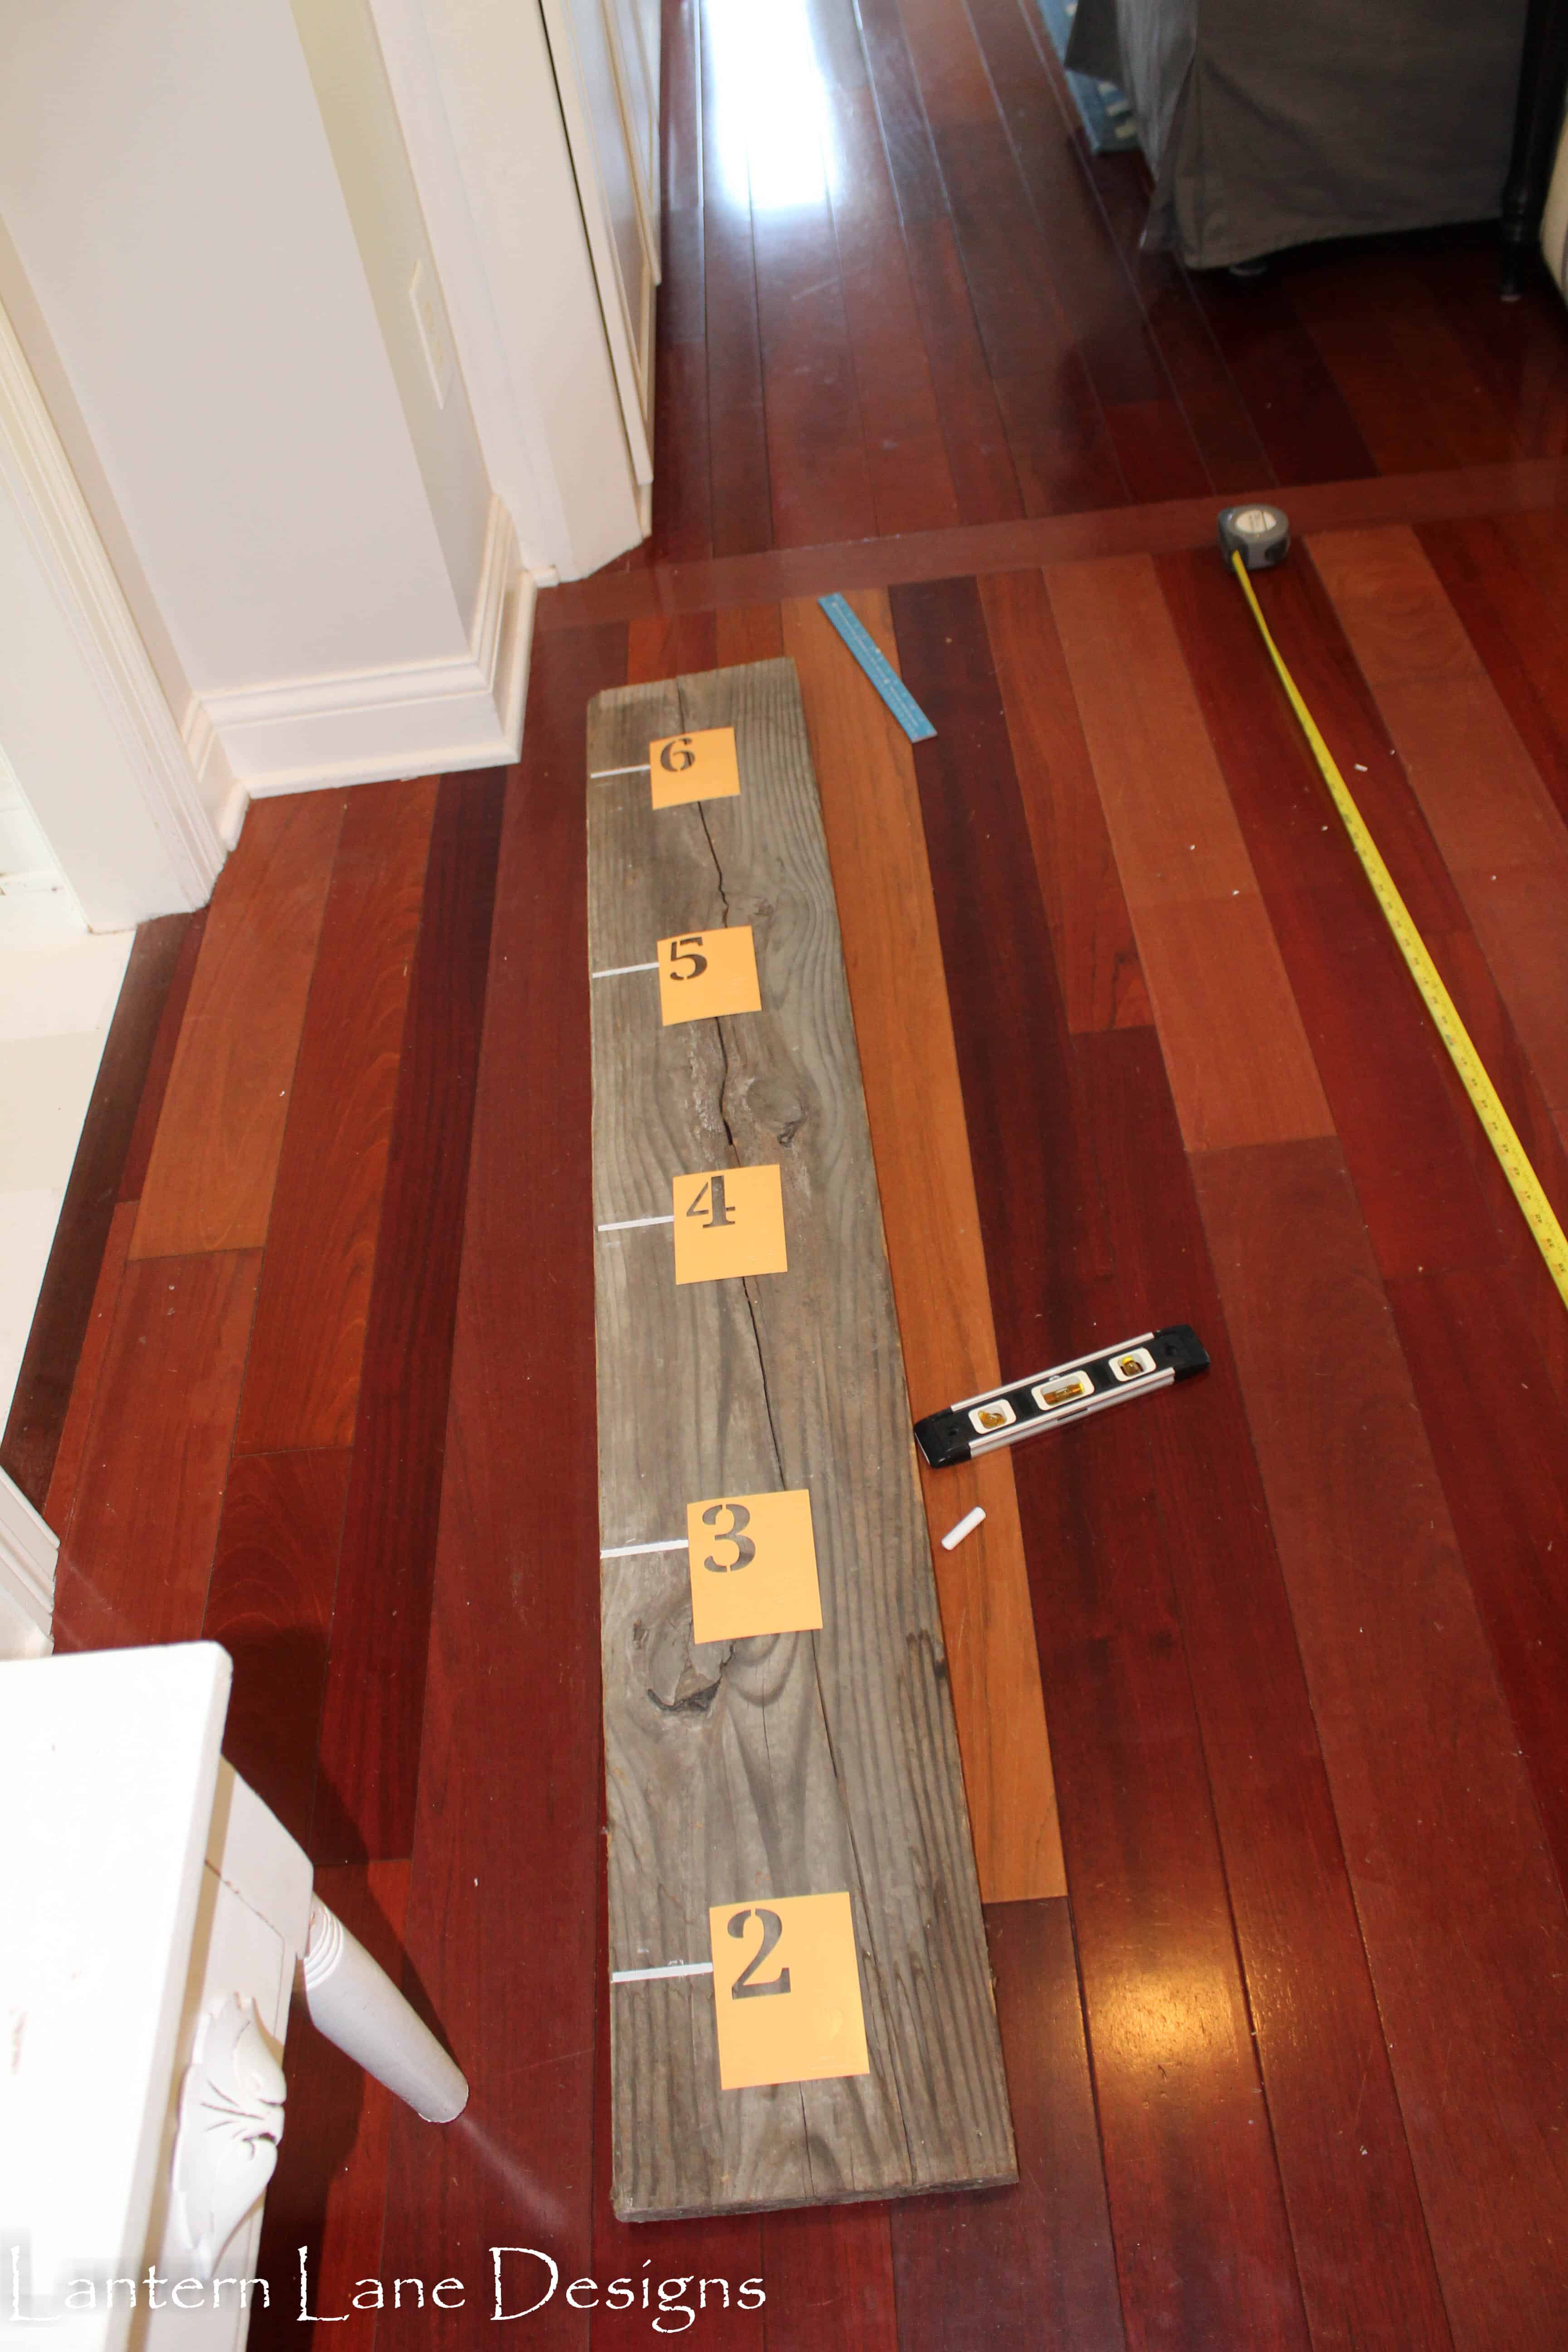
The second hardest part was measuring to make sure your heights are really accurate. Nothing like measuring your kid to find out you measured wrong and they are 6 inches shorter than what they really are. I was being optimistic that one of my kids will inherit my husband’s tall genes (ideally my son) and get close to 6 feet tall some day. I hung my board 6 1/2 feet from the floor and started making my marks on my board so I knew where to paint my lines.
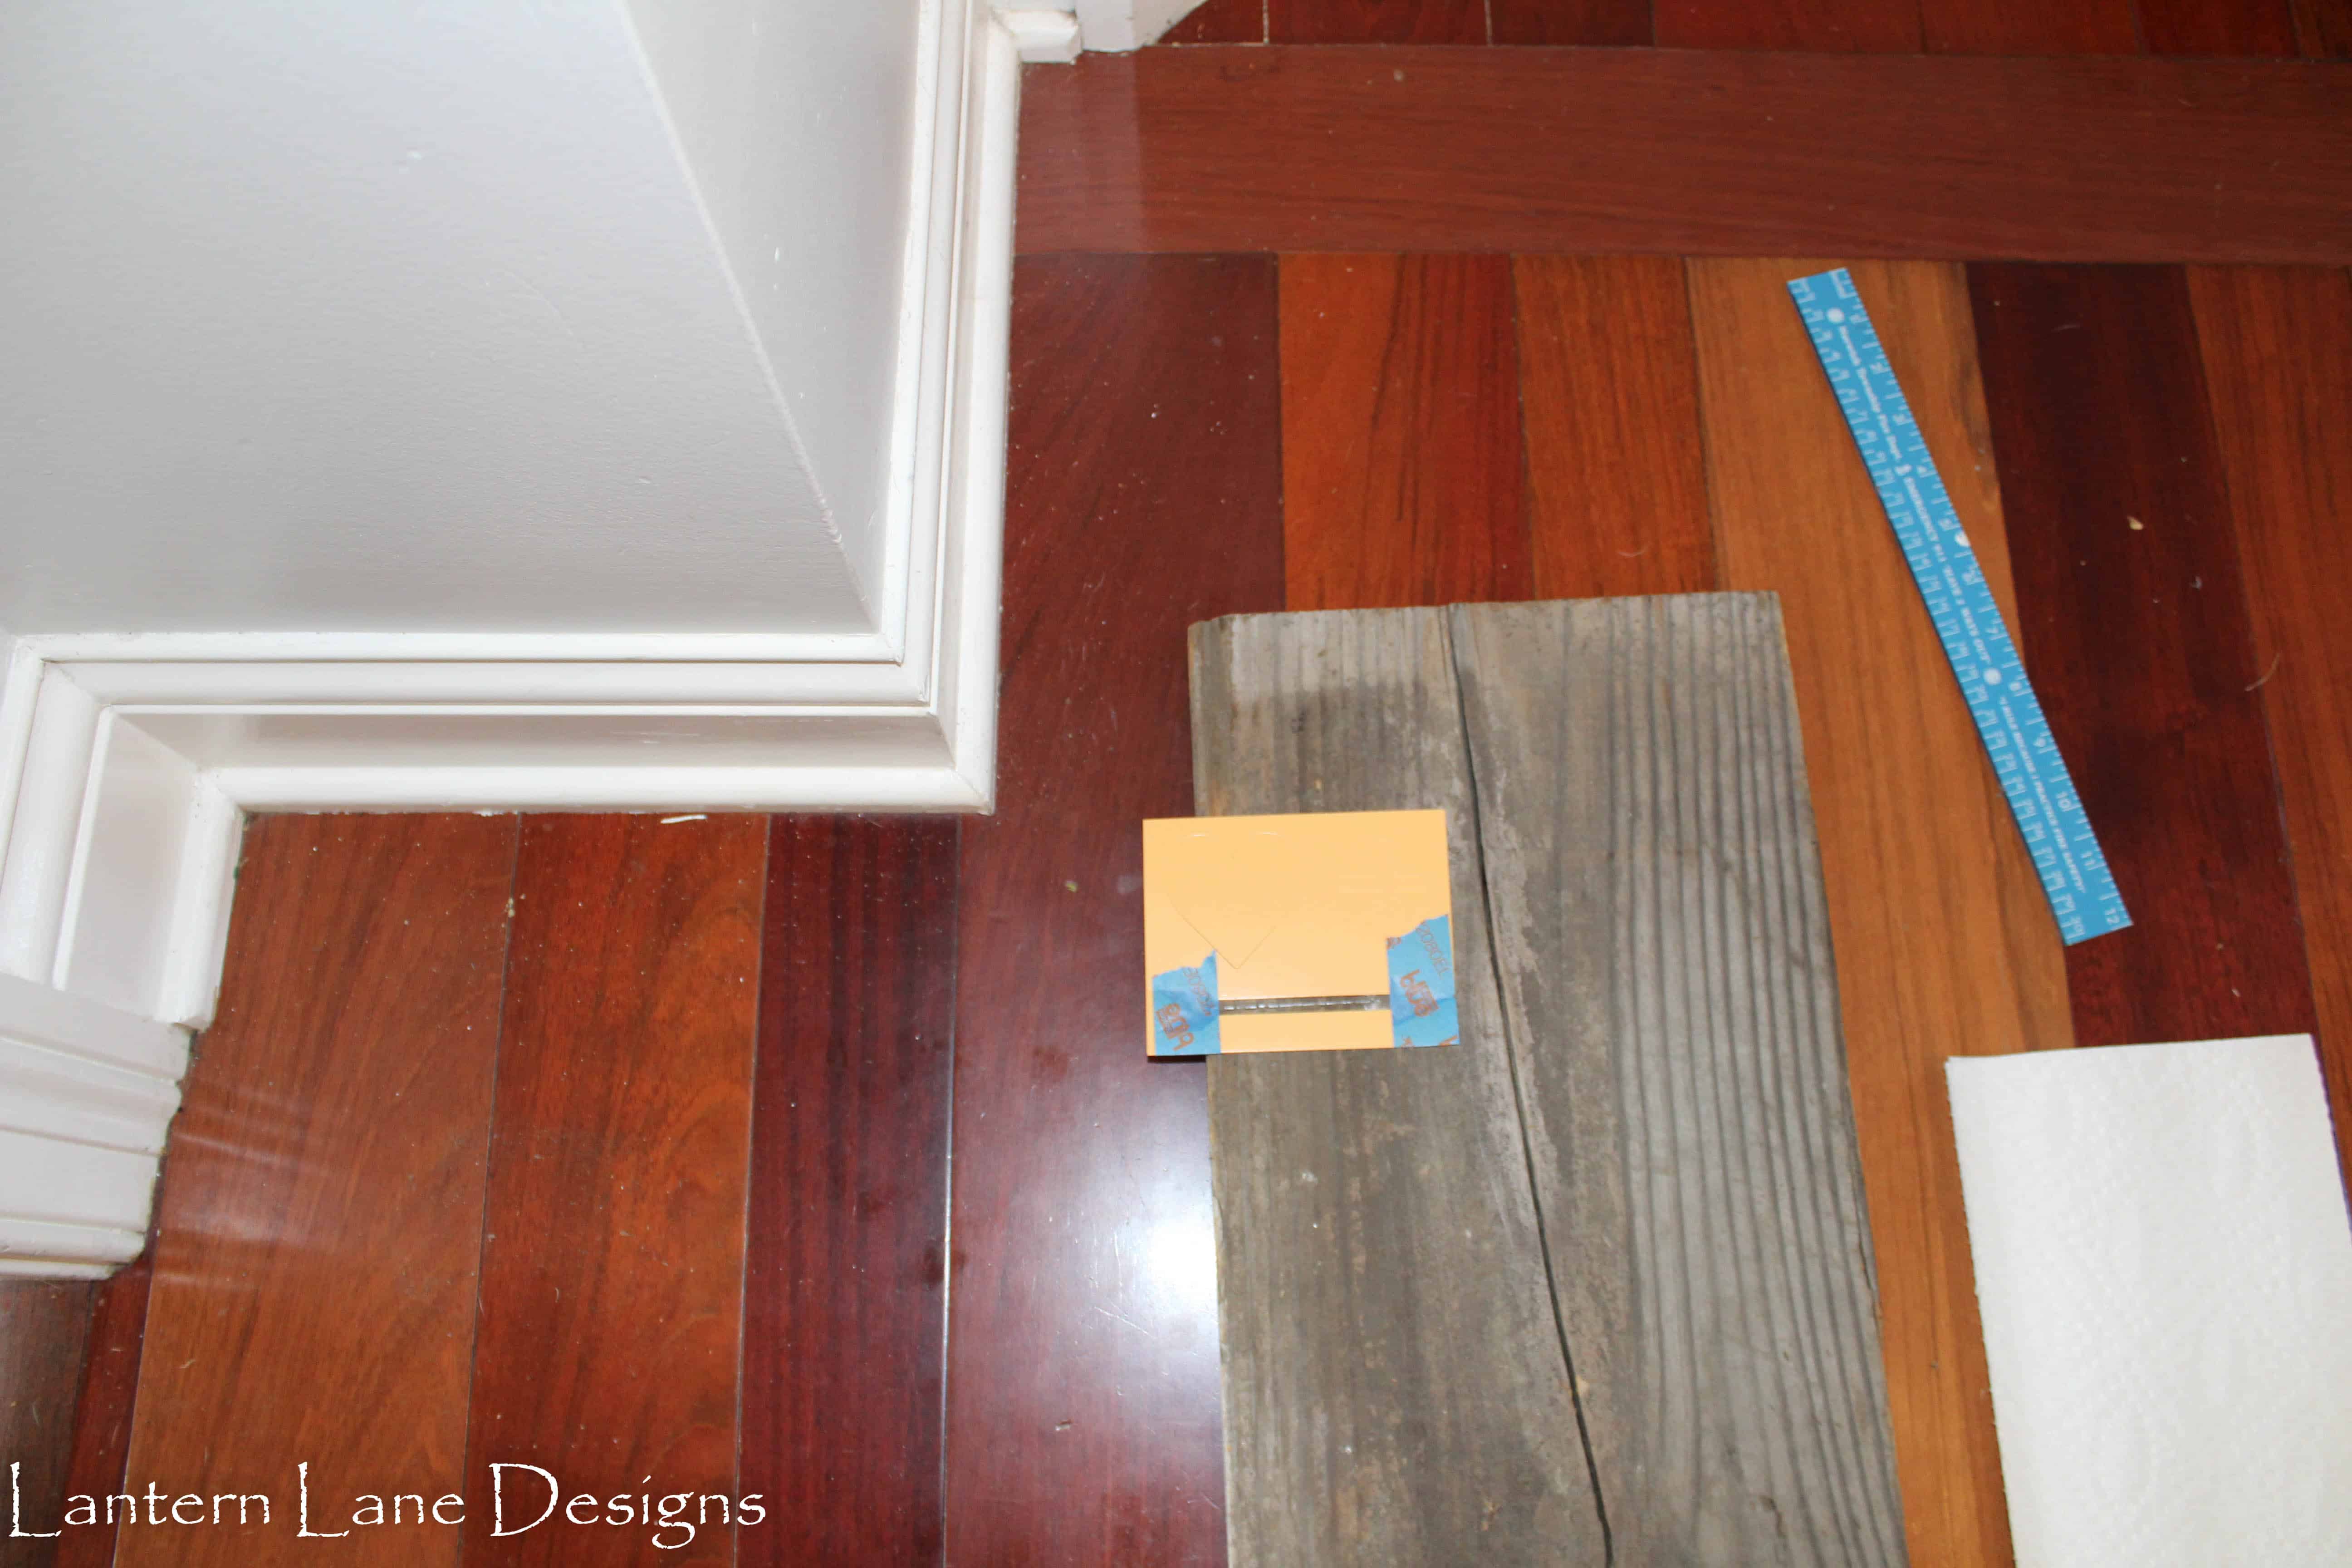
My stencils came with an arrow stencil so I taped off the pointed arrow part so I can use just the straight line for my markings.
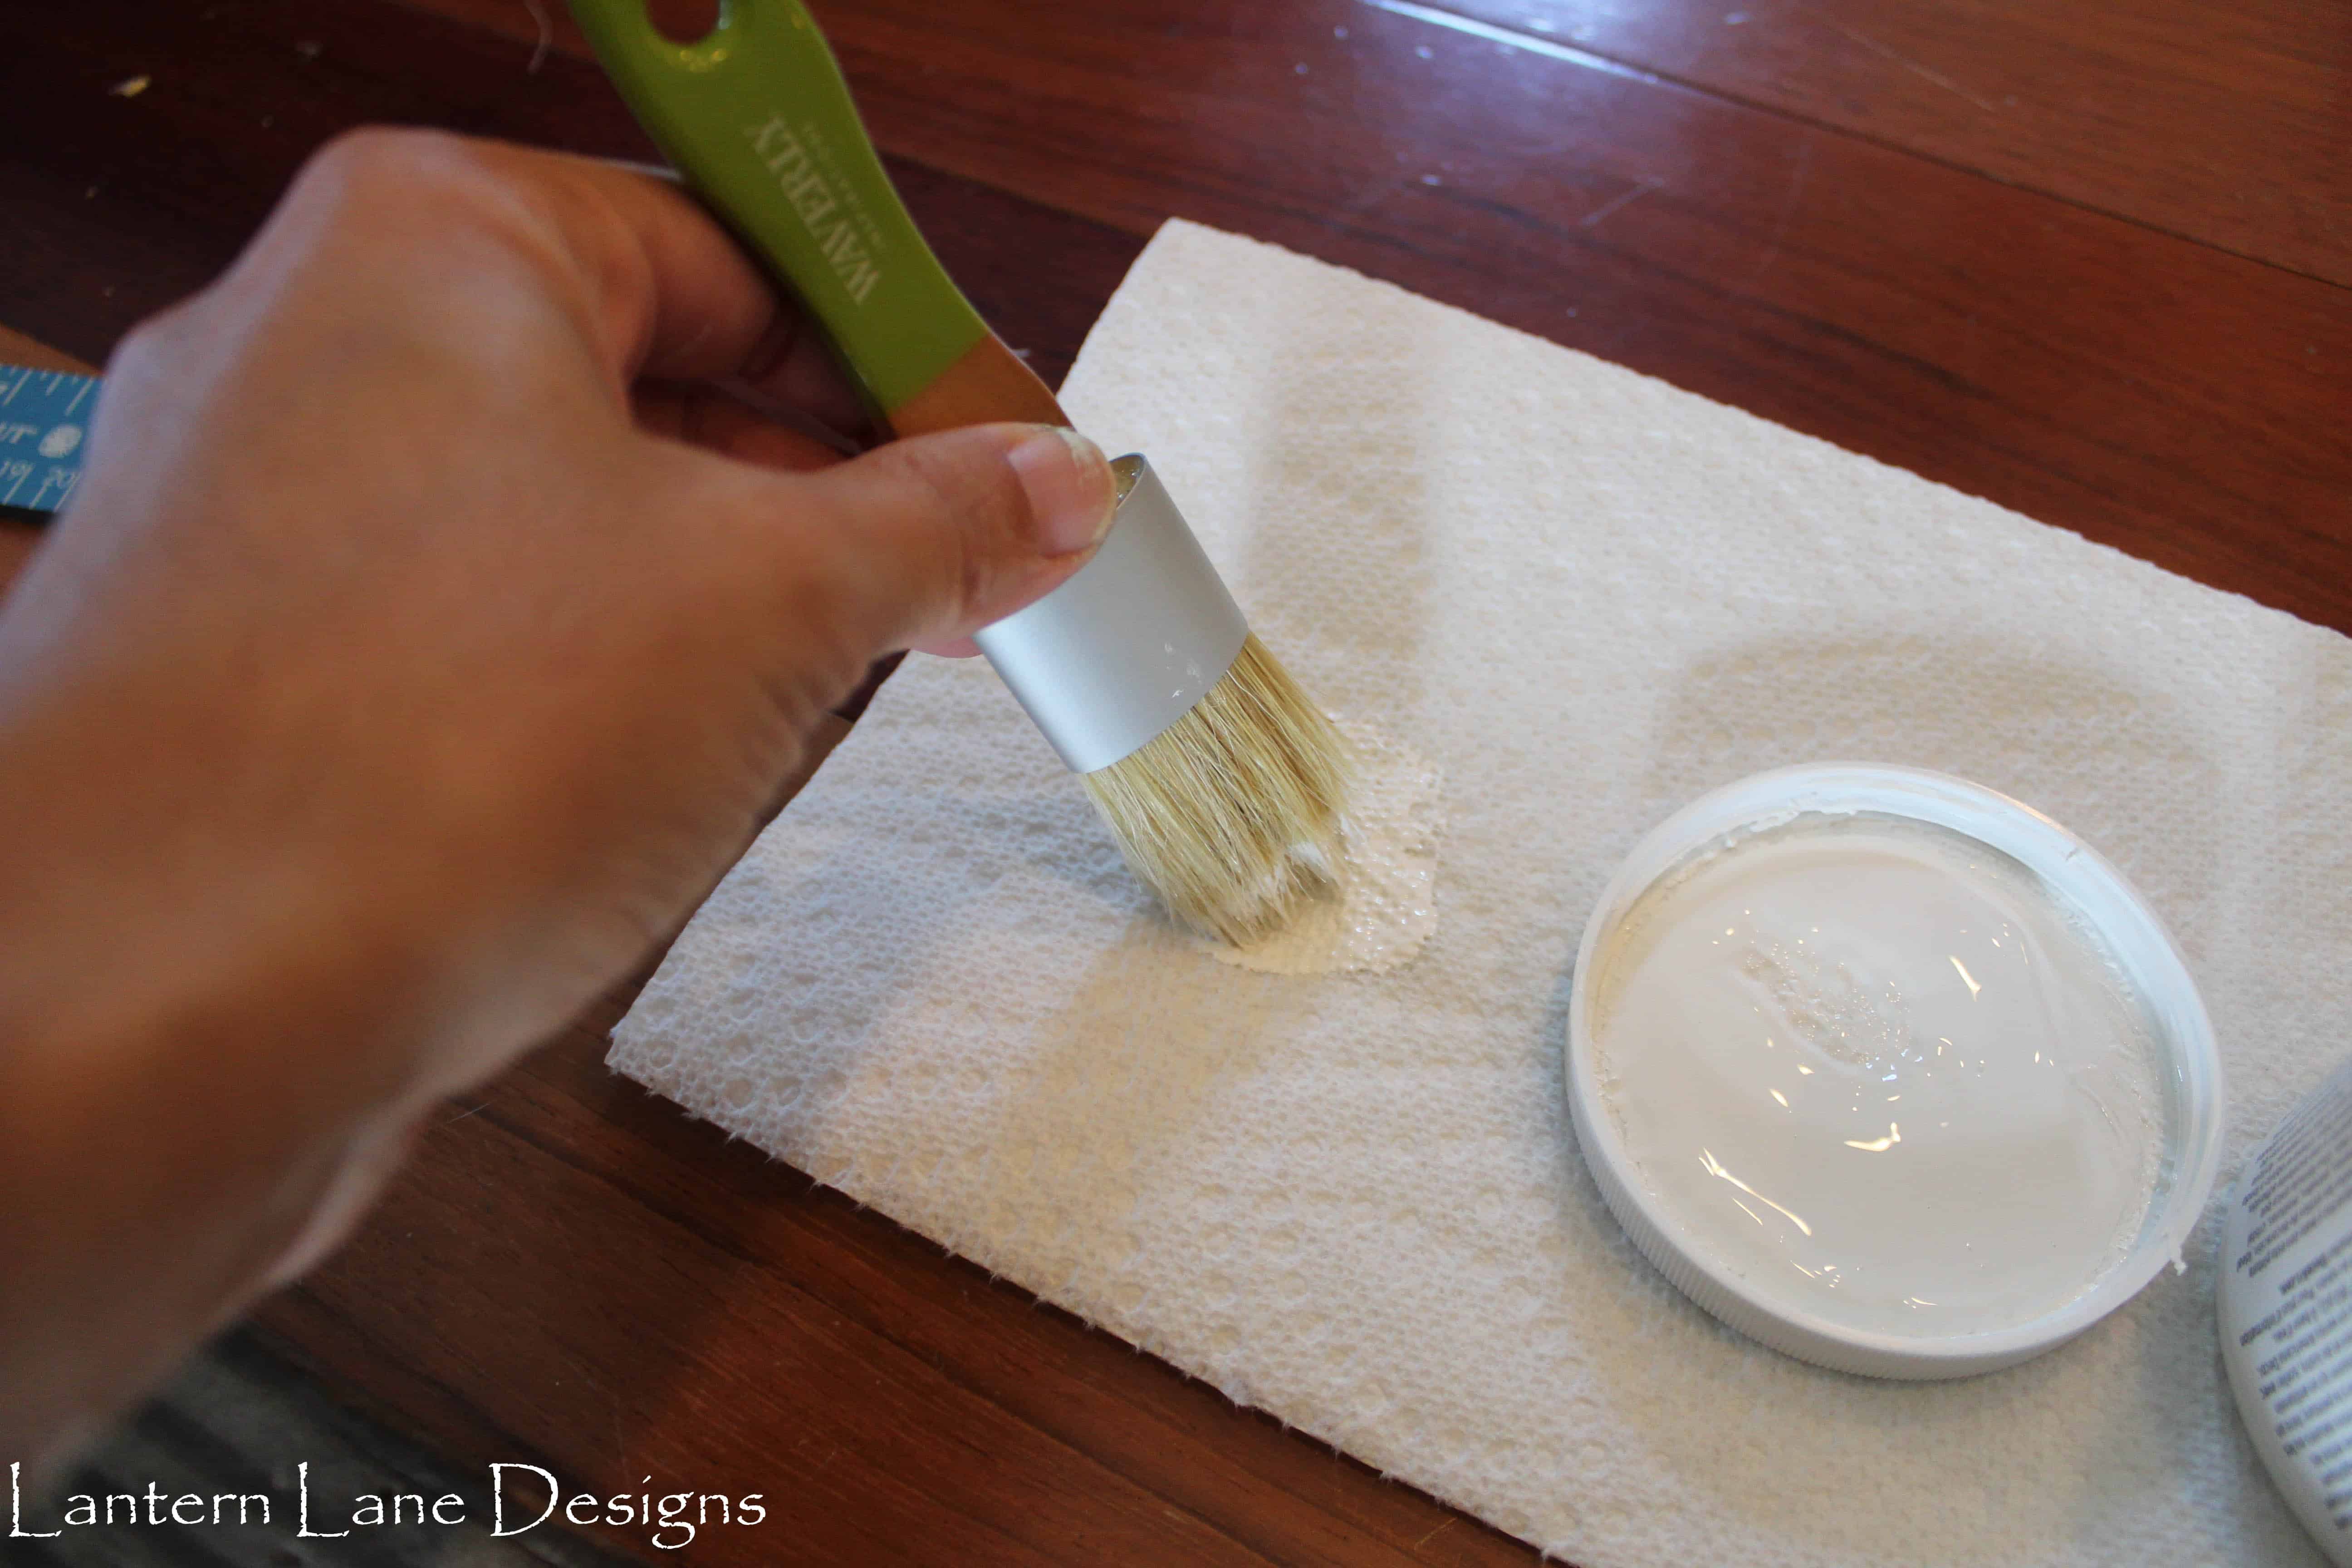
When stenciling always remember less is more. Just use a small amount of paint and dab it on a paper towel before applying it to your piece. Especially on these little pieces. It’s hard to hold down the small stencil so you need to be extra careful with your paint.
I painted all my foot markings and then moved on to the numbers.
I did the 1/2 foot markings with my arrow stencil again but made the marking shorter for these.
At this point I was afraid I was going to mess something up so I called it quits. I was planning on adding more markings but why ruin a good thing and it looks like a ruler enough to me.
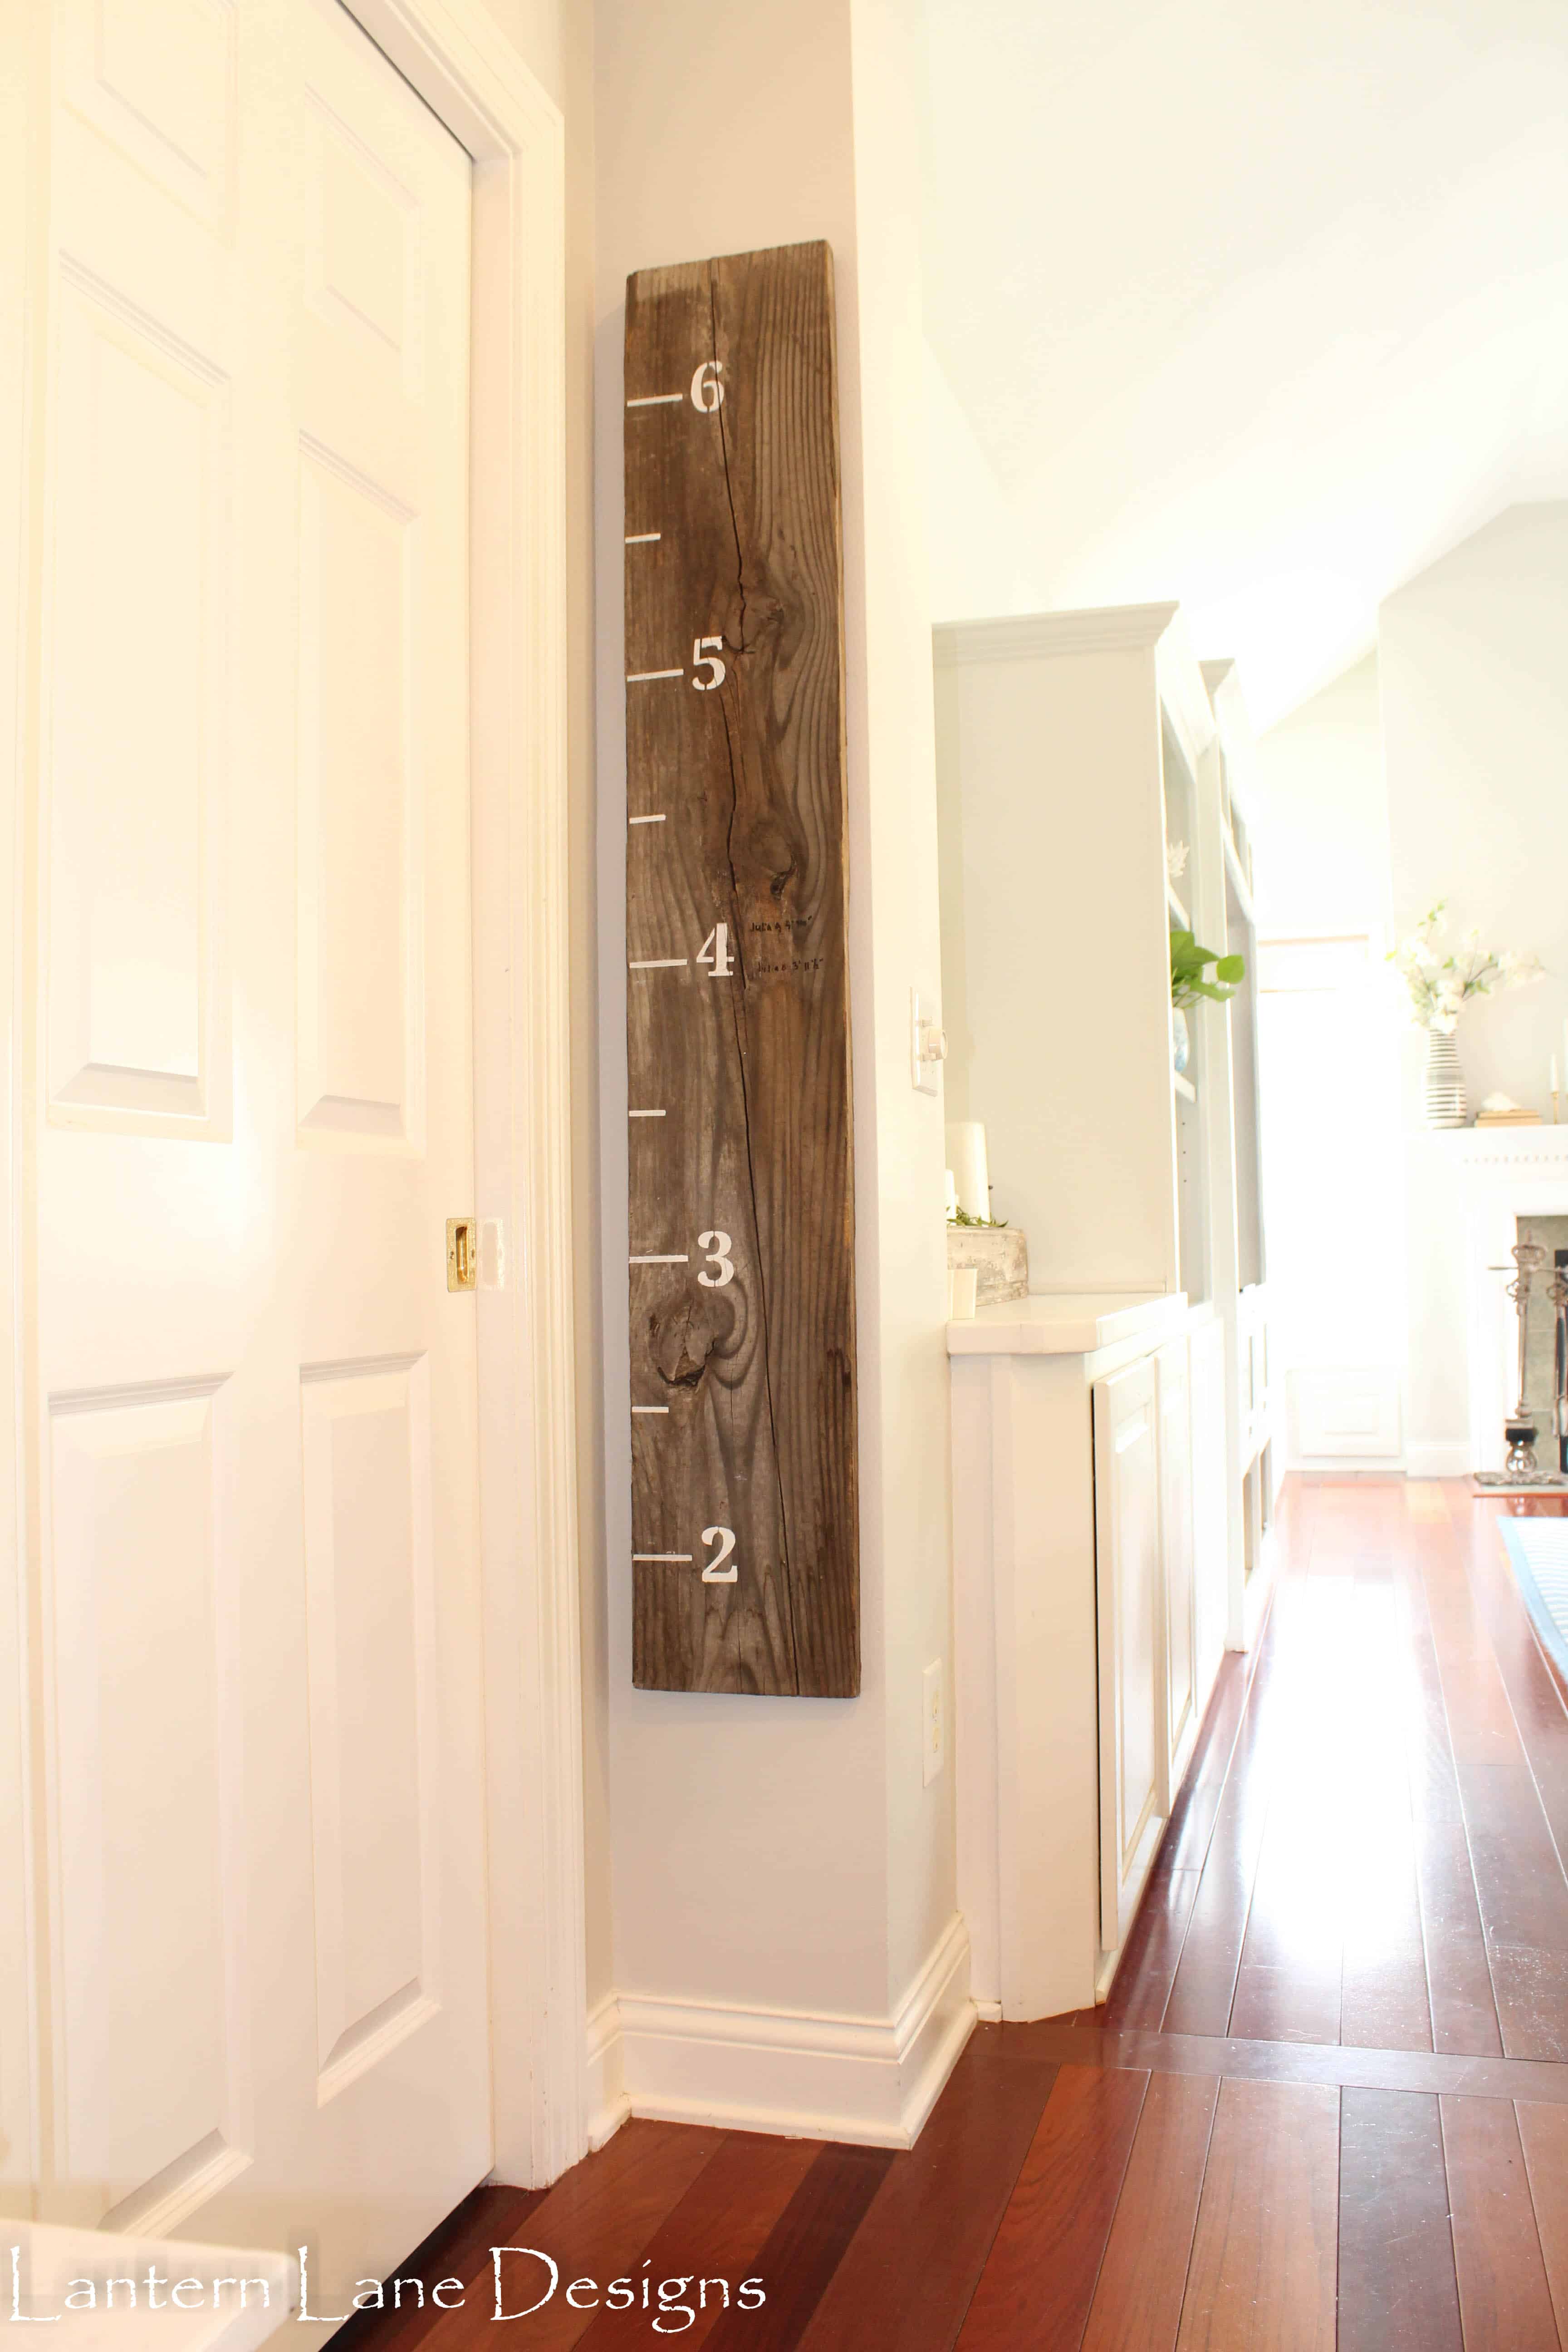
I added D hooks to the back of my board and hung it up on my wall. Hanging this bad boy so that the 6 feet mark was really 6 feet was all kinds of annoying but I did it and only took two splinters to the hand. I plan on just writing my kid’s heights to the board from my old laundry room wall and continuing that from here on out. So the next time we move (which won’t be for a looooong time) I can just take this bad boy with me and have it for memories.
If you can get your hands on some old wood planks there are so many easy possibilities on this one…think front porch sign….but for now I can finally measure my kids again…
Follow Me!
[mailerlite_form form_id=4]

9 Different Ways To Decorate A Mantel