HOW TO TRANSFER PHOTOS AND WORDS TO WOOD USING FREEZER PAPER
[mailerlite_form form_id=8]
If there was ever a time I felt like being stubborn and persistent I decided this was the project for it. I had so many other projects forming in my head using this same technique so it just had to work.
It didn’t…the first two times. Who knew something you see all over Pinterest could be such a pain?! Even DIY bloggers have Pinterest fails. I have had my fair share of them. More than I want to admit.
I initially started this project out using the Mod Podge transfer technique. That turned into a nightmare. I have no business using Mod Podge. It just doesn’t work for me. At least for the projects I work on. Maybe someday but not this time.
So I moved onto Plan B…the wax paper method. It worked but it took me a few tries. Actually I used freezer paper. I couldn’t find wax paper at my local store. Part of me wonders if wax paper would have worked a little better? Maybe the next project I’ll use wax paper…once the nightmare of this project wears off. Kidding…I have had worse DIY experiences. You know, like the time I almost starched my mother in law to a wall…
Items needed:
- Wax paper or freezer paper
- Wood to transfer your project onto. I found mine in the craft section of Walmart. Hobby Lobby has some as well and you can also make your own with scrap wood. I went the easy way and just bought mine
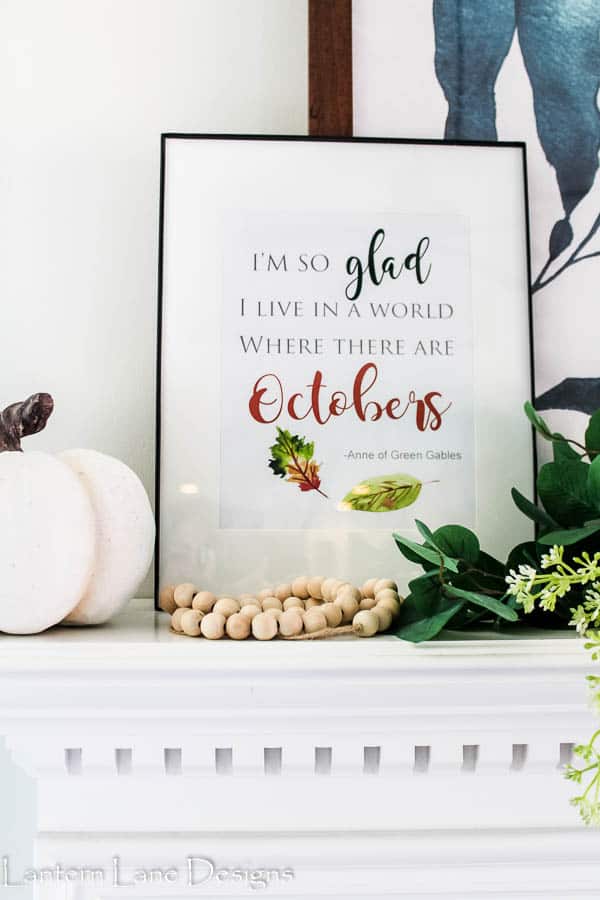
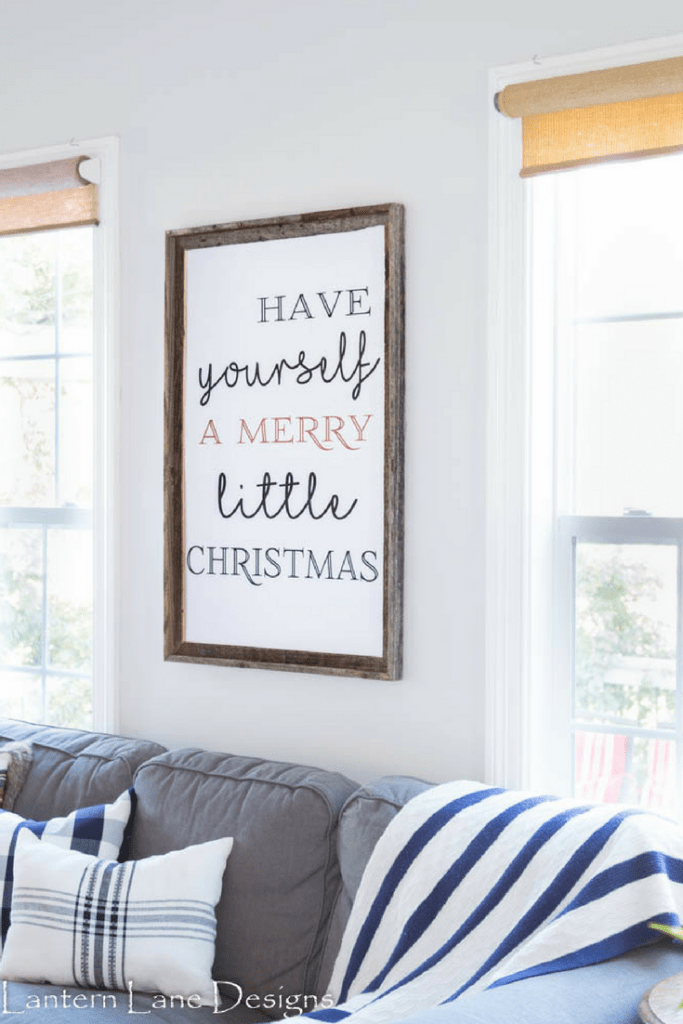
- Photo you want to transfer. I used my Hocus Pocus sign I made. You can find it in this post here. I have all my free printables saved in my resource library that you can access when you sign up for my newsletter.
The first thing you need to do is reverse/mirror the image (if you are using wording) so that the words will transfer in the right direction. If you are just transferring a picture you can probably skip this step. Most computers will let you flip your document before you print it out. I have saved the reversed image of my print in my google drive for you as well to save you a step.
Now you need to print the mirrored image onto your wax paper/freezer paper. This will only work if you have an inkjet printer. Do not attempt this was a laser printer. Rumor has it you can ruin your laser printer.
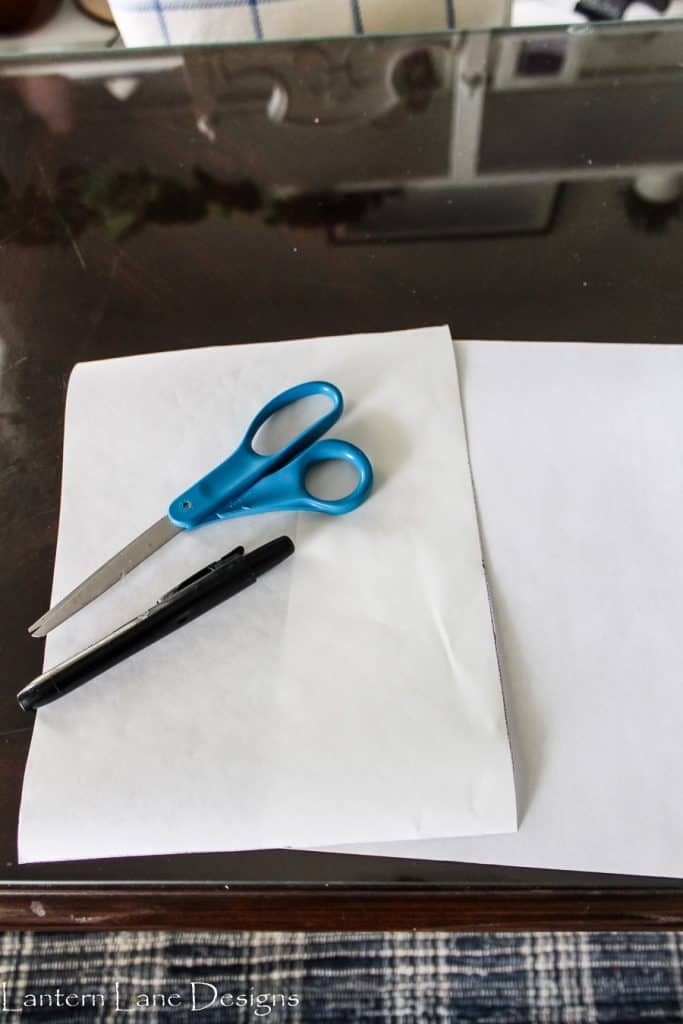
Trace a piece of printer paper out onto your freezer paper and cut your freezer paper to the same size as your printer paper.
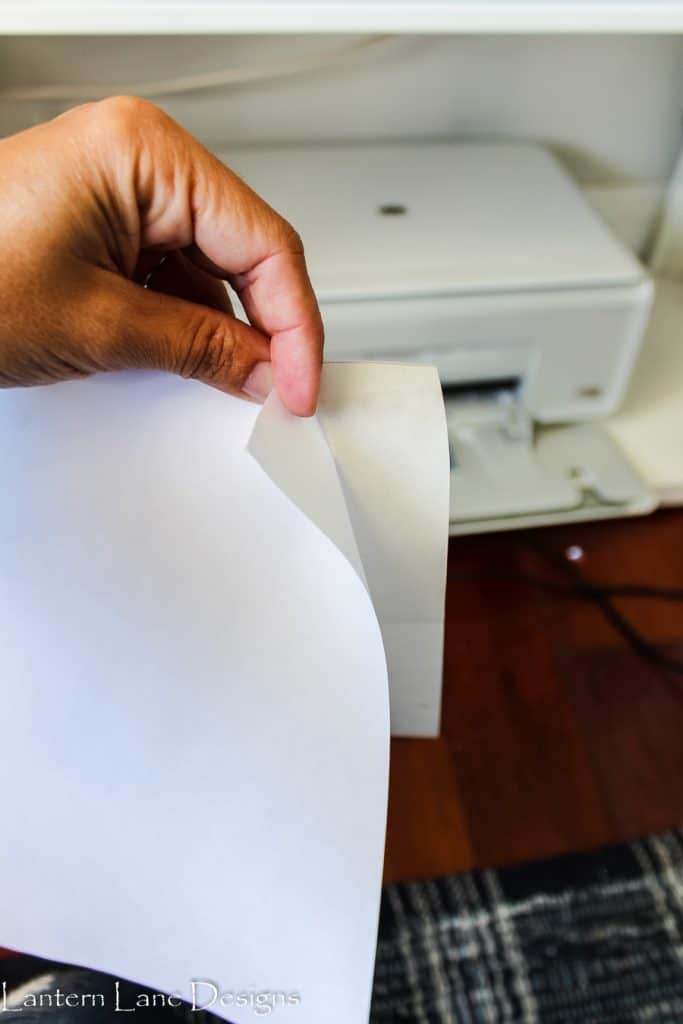
I highly suggest, using double sided tape, taping the freezer paper to your printer paper. Make sure you have it taped so that the ink goes onto the freezer paper when it gets printed. I know each printer is different. If you are using freezer paper, the glossy side is the side you want the printer to print on. Look closely and you can see the double sided tape in the corner.
Feed the freezer paper taped to your printer paper into your printer and cross your fingers. The first few times I attempted this I did not tape my freezer paper to a piece of printer paper and the noises coming from my printer were terrifying. Freezer paper is noisy when it is getting all crumbled in your printer.
Once it comes out of the printer the ink will be wet so be careful. Remove the printer paper from the freezer paper and put your freezer paper face down carefully onto your wood. Once you have it positioned where you want it, it needs to stay there. Remember the ink is still wet, you can smudge your project.
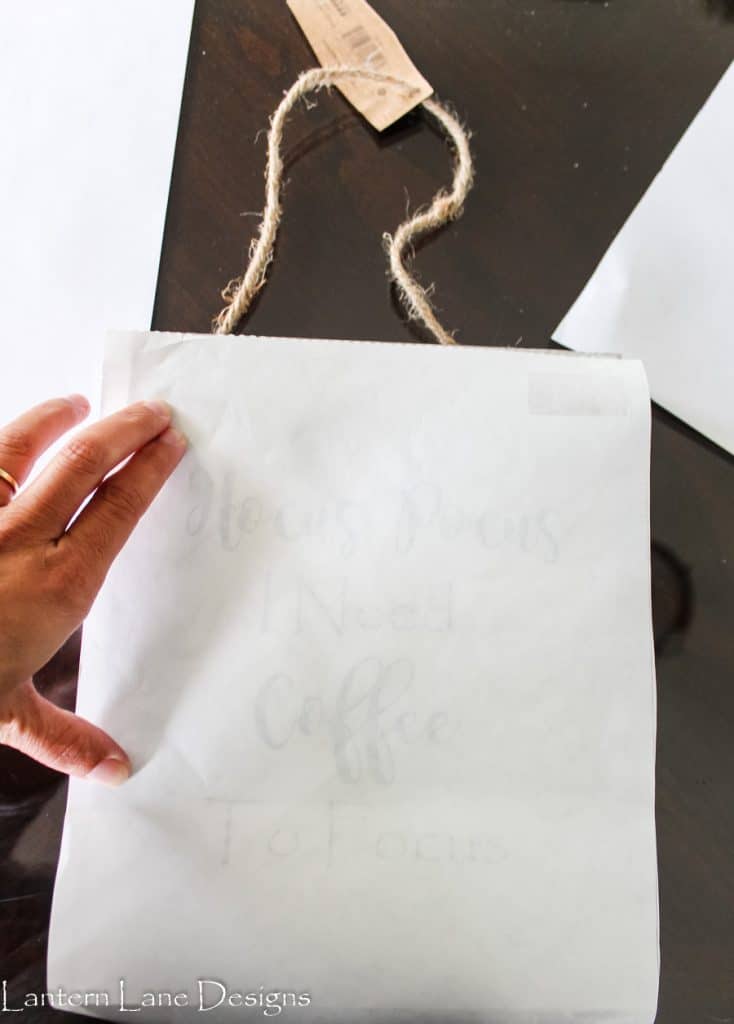
With a good amount of pressure, use the back end of a spoon to rub across the freezer paper over the words you want to transfer. I didn’t get a picture because I was afraid to move my hands and smudge my project. If you are careful you can take a peak to see if it’s working.
I will be honest, mine didn’t transfer as dark as I wanted it to. I might have waited too long from when I got it off the printer to when I started transferring it. It also could have been the wood I was using. I noticed it didn’t transfer too well on the rough parts of the wood. I used a black colored pencil to color in the areas that I felt looked too faded.
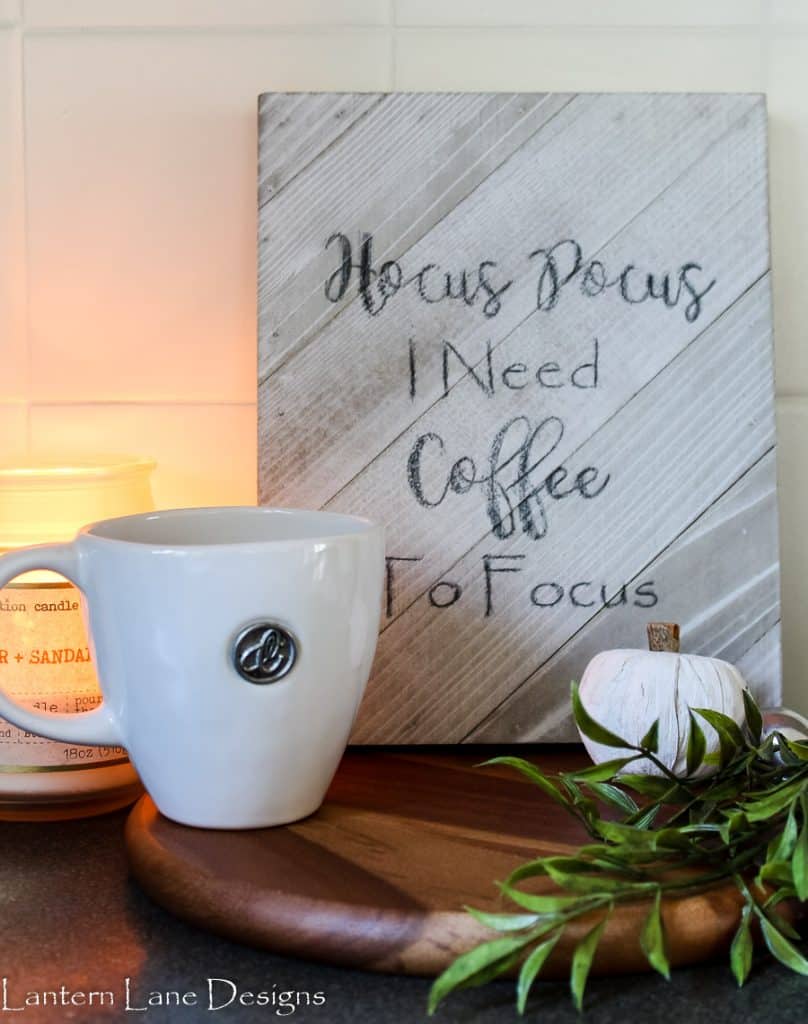
And done! I’m glad I got this trial run done so I can focus on some more of these projects once Christmas gets closer. I have plans!
P.S. How cute is that monogrammed mug? The lovely people from Vagabond House sent it to me. will make a perfect gift for the holidays (since Christmas is on my brain!)
If you want to save this for later, you can pin it here:

Follow me on Facebook and Instagram! Come Pin with me on Pinterest!
YOU MIGHT ALSO LIKE