How To Paint Tile (To Look Like Marble)
How to paint tile to look like marble. Come see how I easily painted the tiles on my floor around my fireplace to look like marble.
If you’ve been around here for a hot minute then you know I originally (sort of) wrote this blog post a few years ago. It was in with my fireplace remodel post. It got lost in the shuffle and I had this feeling it needed it’s own post.
If you are a blogger, you will understand.
So I am giving it it’s own post.
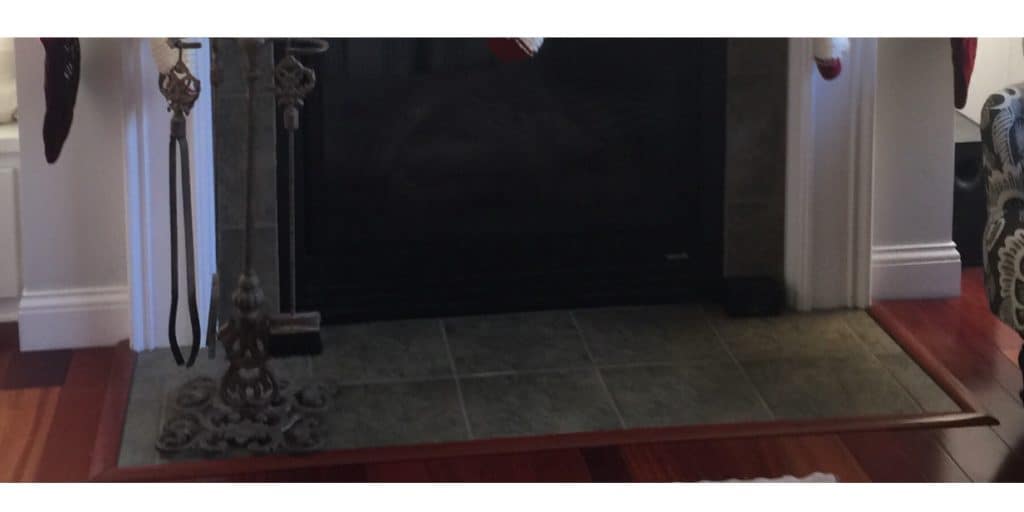
Let’s back up…a few years ago I was itching to update my fireplace. I found peel and stick tiles for the old tiles on our fireplace surround but I was stumped on what to do with the ceramic tile on the floor. The current tile was hunter green and I just wasn’t feeling it anymore.
I easily could have used the same peel and stick tile for the floor but I have a 90 lb dog that likes to lay right there and we also usually keep her bed here so I was worried how this tile would hold up with her nails and just in general.
My second idea was to use actual peel and stick vinyl tile to lay right over this tile but I was having all kinds of issues and in the back of my mind I kept thinking how much easier it would be to just paint the dang floor.
So that is what I did. I painted the dang floor. Deep down I knew this tile just needed a good ol’ paint job
Painting your tile surfaces is a great option to get the look you want without the hassle and can make such a huge difference to your space.
I painted our tile backsplash many years ago using Benjamin Moore paint so I felt like I had a good grip on how to handle this. Painting tile is not hard. I have highly considered painting the bathroom tile in the kid’s bathroom so stay tuned for that project.
This is hands down one of the easiest projects I have ever done and what looks like the most complicated…but it was so easy. Did I confuse you?
If you do some research there are a million and one tutorials on how to paint faux marble. I think there is even a kit out there that you can use on your counters.
I went “light” on my project if that makes sense. I didn’t want too much marbling going on to make it look too busy. I’ll show you exactly what I did but if you want a different look, the internet will be your friend.
Here’s my lineup
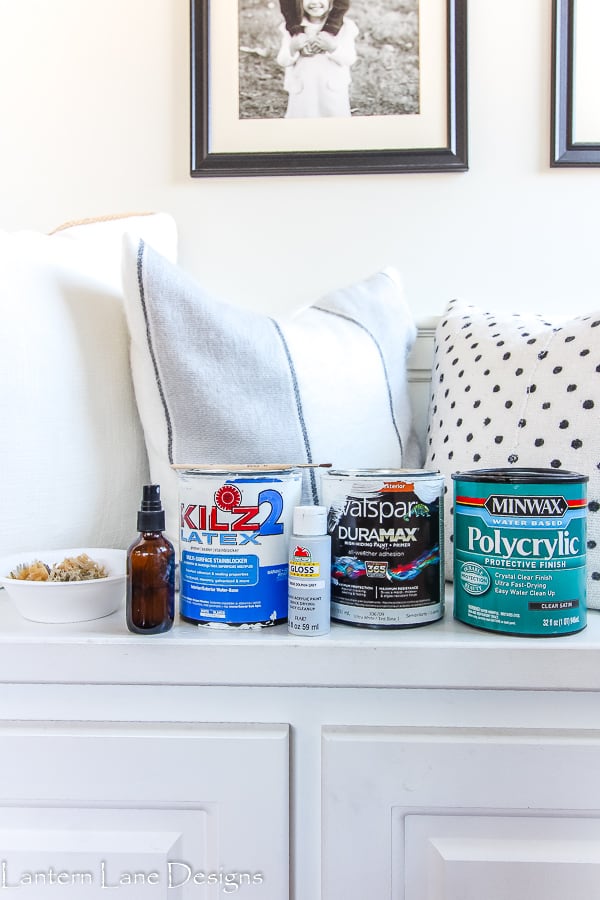
Items needed to paint tile to look like marble
(This post contains affiliate link. You can see my full disclosure here.)
(I’ll go into more detail of each in the steps below)
-Primer/Sealer
-White Paint (more on this below)
-Assortment of gray acrylic paint colors. I actually only used Apple Barrel Dolphin Grey from Walmart for my project. This is just preference.
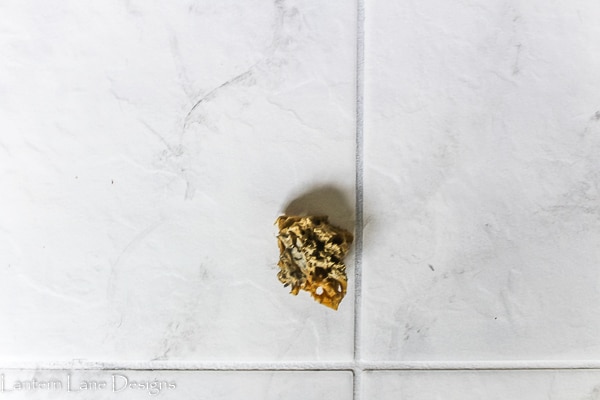
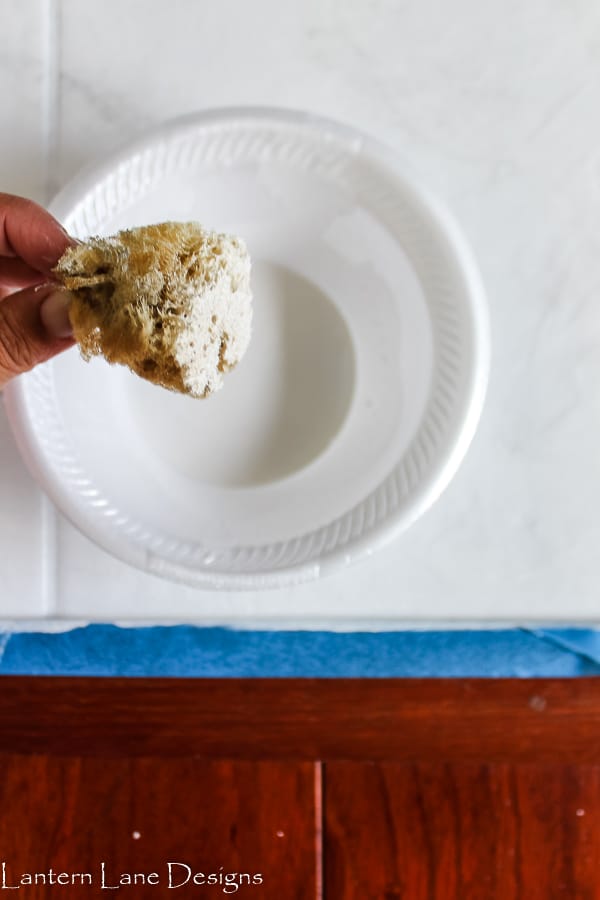
-Fine tip paint brush or feather
-Sea sponge
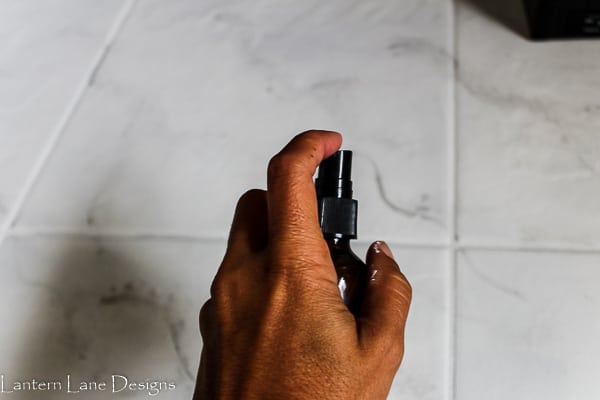
-Spray bottle with water
-Polycrylic top coat
-Painter’s tape
-Paint Tray
-Putty knife (good to have on hand if you need to scrap off any extra paint)
-Foam roller
-Clean your entire surface with scrub brush
First thing is to give your old tiles a good cleaning. I just used soap and water but a good blogger would tell you to use TSP, Krud Kutter or an abrasive cleaner. I would recommend this if you are painting wall tiles that are well loved (think backsplash)
-Paint two coats of Primer
I used Kilz 2 multi surface stain blocker. I did a thin coat each time using my foam roller. I will be 100% honest with you, I have no idea if this is the exact and only primer you should use to paint tile but this is what I had on hand and this is what I used. It had all of the words I was looking for in a primer….multi surface, good sealer, excellent adhesive. Check, check and check. I made sure to get a good coat on the grout lines too.
-Paint two coats of white paint
I used Valspar Duramax Exterior paint and primer. Again, I have no idea if this is the best product for this job but again it is what I had and what I used. Also, since it’s exterior paint, I have high hopes it is more heat resistant. I purchased this paint this past summer for our outdoor deck and the paint guy at Lowes said this is the best outdoor paint (according to him)….so in my mind it should work for the tile floor by our fireplace. If you are painting high traffic areas (ie bathroom floors) I would use a floor tile paint or floor paint. You can find something of the sorts at any local home improvement store. Even an epoxy paint can work for this project.
(I painted our mudroom floor that gets plenty of foot traffic with chalk paint.)
-Now for the next step and fun part
This is the part where you might get a tad bit nervous but just remember it’s just paint and can be painted over and wiped off if you work quickly enough. Make sure you go in the same direction with your faux veining. If you want you can grab a sample of marble at your local hardware store to bring home to try to mimic but I just winged it.
As you keep going, this will get easier and more fun. I could have done this all day. I also worked in small sections.
Step 1: Draw a squiggly line with your gray paint (you will see the professional word “squiggly” alot in the next few segments)

Step 2: Spray your squiggly line with clean water
Step 3: With a sponge start dabbing lightly to absorb some of the water. Some areas I dabbed harder and some lighter
Now at this point, if something is looking off to you, just wipe it off and start over. Once you get the hang of it, you can get all crazy and draw lines coming off of other squiggly lines.
Step 4: Once I got all of my squiggly lines sprayed and dabbed I watered down some white paint. I have no idea what the ratio was. Again, I am one of those DIYers. If there was an area that looked liked it was heavy on the marble, I would use my watered down paint and start dabbing over the area. Again, some areas harder than others.
Don’t completely cover the whole area with the watered down paint. Just lightly dab it. This also helps give your tile some dimension…well at least that is what I am telling myself it does.
I played around with it for a few days. I would just keep looking at it and maybe dabbing a few more times here and there. I knew once I put a few coats of poly on it, there was no going back.
Speaking of poly…I plan on applying two coats of Miniwax Polycrylic in clear satin to the floors…once I get the courage to call this project done. It’s the same poly I used on my buffalo check floors in my mudroom and so far they are holding up great.
However, I know how I operate and I can already tell I *might* skip this step. I’ll let you know what I decide to do…
But again, dang, this DIY project was so worth it.
I forgot to take a good before picture but I found this one on my phone from our first Christmas here
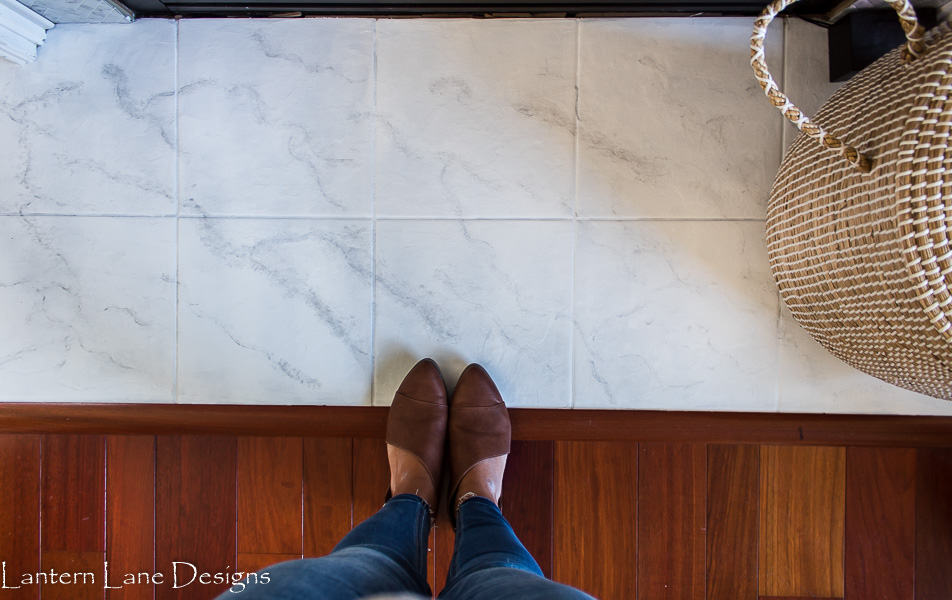
And then my favorite part, the after…

Here’s another view of the tile. I just can’t get over the magic of paint

If you want to save this for later, you can pin it here:
How To Paint Tile (To Look Like Marble)

You might Also Like:
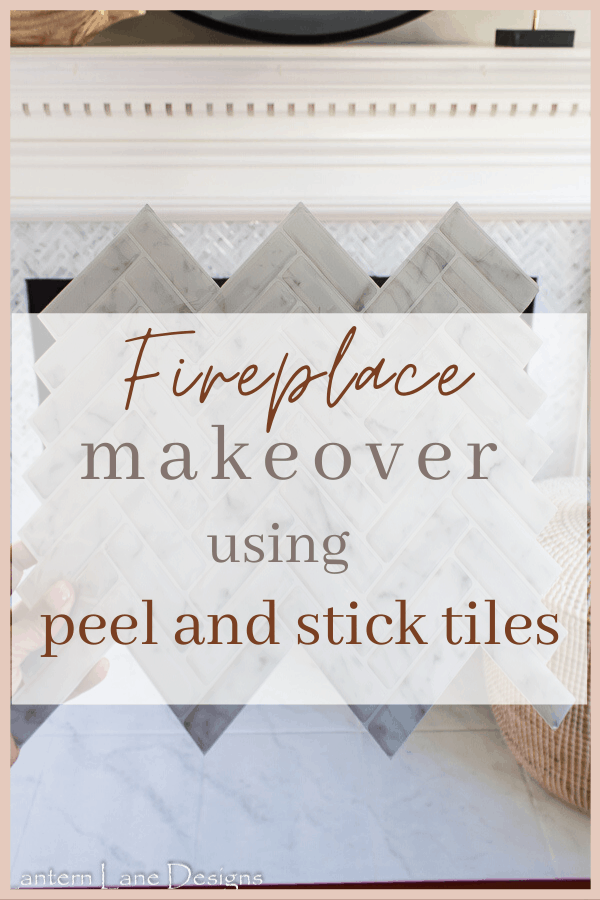
Fireplace Remodel Using Peel And Stick Tile
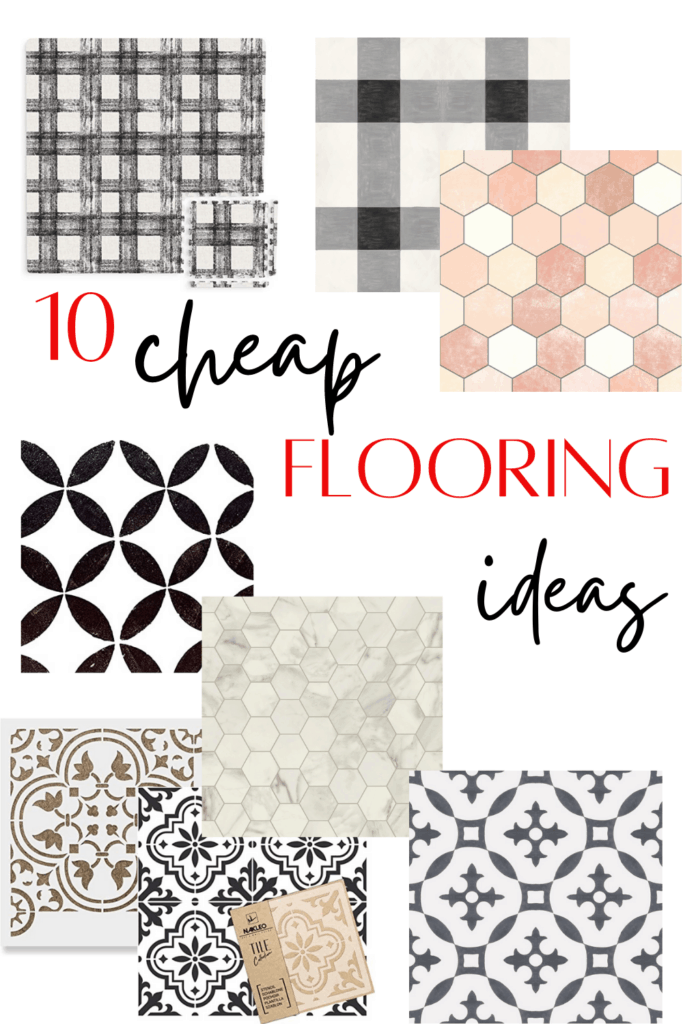
Cheap Flooring Ideas (That Do Not Look Cheap)
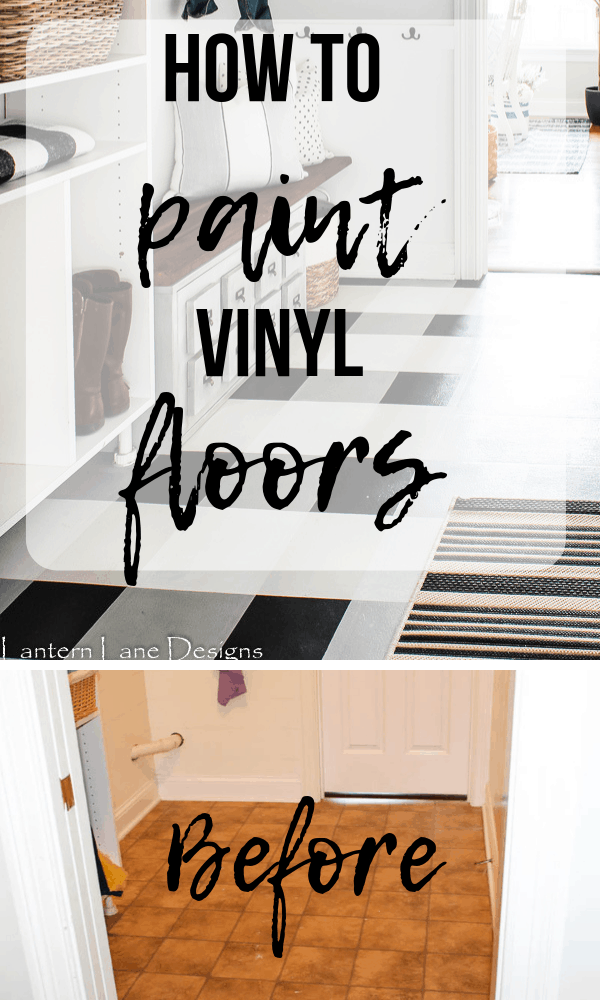
How To Paint Vinyl Floors Without Using a Stencil