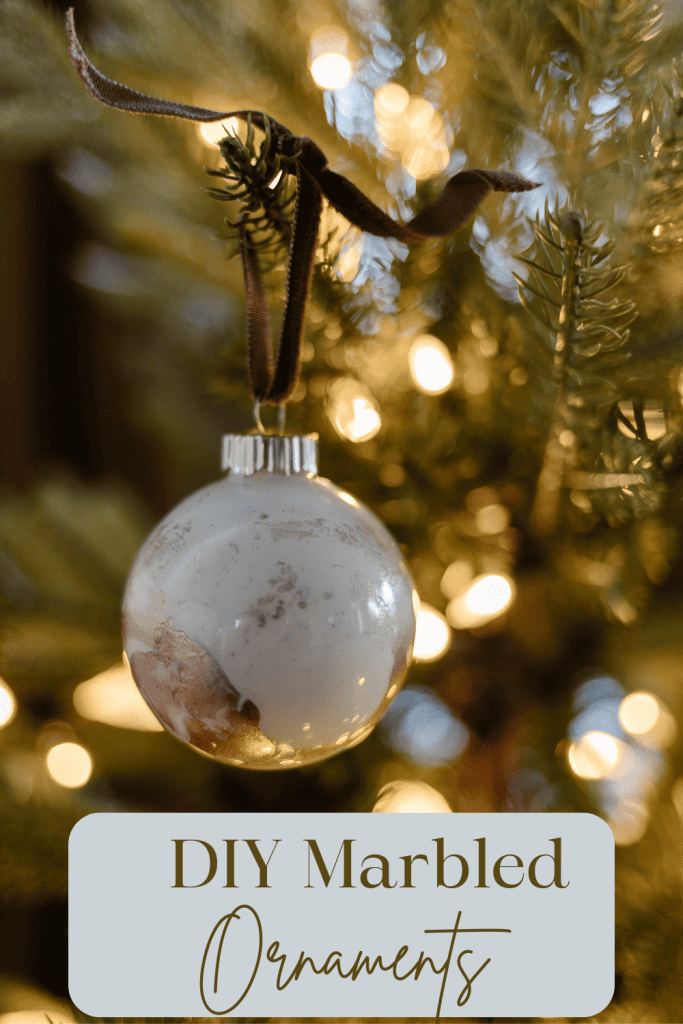
DIY Marbled Christmas Ornaments
The other day I had a wild hair to make some Christmas ornaments.
I definitely do not need one more ornament in this house but for some reason I was determined to waste a whole day making ornaments
Back when I started this blog, I did a ton of DIY projects. Some projects I loved and some I despised. One project I remember loving was when I made my own marbled vases.
So I thought, what the heck, let’s make some marbled ornaments.
When I made my vases I preferred using nail polish over using the paint. I did not have the colors I wanted in nail polish when I decided to get my wild hair to paint ornaments so I used paint instead.
It gave me a different look than what I was originally wanting but I still love the outcome
But do not worry I ended up getting some nail polish and did the other version of these ornaments as well so I’ll share both below.
Items needed to make your own DIY marbled ornaments
(This post contains affiliate links. You can see my full disclosure policy here)
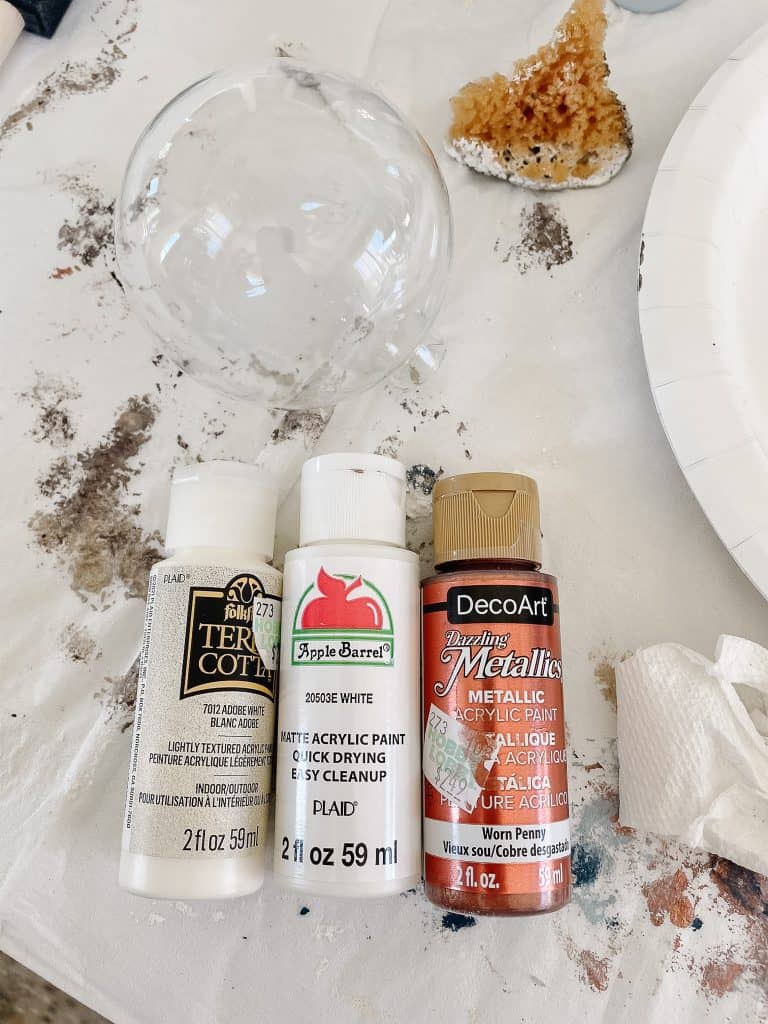
~Clear glass ornaments. I got mine at Hobby Lobby and picked two different sizes but you need clear ornaments only for this project.
~Paint colors of your choice. Again, I got my paints at Hobby Lobby. For most of my ornaments I used this combo
~Nail Polish (optional). This is if you want a different look. I used this brown nail polish and this gold nail polish
~Gold spray paint. This is only if you want to spray paint the tops of your ornaments. The silver tops weren’t doing it for me
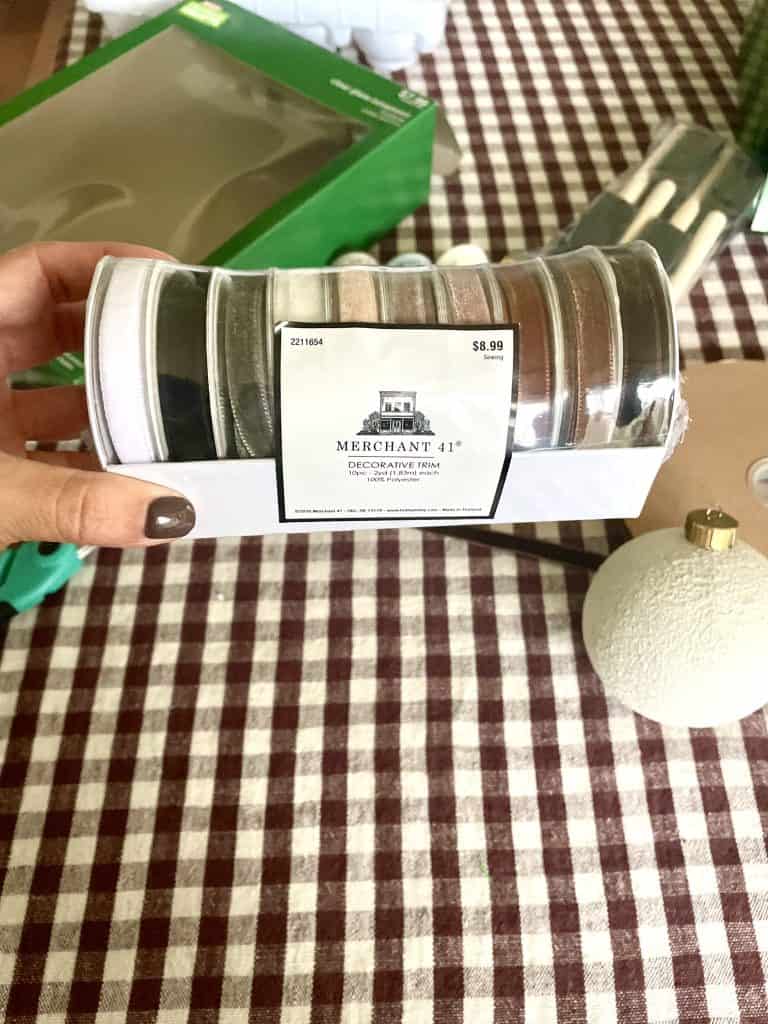
~Pretty ribbon or trim to hang ornament. I don’t care what anyone says, a pretty ribbon on an ornament makes all the difference. I found this packet of trim from Hobby Lobby and these colors were exactly what I was looking for.
~Patience. I rushed a few of my ornaments and I should not have and they dried sort of funky
This is the easiest DIY project you will ever do. I think there might be two steps involved
Step 1:
Pop off the tops of your ornaments. You can either spray paint them, rub and buff them or even use a metallic paint to paint them. Or you can leave them as is…whatever tickles your fancy.
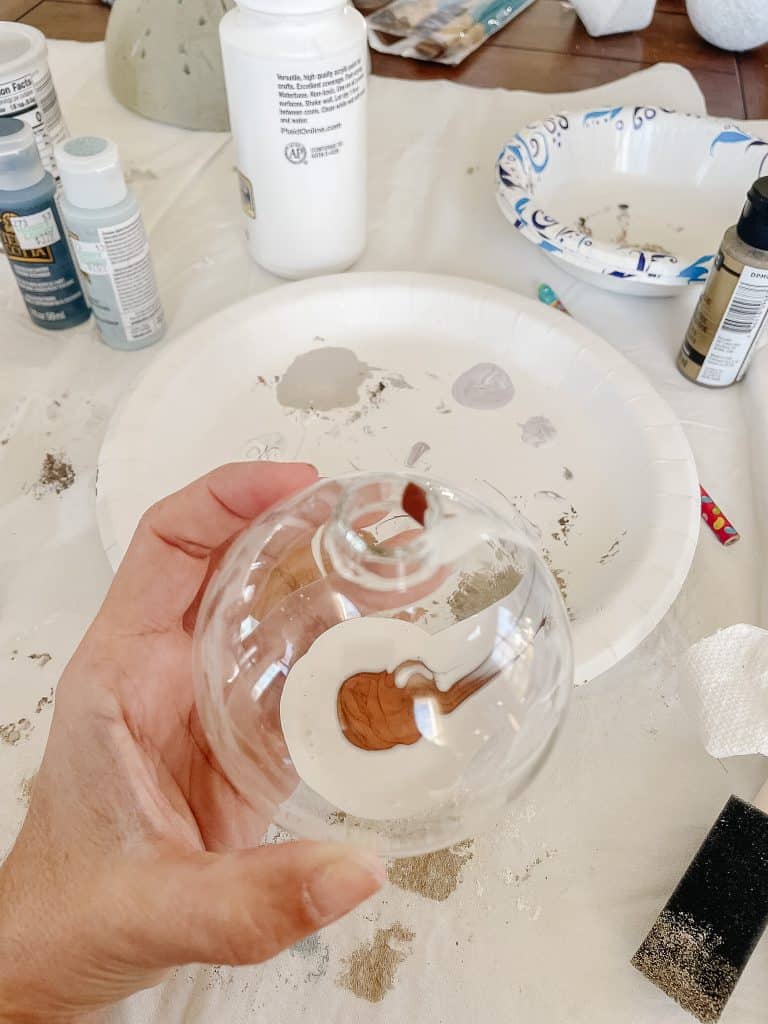
You simply squirt the colors of paint you want into your ornament. Use the littlest amount possible. You can keep adding as you go if you need more.
(If your craft paint is really thick you can squirt a drop or two of water in there but only the lightest bit possible and only if needed)
Step 2:
Now flip your ornament and move it around and watch the paint move around. In the beginning be careful to not let the paint fall out of the ornament
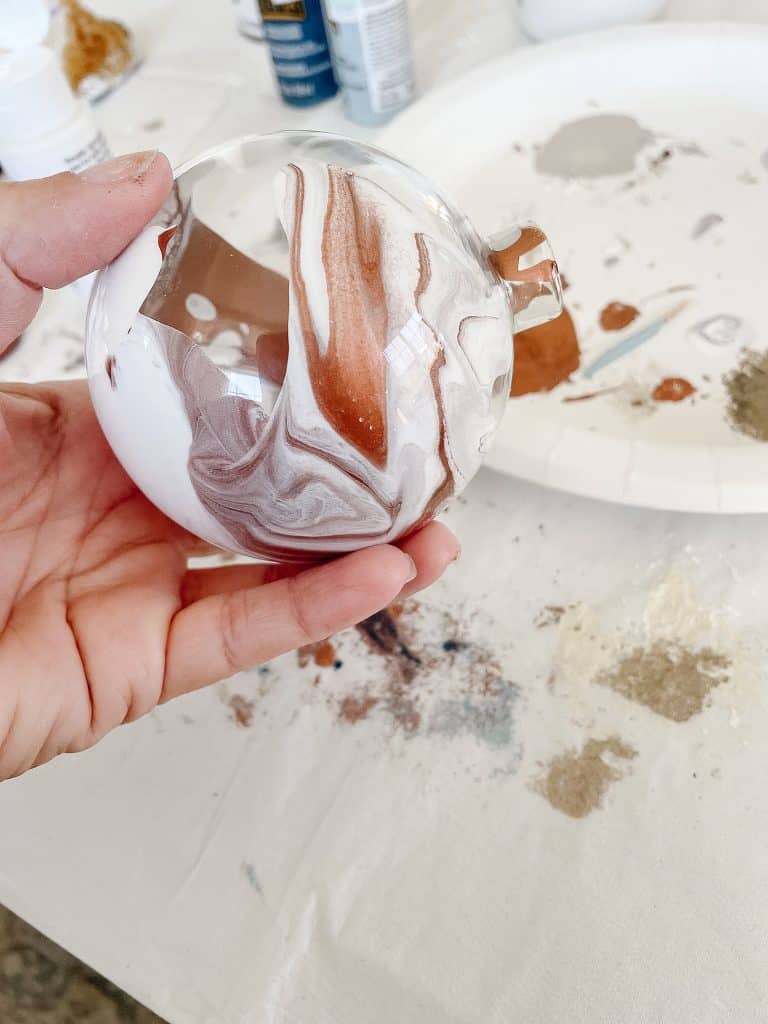
Like I said, you might have to add more paint as you go if you need more coverage. Depending on how thick your paint is, this can take some time.
As a disclaimer, if you are using paint only to marble your vases you should know that what you see at first in your ornament will look completely different as it dries. The paint colors will continue to dry and bleed into each other and you will get more of softer marbled look.
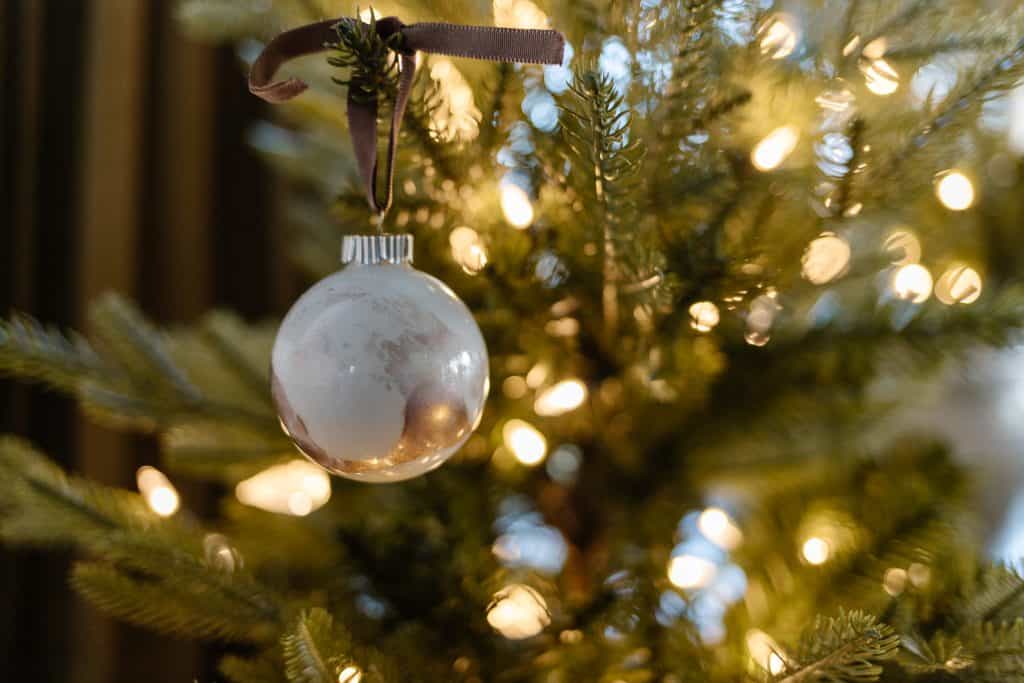
I do love how these turned out. Make sure to flip your ornament over to dry to let the excess paint to drip out.
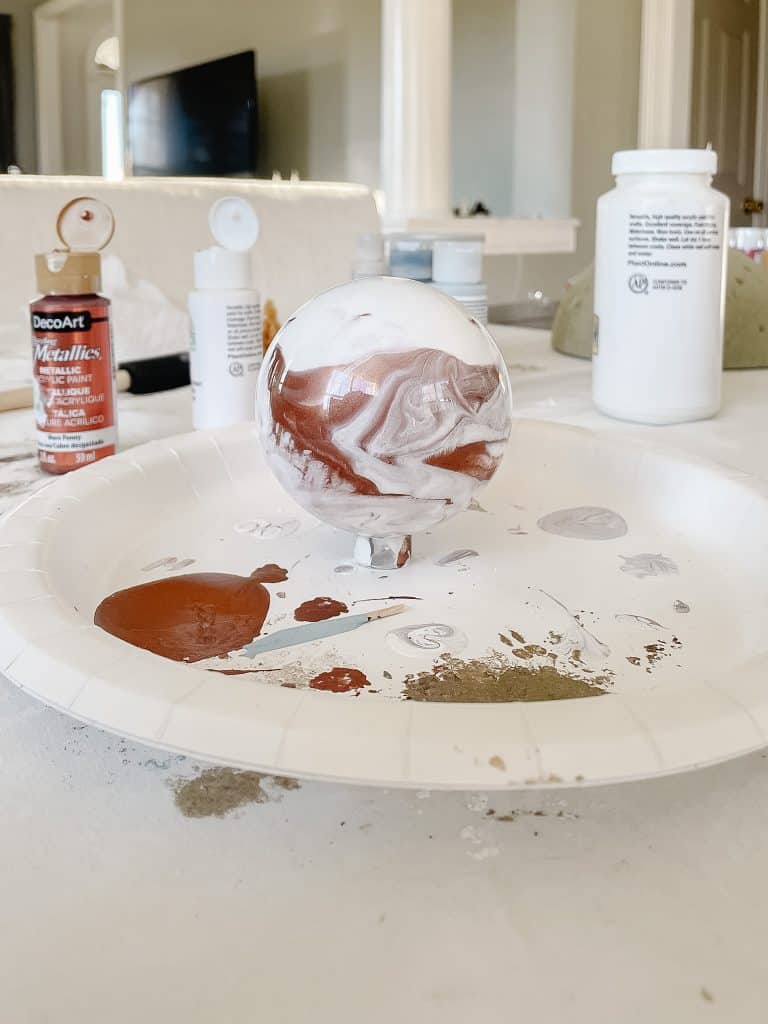
My biggest tip for you is to let all of your excess paint drip out and then flip your ornament back over so the opening is exposed and you can let the ornament dry quicker
I was impatient and hung my ornaments on my tree as soon as I could and gravity was not on my side when the paint dried.
The above ornament looks completely different now that the paint is dry.
I would show you what this ornament now looks like but I already hung it on the tree with all of my other DIY ornaments and now I have no idea which one it is.
Now, if you want a different look and something a bit more marbled looking you’ll want to grab yourself some nail polish.
You will repeat the same steps as above. The nail polish holds it own better and will not bleed into the paint and you will get more of a marbled look to your ornaments

Add your tops back on to your ornament, add a pretty ribbon and voila…you have yourself some pretty ornaments.
My kids love doing this project too so this can be a fun weekend project with your kids!
if you want to save this for later you can pin it here:
You might also like!
DIY Vintage Christmas Ornaments