[mailerlite_form form_id=8]
As much as I love pillows, I think I love curtains as much. They really finish off a room and can make a room feel cozier. I have been doing a lot of curtain projects lately and this project is one of the first ones I have ever done. This is my favorite kind of project. It’s quick, it’s easy, it’s budget friendly and it takes somewhat boring curtains and kicks them up a notch.
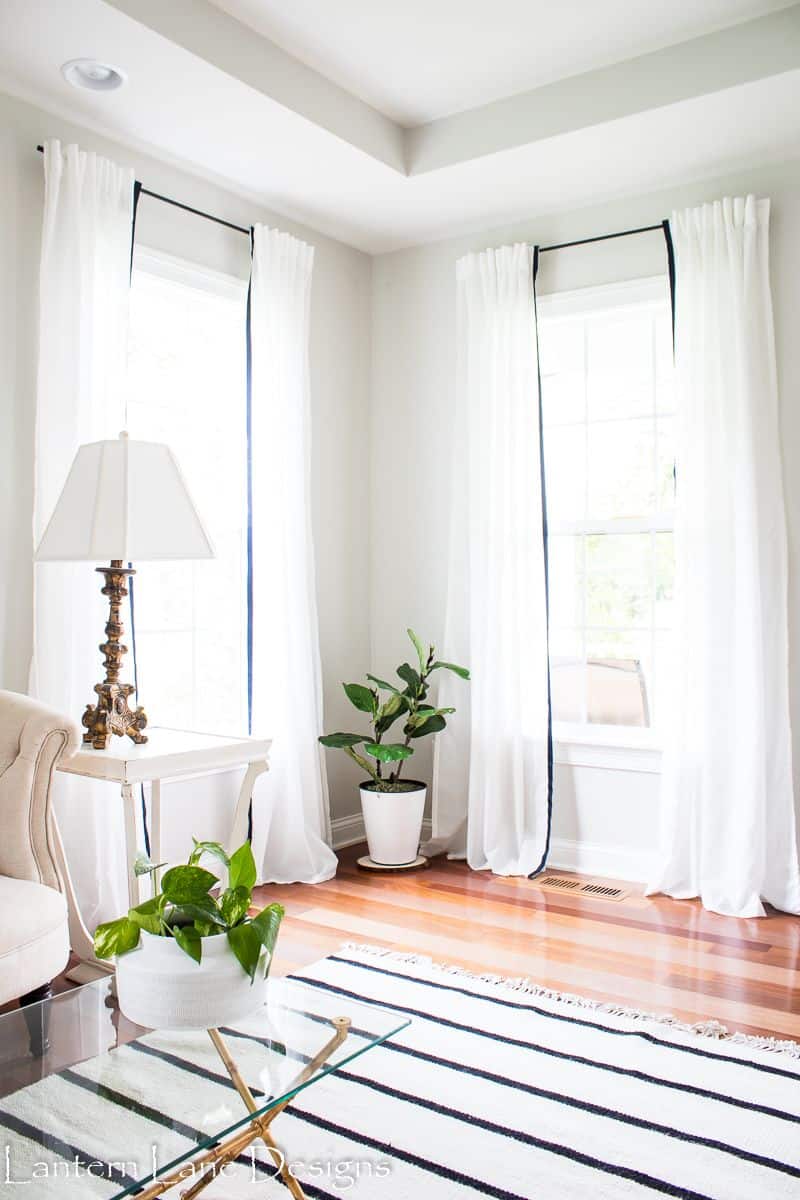
For this project I bought my very first pair of curtains from IKEA and I’m sold! The price for these curtains are insane. You can get a pair of curtains that are 98″ long for $10. It would cost me more to make them. I bought the VIVAN Curtains. They are light curtains, not sheer but not blackout curtains. If you do not have an IKEA near you, you can find some IKEA items on Amazon. The price will be more expensive on Amazon but you might be able to avoid shipping costs. I have no intention of closing these curtains for privacy. These are purely for looks. I did something similar to this back on Lantern Lane and I used inexpensive curtains from Target for that project.

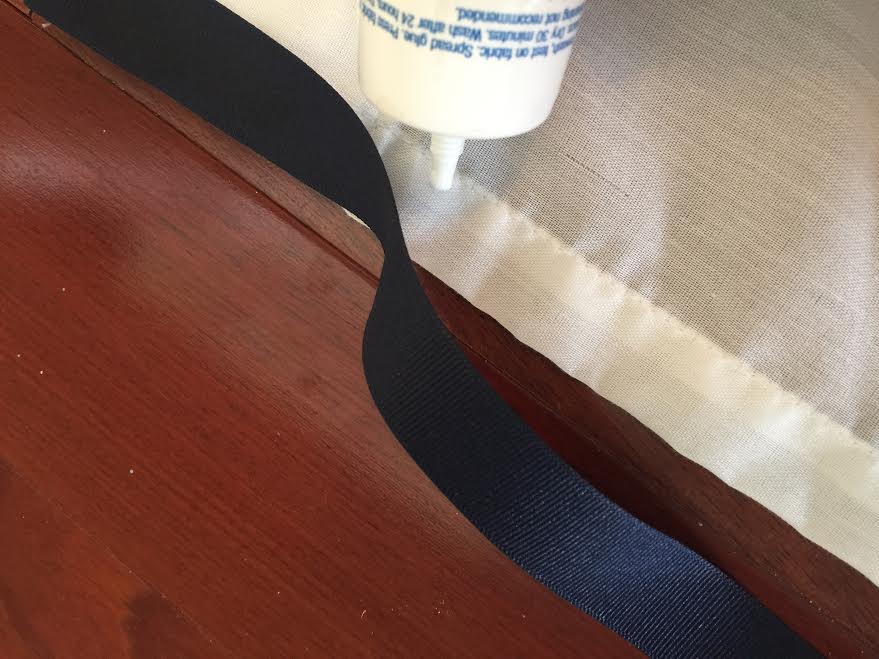
Your supplies for this project consists of three things…curtains, ribbon and fabric glue. For the curtains, it only made sense for me to use already made curtains. But you can use anything…tablecloths, drop cloths, sheets and even just fabric. You can also use any size ribbon. I went thin but you can go wider like this. You can also get all wild and crazy and use a different strip of fabric to add to your curtains. This idea is perfect if you want to beef up your curtains and make them look fuller. You can get an idea of what I am talking about here. You can also glue pom pom trim to already made curtains (very cute in a kid’s bedroom too). Check out this post to see more.
Making these curtains is easier than eating a pint of ice cream on a Saturday night. I threw my curtains in the dryer to get out any wrinkles. I then laid them out and folded the ribbon over the top of the curtain and glued a little bit of ribbon to the back side of the curtain. This will make the front of the curtain look cleaner.
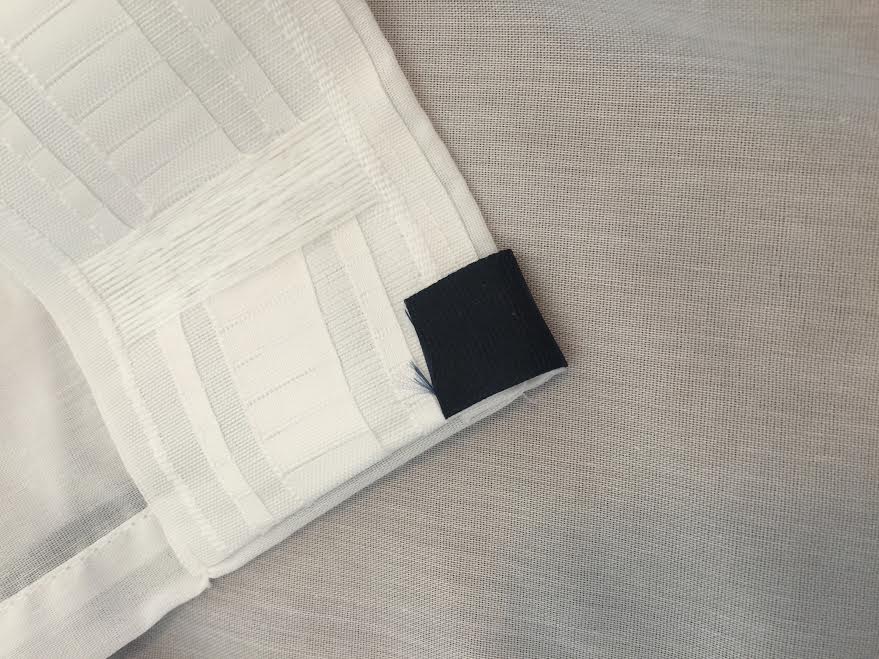
Once the back part was mostly dry, I continued gluing (on the front of the curtain) and pressing down the trim as I went. Takes 3 minutes to do one curtain. This was not planned but my ribbon is the same exact width as the side hem (is that what it’s called?). This project was meant to be. If you decide to do a really thin trim/ribbon keep this in mind as you will see the side hem if your ribbon isn’t thick enough.
I would recommend letting everything dry before you hang the curtains but I have no patience and hung mine immediately. They turned out just fine. I just added trim to the interior curtain hem and not on both sides of each curtain but you can do this any way you please.
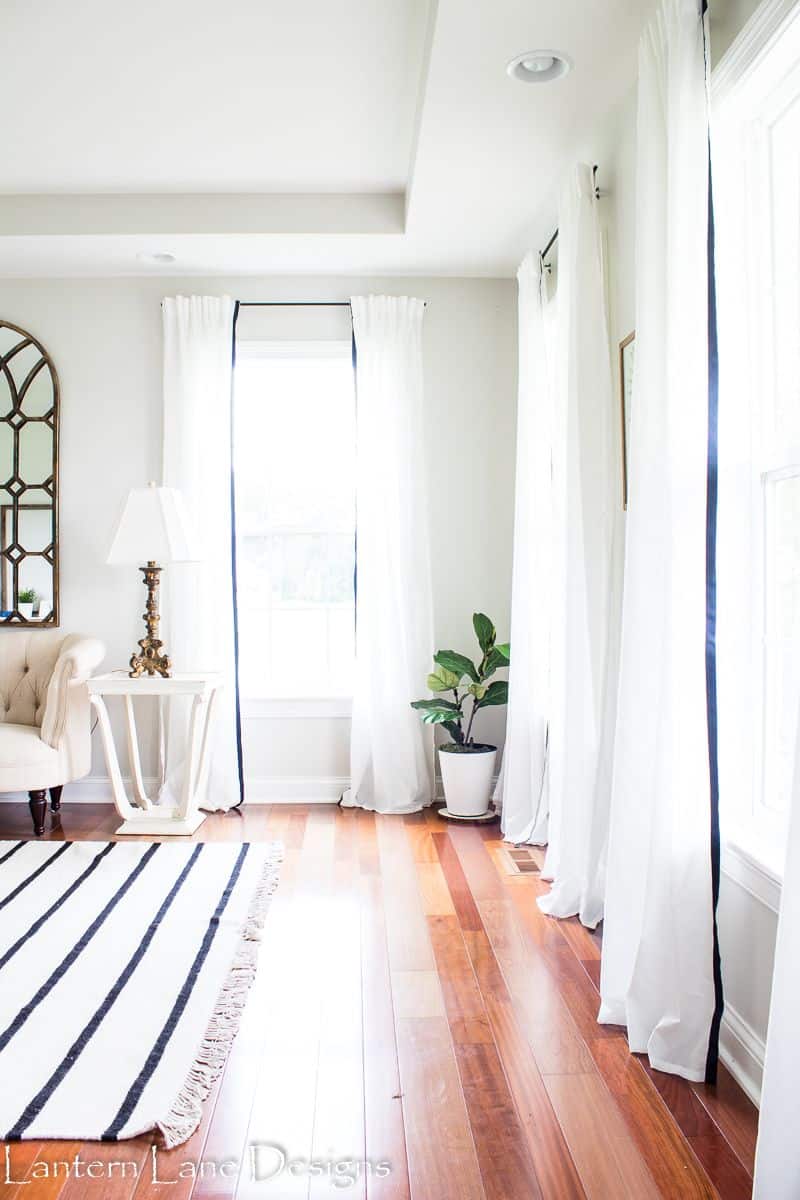
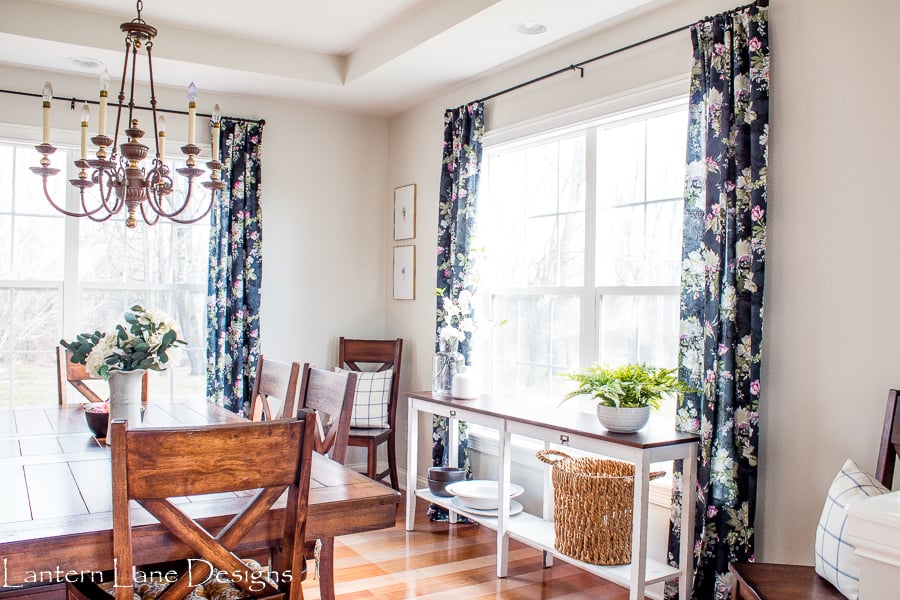
(Pay no attention to my dirty floors) Each curtain panel cost $5 and the trim was about $2 at Walmart. I did two panels with one roll of trim. I “made” these curtains for $6! It’d hard to beat the price of these curtains and they pair nicely with the curtains I made for our dining room which is connected to this front room.
Just in case yo were wondering:
- Paint Color: Behr Silver Drop
- Striped Rug can be found here
- Mirror: Hobby Lobby (found in stores only). (Similar)
- Settee: World Market (similar)
Follow me on Facebook and Instagram! Come pin with me on Pinterest!
[mailerlite_form form_id=4]
You Might Also Like!
No Sew Curtains And How To Fake A Pinch Pleat

How To Train Your Drapes And Where To Find Inexpensive Fabric
Wow! They turned out great!!
Thanks Tracy!