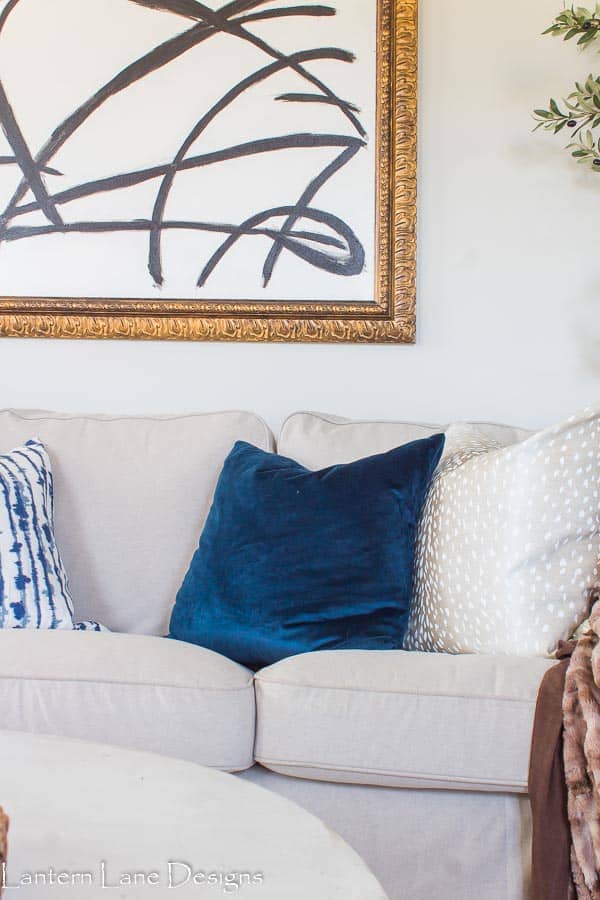
DIY Black And White Abstract Art
(How to upcycle an old painting to make it up to date and modern)
This was one of those Hail Mary diy projects. I had no idea how it would turn out and honestly I’m still not sure how I feel about it.
But this project was free.
So therefore I love it.
The word free always makes me love something more.
This design might not be your style BUT you can use this technique to make whatever your design style is.

(This post contains affiliate links. You can see my disclosure policy here)
Paint is always my solution to everything. If there something I’m not liking…I paint it.
Paint is magic. And usually after a quick paint job, I love the old tired piece all over again
Too bad this technique doesn’t work with my dog though
Or Fido would have had many paint jobs lately
Or dog’s name isn’t really Fido. It’s June Cleaver. But if I told you I wanted to paint June Cleaver you’d be concerned.
Anyways, I’m rambling. Stay focused Jenna
I’ve had this picture in my basement for years. I bought this picture 15 years ago when we lived in our first house.

The 2004 Jenna liked it back in the day….the 2020 Jenna; not so much.
But for some reason I never got rid of it. I think because it’s such a large piece. It’s 42″ wide and I know finding something that wide again for under $100 would be difficult.
I knew deep down I could DIY something.
So I did.
I found a few inspiration pics on Pinterest and just went for it.
I had everything I needed on hand, This project costs me $0. If it turned into a complete flop then I was out $0. #nobrainer
Also, this little project is not perfect. If you are a perfectionist, I should tell you to move on. But I won’t because I’m pretty funny so just keep reading.
And you never know, you might want to become an imperfectonist after you see this project (likely not)
Rub ‘n Buff for frame
The metal frame was a little too dark/bronze for my liking so I tried out some rub and buff I have had in my basement for 3 years. Goodness knows why I ever purchased it but I had it so therefore I used it.

I can’t say I love Rub ‘n Buff. I don’t hate it, but I don’t love it like I do spray paint. Had the weather been warmer I might have spray painted the frame.
It worked out fine and quite honestly I had no idea what look I was going for.
I just used an old tshirt and (as the product is called) I rubbed it on and then buffed it off.
I think I buffed off less than I wanted to. But I am impatient and didn’t want to waste time on buffing.
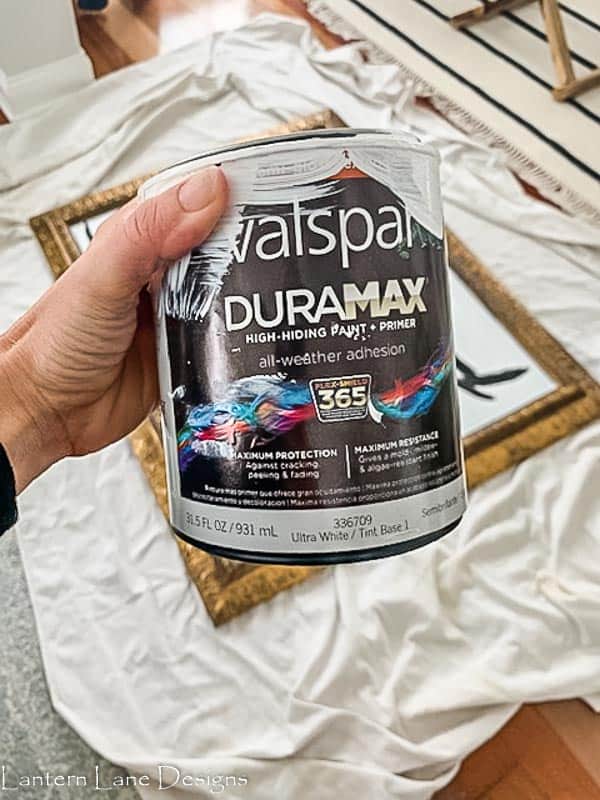
Prime your glass
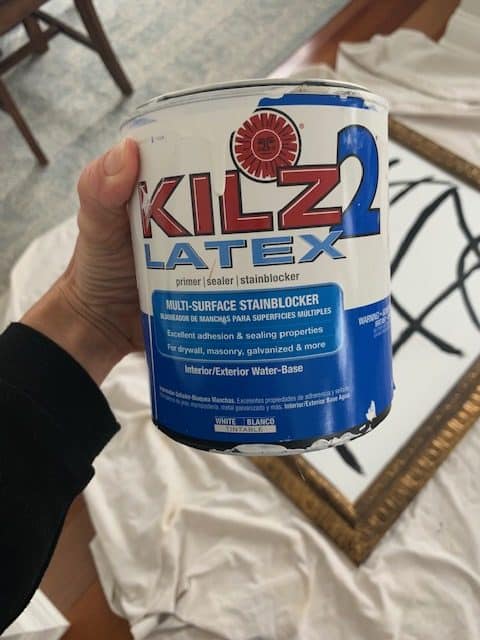
I used the same paint I used when I painted the tile on my fireplace. I have no idea if this is the correct paint for this project but you know me…I don’t care.
(You can see more about my fireplace makeover here)
I did two coats of primer….I think. Maybe I did one. Who knows.
I didn’t feel like taping my frame so I just used a small craft brush to cut in and then used a small foam roller for the rest of the glass.
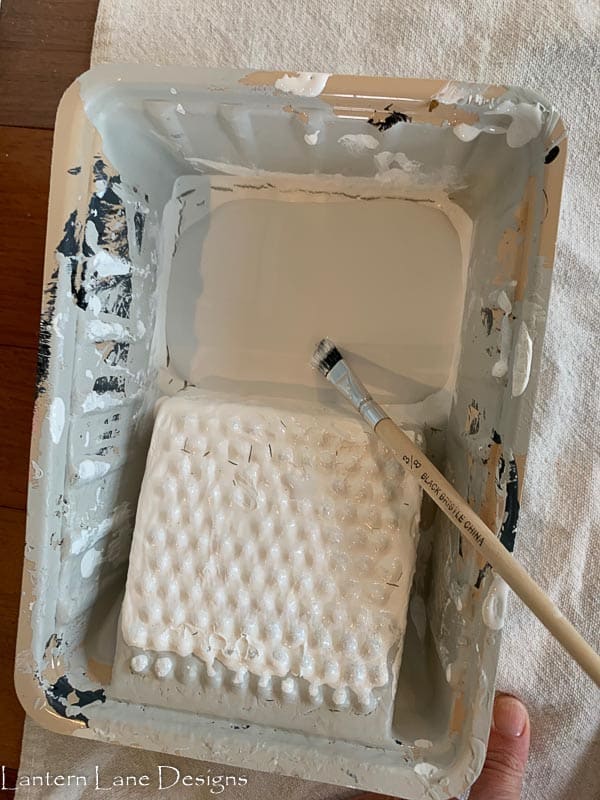
I worked in sections.There is no real reason for that, it’s just what I did.
However, I would highly recommend that you paint over you glass as carefully as you can. This is glass after all. It breaks.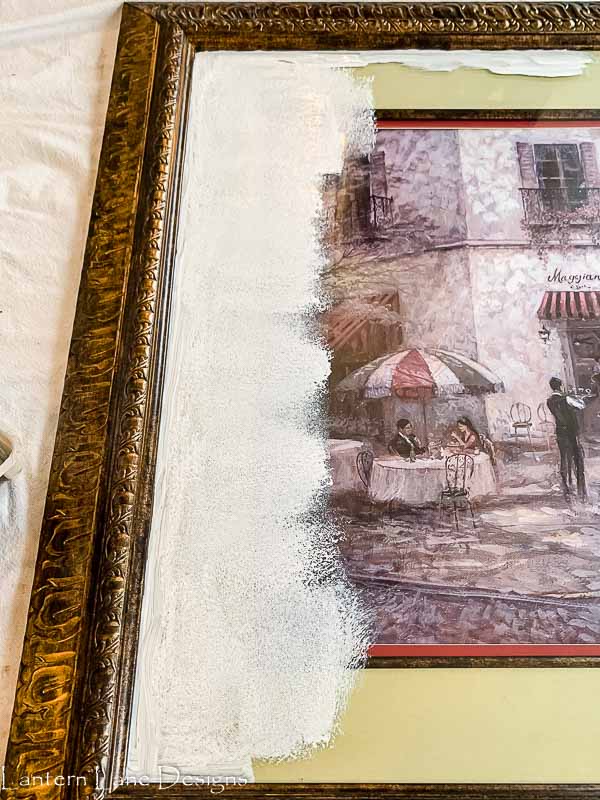
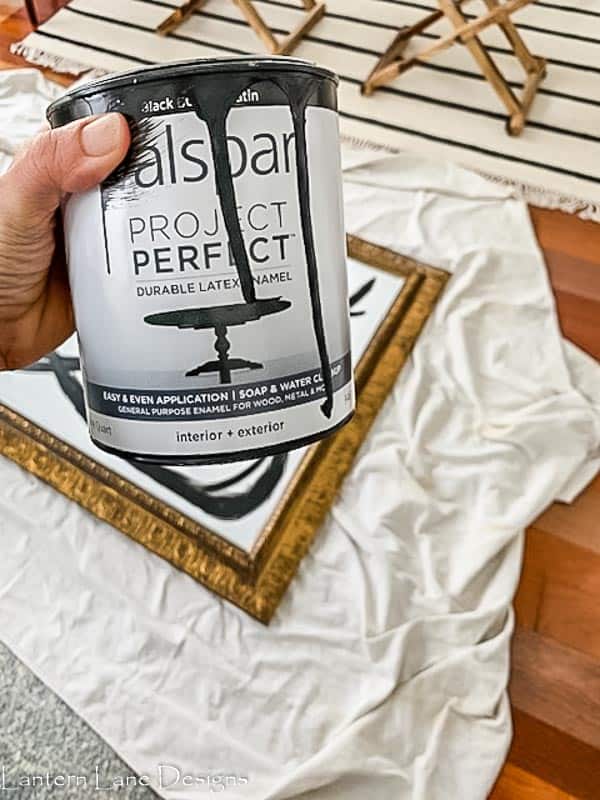
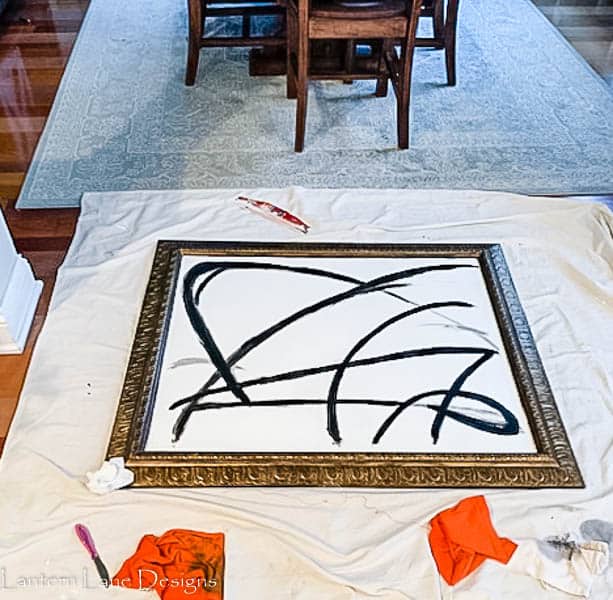
Paint your glass with paint of your choice
Again, I used the same paint as I did on my fireplace tile. And once again, I used a small craft brush, worked in sections and followed up with a foam roller.
I did get smart though after the first coat of paint. I forgot I had this niffty little tool which helped with the cutting in part.
Two coats of paint later and I was left with a blank slate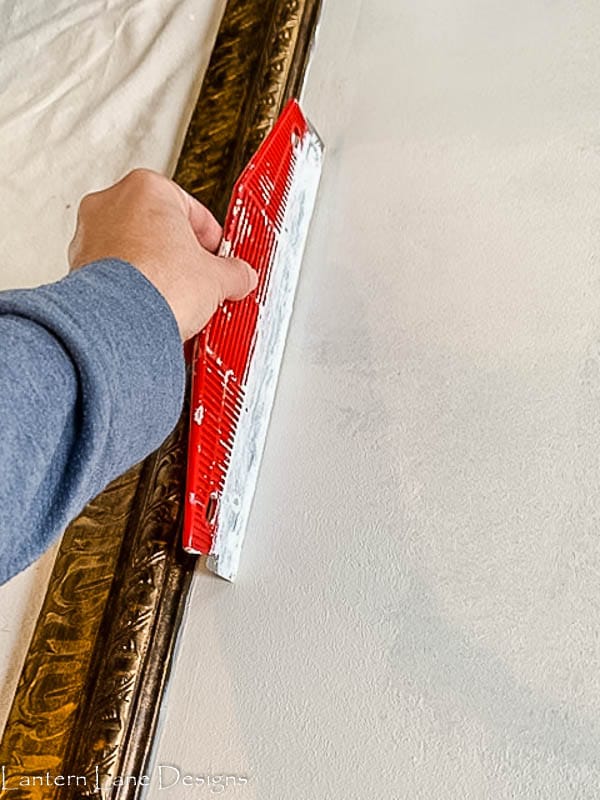
And then I started to panic. I am the most non artistic person on this side of town.
Remember when I said this project is not perfect…keep that in mind.
I really don’t know what I was doing over here and I don’t recommend starting this part when the kids are coming home from school or your dog has a crazy burst of energy.
Because I screwed up a few times
Once again, I used the black paint I used on my fireplace for this part
I started off making weird brush strokes with watered down black paint.
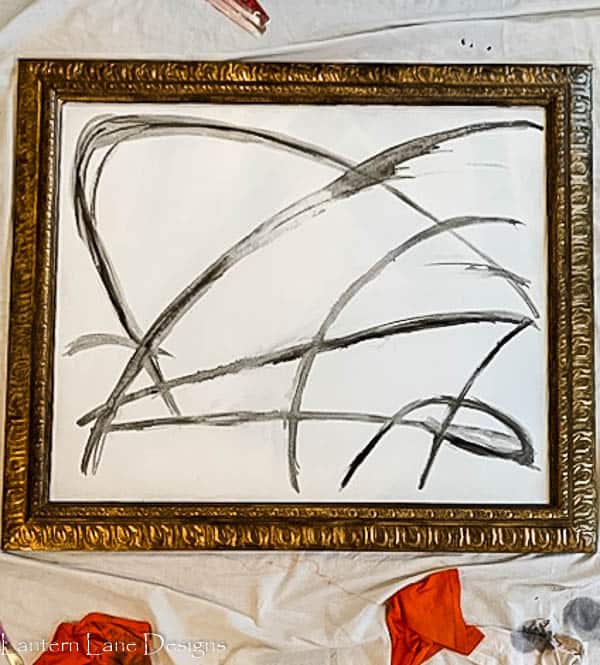
I don’t think I recommend the watered down idea. Some parts where the water sat on the paint too long, the paint started peeling off.
This is what happens when the kids are around.
I kept going though but this time with straight up black paint.
There are so many other designs I considered. This print from Anthropologie looked doable. I highly considered the circles.
If you don’t have an old picture laying around, you can get creative with a canvas. I also considered finding peel and stick wallpaper that I loved and just cutting it to fit my frame.
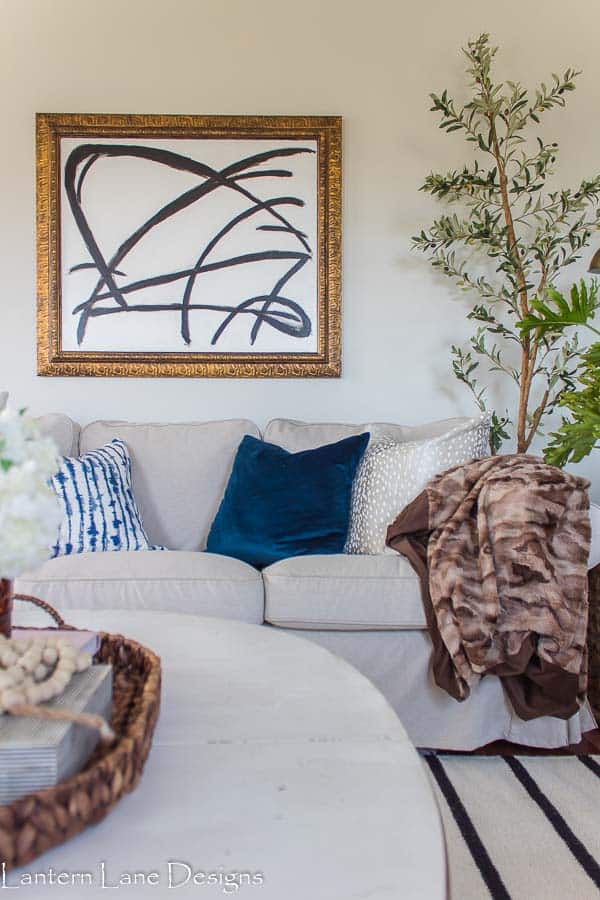
And to be honest, this idea can still happen. Like I said, I still don’t know how i feel about the final outcome to this project but I guess I liked it enough to commit to putting two holes in my wall.
I also plan on getting a library light to hang above the picture like I did with my DIY sconces.
Someday…
But for now…
Click on any image to shop:

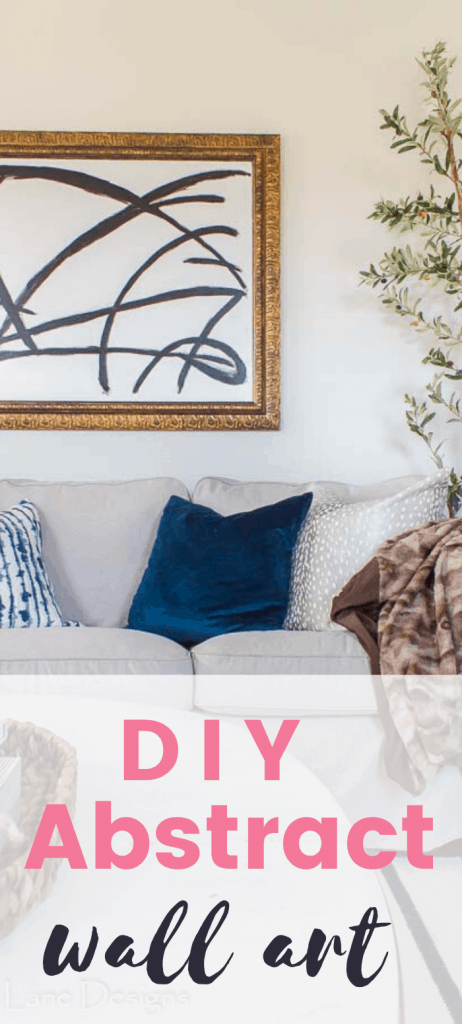
If you want to save this for later, you can pin it here:
You might also like!

Cheap Wall Decor Ideas And Where To Find Affordable Art For Your Home

DIY Wall Sconce (How To Install Wall Sconces Without Electricity)